Share
Pin
Tweet
Send
Share
Send
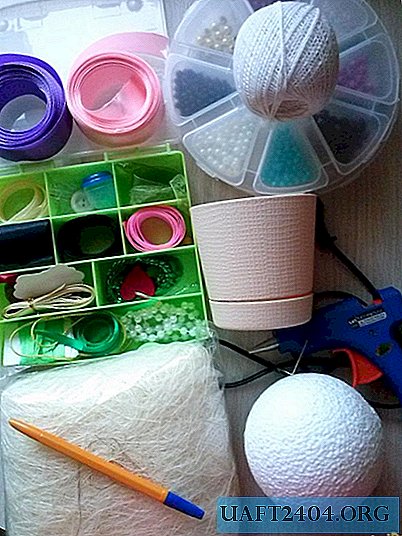
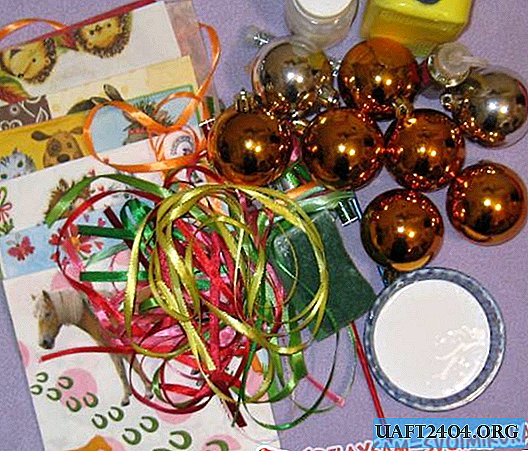
• Eight plastic balls;
• Several napkins for decoupage with the image of animals;
• PVA glue;
• White acrylic paint;
• Acrylic varnish for decoupage;
• Dry spangles of different colors, gold liquid glitter;
• Satin ribbons 0.5 cm wide;
• Brush for decoupage;
• Paint bowl and kitchen sponge.

Remove hats from all balls.


We carefully take the ball by the hat in our hands, pour the paint into the bowl, dip a sponge into it and apply the first coat of paint. So we color all eight balls.


While the balls are drying, prepare napkins. We cut off animal drawings from each napkin so that they fit the size of the balls.

Carefully remove the top layer of the napkin from each piece.


The first layer is dry, now apply the second layer of white paint.


Leave the balls to dry completely. Now we take a fragment with a rabbit, apply it to the ball and glue it with glue mass using a decoupage brush, start gluing from the middle. The adhesive mass is prepared in advance at a rate of 1: 1 of water and PVA glue, it is thoroughly mixed and ready.


Now we take the second fragment with the rabbit and glue it, as if to meet the first rabbit.


Where there was not enough drawing, we cut off pieces of a yellowish background from a napkin and decorate the remaining space on balls. In this sequence, we decorate all the balls.


Leave the balls to dry for about two hours. We prepare ribbons, cut off about 25-30 cm of each color. When the balls are already dry, put on their hats, then thread the ribbons and tie the bows at the base, as in the photo below.


Now we cover the balls with two or three layers of acrylic varnish with an interval in time, so that the layer from the layer dries, and finally sprinkle with dry sparkles. Balls for the New Year's beauty are ready! Good luck!


Share
Pin
Tweet
Send
Share
Send