Share
Pin
Tweet
Send
Share
Send
So, we need 250 g of dense yarn of pale blue color (60% merino wool, 40% acrylic), hook number 6.
Description of the cap (we knit in two threads!).
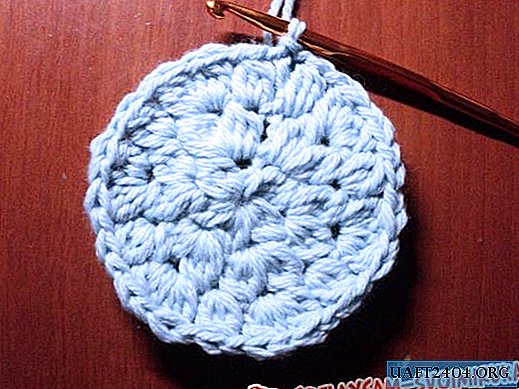
Each row begins with three air loops and ends with a connecting column. First, make a ring, wrapping the thread around the finger, and tie it with “bumps” of three st / n. Between the "bumps" one air loop. Tighten the ring by pulling the end of the thread.
Increases are further made by "bumps" in the air loops of the previous row (Scheme 1).
In the second row, we make increments in each loop.
Then in the third row we add through one loop.
And in the fourth - through two loops.
From the 5th to the 12th rows we knit without increases.
The thirteenth row is carried out only by columns of b.s.
Fourteenth row - we bind the edge of the cap with a "crustacean step" (column b.n. from left to right). We fix and hide the ends of the thread.
We carry out the flower in one addition (scheme 2). Sew it on the side of the cap (you can sew on only the center of the flower, then it will be a little voluminous). We fix the thread. Also in the center you can sew beads or beads.
Description of openwork scarf (we work in one thread!).
We knit it with “bumps” of three st / n (scheme 3), first to the required width (I gained 19 air loops), and then to the desired length. In my case, the scarf turned out to be 12 cm wide and 170 cm long. We tie the edges of the scarf next to "pico". We cut and hide the ends of the thread. The work is done.


Moisten the ready-made kit and allow it to dry.
Share
Pin
Tweet
Send
Share
Send

