Share
Pin
Tweet
Send
Share
Send
So, for sewing an envelope we take:
• Two squares of binding cardboard 15 * 15 cm;
• Thick cotton fabric with a marine pattern on a blue background and on a blue background;
• Sintepon;
• Blue cotton lace 35 mm wide;
• Beige satin ribbon with a nautical pattern and blue plain 25 mm wide;
• Blue ribbon with pompons;
• A picture of a sea bunny Mi;
• Napkin carved in dark blue;
• Scrapbook paper in blue-blue tones of size 15 * 15 cm;
• Pendant metal steering wheel in silver color;
• Brads metal blue;
• Buttons of blue color;
• Stamp "With the birth of a boy";
• Blue ink;
• Glue with the effect of double-sided tape;
• Curb hole punch;
• Cutting down flags, bunny;
• Card with children's metrics;
• A small sheet of white cardboard;
• Thermogun, double-sided tape, ruler, pencil, lighter, scissors, glue stick.
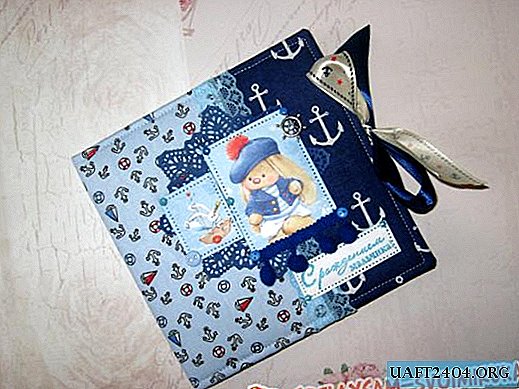

First, we will make a solid substrate for our envelope. To do this, we need to connect two binding squares into one blank. We put two squares and a strip of white cardboard 4 * 15 cm.

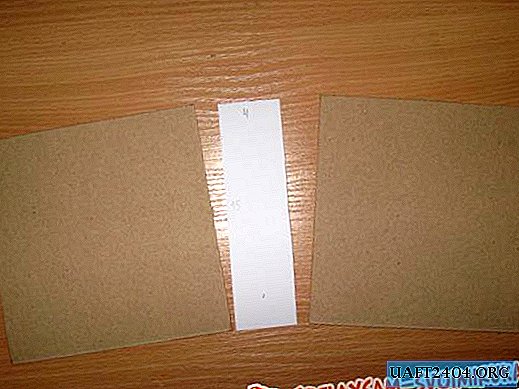
Smear the gussel on the binding board with glue stick, put two squares together and glue a cardboard strip on top of the junction between them. We press, smooth it well and hold it on a bend with scissors so that the envelope folds well.


The solid substrate is ready, now we will tighten it with a cloth. We cut two pieces of blue fabric and one larger section of blue fabric. We cut off with reserves for stitching and so that on the whole large piece along the perimeter there is also a margin of 2 cm for tucking.

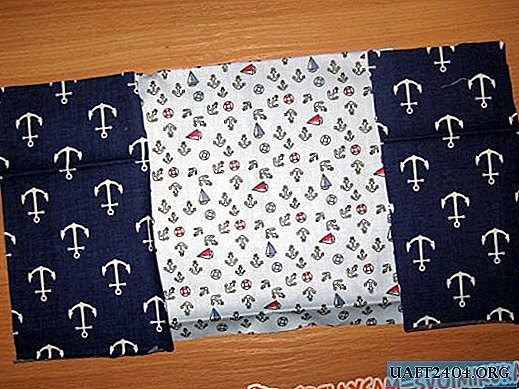
We cut off the sintepon sheet on an expanded base, the size is about 15 * 30 cm. We glue the strips of double-sided tape and glue the sintepon.


The fabric is well ironed, cut off two strips of lace to the places where we will sew the fabric.


Sew the pieces, and then sew the lace on the seam. We smear the corners of the workpiece with glue-pencil, wrap the fabric beautifully and glue it, then we smear the top, bottom and sides and also wrap and glue the fabric.


We cut 15-16 cm from two tapes and glue on double-sided tape in the center from the inside.


Now we measure out a strip from scrapbook paper, as from cardboard 4 * 15 cm in size, spread on the center with glue stick.


We glue, press and also pass on a bend with scissors. Fold the envelope in half.


Now we are preparing the design of the front of the envelope. We glue a napkin, two pictures on it, below the inscription. The edges of all the elements are drowning in a small pad. We sew everything on a typewriter, and then along the edge we also sew the envelope itself.


Now take the scrapbook paper, cut out two squares of 14.7 * 14.7 cm.


We cut two rectangles 9.5 * 14.7 cm, this is for pockets. From above and from the side we pass a curb hole punch on both pockets. Glue the card on a horizontal pocket, sew it with a machine.
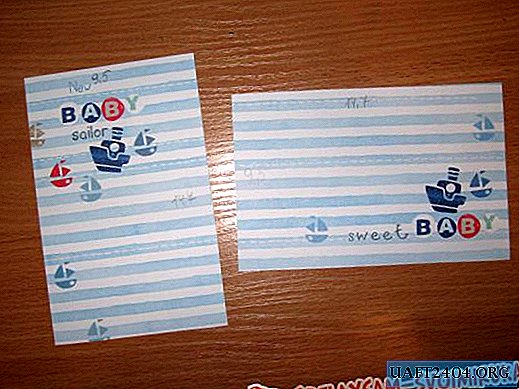

On top of the squares we also glue the border strips. The edges of the pockets are smeared with glue stick.
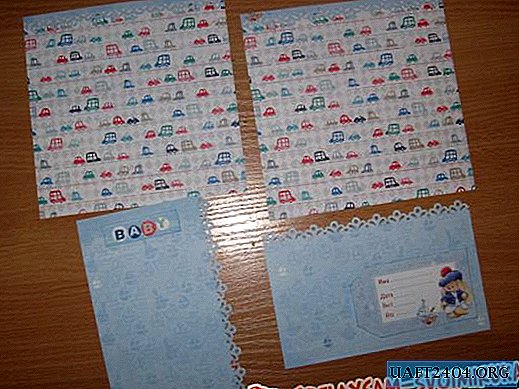

Stitch the squares around the edges with a typewriter. Now with the help of the brads on the cover we insert the metal steering wheel.


Glue scrapbooking inside. For this, adhesive with the effect of double-sided tape is very suitable.


In the expanded form, the envelope needs to be put under something heavy.


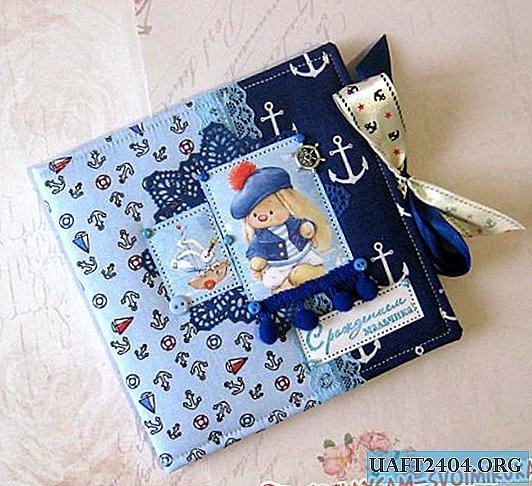
Inside we glue flags and a hare. It remains only to glue the tape with pompons and buttons.


The envelope is ready. You can congratulate parents on the birth of a boy! Thank you, see you soon!



Share
Pin
Tweet
Send
Share
Send

