Ready-made abrasive belts for household grinders and home grinding machines can be easily bought in a store or on the construction market. That's just the price of the issue is not always satisfied. And the distance to the destination can be decent.

Therefore, it will be cheaper to glue abrasive tapes with your own hands. For home-made belt grinding machines, sandpaper abrasive belts also in most cases have to be glued on their own, since it is far from always possible to find a suitable size.
Some craftsmen prefer to glue the tape joint to joint, putting a lining of sandpaper on the bottom. However, it is better that the seam be overlapped. How to glue abrasive tape from sandpaper for grinder and grinding machine, read on.

Glue the abrasive tape yourself

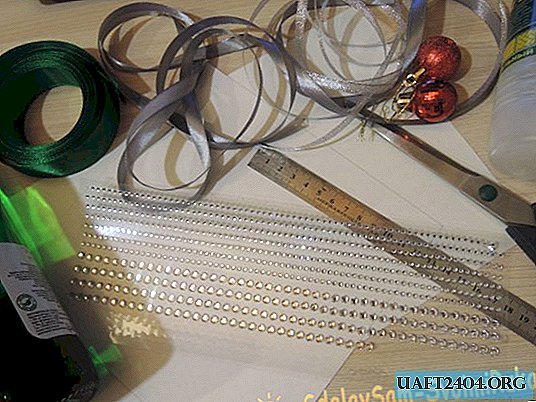
First, we cut the sandpaper into strips of the desired width. It is necessary to measure the length a little with a margin, taking into account an overlap of 2 cm. Another important point is the angle at which the parts of the sandpaper will be glued, should be "friends" with the diameter of the installed rollers.

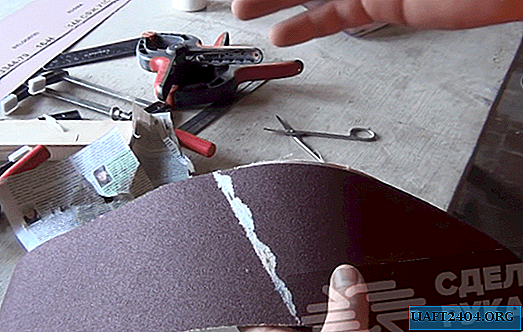
Before gluing, one part of the sanding belt must be cleaned from abrasive. To do this, wet the gluing place with acetone and leave for several minutes. Then we remove the "grains" using a hacksaw blade for metal.

At the second end of the sandpaper, you need to remove a small chamfer for better grip. You also need to clean the sandpaper from the inside. Then you can proceed directly to gluing the abrasive strip for the grinder and LSM.

The edges of the sanding belt are fixed with clothespins so that they do not move apart, then we coat the joints with PVA carpentry glue (class D3).

From the bottom and top of the seam we put pieces of the newspaper and press down the planks. After that, we clamp with clamps and leave for a day. For more information on how to glue abrasive tape correctly, see this video.