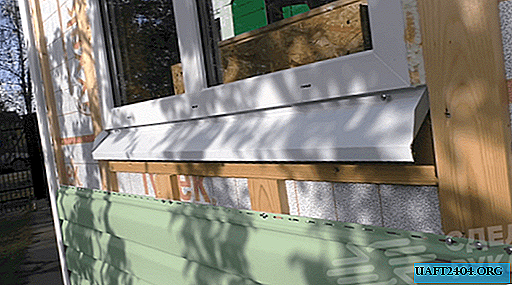
Drainage is an additional element of the window. In fact, this is an external window sill, the task of which is to prevent the accumulation of precipitation in the form of water or snow in the lower part of the window block. In addition, a properly installed steel drainage system protects the joints of the window and wall from moisture.

The drainage system itself is mounted on a standard profile under the windowsill, located at the bottom of the plastic window. In this case, it will be necessary to cut the “nozzles” of the mounting foam in this place so that it does not interfere with the installation of the drainage system.
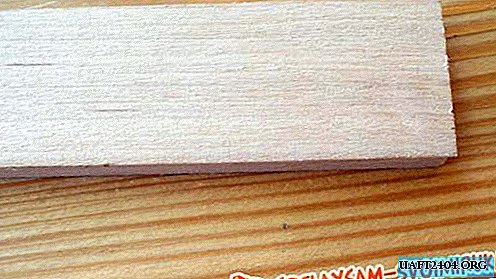
First of all, we pick up an ordinary building tape measure and measure the exact length of the drainage window. Then, from a galvanized billet, which can be bought on the construction market or in a hypermarket, we cut out a piece of suitable size with scissors for metal. We do not remove the film.

The main stages of work
From each end of the workpiece, measure out two centimeters and draw a line with a marker. This is not necessary, but for greater convenience - it is possible. Then we draw two lines from each edge. Moreover, the lines themselves should not go beyond the boundaries of the folds.

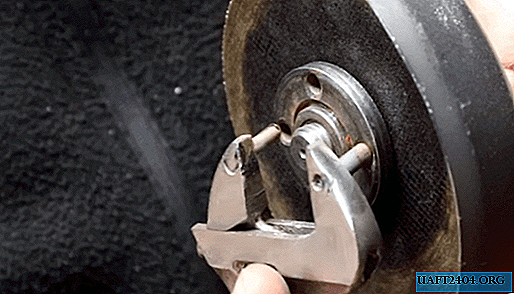
First, we make an oblique diagonal cut on both sides of the workpiece, and then cut two corners in the upper part. Then we try on the drainage. A clearance of no more than 2-3 mm is allowed.

After fitting, bend the sides of the workpiece. First with a pair of pliers a little, and then you can with your hands. At the same time, we do not remove the protective film even at this stage of work. Then install the drainage. For more information on how to do this, see the video on the site.