Using a simple home-made thread-cutting machine, threading in drilled holes will be much more convenient. Moreover, the device ensures the position of the tap strictly perpendicular to the part or workpiece, which is also important.

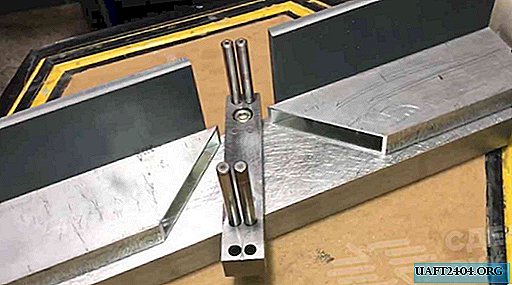
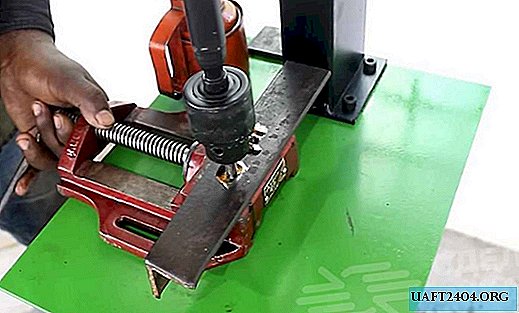
First of all, the master cut off two pieces of a rectangular section profile at an angle of 45 degrees, and welds them together at a right angle. The result is a L-shaped stand.
A square plate with holes along the edges is welded to the bottom of the rack. A rectangular sheet of metal is used as the base.

It also needs to drill four holes. Then the stand is screwed to the base with bolts.
The main stages of work
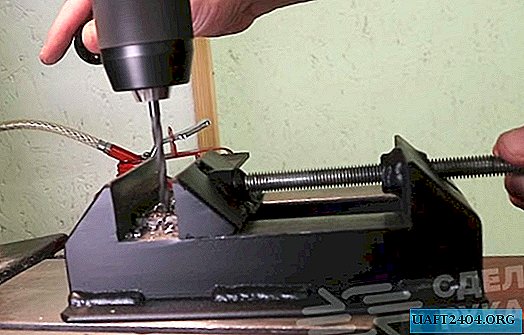
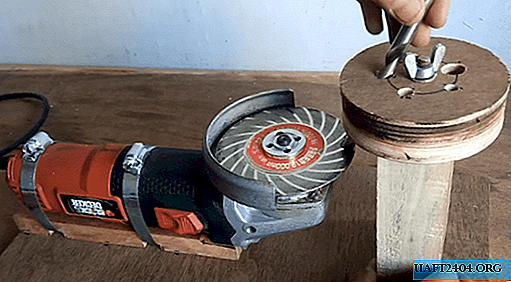
On the lathe, the master grinds a thick-walled sleeve, which in this case acts as a guide for the rod. This sleeve must be welded to the top of the rack.

At the end of the rod, the master puts on a flywheel (helm), which, for example, can be removed from some old lathe. Or you can just buy it in a store.
Well, then the thing, as they say, for the small. It is necessary to wind a drill cam chuck on the rod, insert a tap of the desired diameter into it, after which you can proceed to threading in the workpieces.

For details on how to make a simple thread-cutting machine for your home workshop or garage, see the video on the website.