In the manufacture of wooden frames, pruning skirting boards and baguettes, or other operations, it is often necessary to cut blanks at an angle of 45 degrees.

For this, the author suggests using a rotary miter box. You can do it yourself.
Usually this device is made of wood, but the master decided to use aluminum for this purpose.
Why not buy a ready-made plastic miter box? You can buy something, no one forbids you.

But keep in mind that when using wooden or plastic devices, after a few cuts, the slots expand, and the quality of the cut becomes noticeably worse. This design will last much longer.
The main stages of work
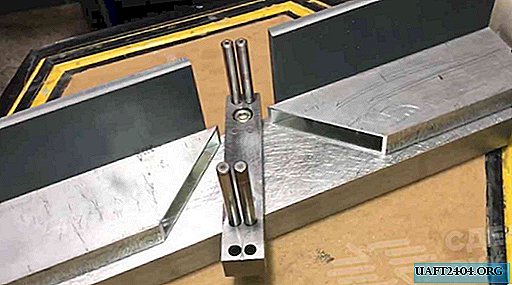
The author uses an aluminum channel as the base of the miter box - we cut off a piece of the desired length and drill fixing holes in it.
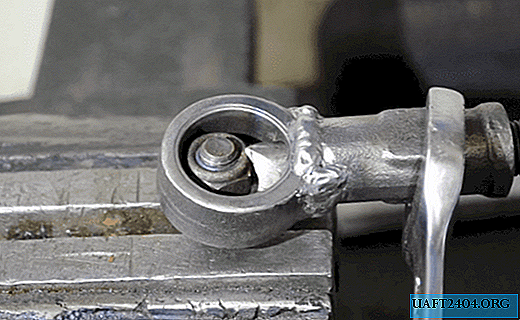
In the center of the channel we fasten the rotary plate with holes. Then we insert steel rods into the holes - guides for the hacksaw.

At the next stage, the author cuts two pieces of an aluminum profile and fastens them to the base. Workpieces will be based on them.

Then it remains only to screw the parallel stops for the workpieces. Their master made of plastic (but you can use aluminum plates).

For details on how to make a rotary miter box with your own hands for a home workshop, see the video on the site.