Share
Pin
Tweet
Send
Share
Send
You will need:
- Operational amplifier TL072.
- Resistor 10 kOhm (4 pcs).
- Resistor 1 mOhm (2 pcs).
- Resistor 3.3 kOhm.
- 680 kohm resistor.
- Potentiometer 100 kOhm (2 pcs.).
- Potentiometer 50 kOhm.
- Capacitor 100 nF (3 pcs.).
- Capacitor 10 nF.
- Capacitor 100 uF.
- Capacitor 47 nF.
- Capacitor 47 pF.
- Capacitor 100 pF.
- Diode 1N4148 (2 pcs).
- Button.
- 2 jack sockets 6.1 mm.
- Connector for crown and crown.
All this can be bought at the nearest electronics store. Also, for convenience, you can use tweezers and a third hand for soldering.
Circuit assembly

On the Internet, I found a diagram for this project.

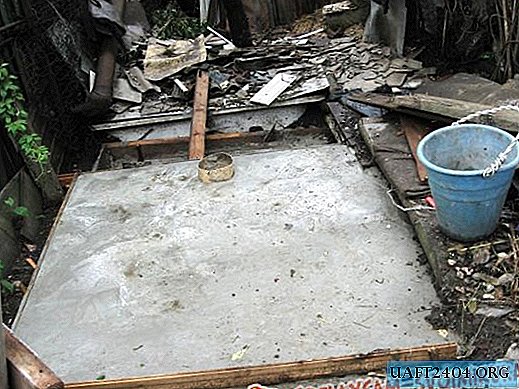
But we will not do it on a circuit board, since it will have to be made first, and not everyone knows how to poison printed circuit boards. This pedal will be as simple as possible. We will collect it on a cardboard 66 * 33 mm, it will be as the main board. It will turn out something between a printed circuit board and a hinged installation. On a cardboard glue with the help of PVA mock up of the project. The layout before this must be printed in real size (as in the photo).


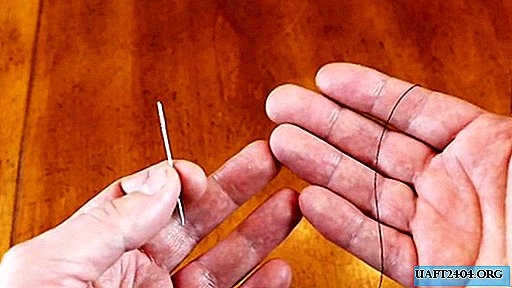
Next, with a sewing needle, I made holes in the cardboard under the paws of the radio components.

In no case can you cut off the legs of parts, they will act as tracks. Now we insert the parts into their places, and on the reverse side we solder the tracks. We won’t talk much about this, everything is intuitively clear.


In some places, their length will not be enough, so use wires. Like here:

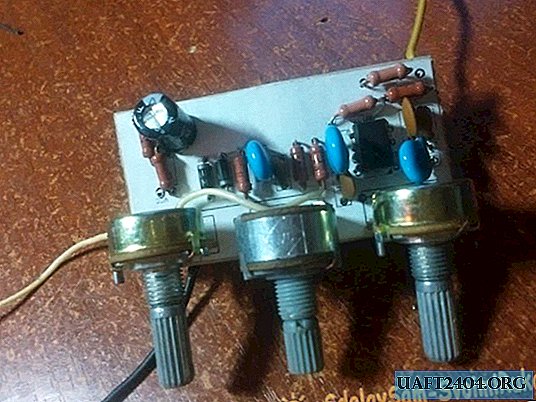
When everything is ready, the board will look like this:


Now, according to the scheme that I gave earlier, we solder the button, the connector for the crown battery and jacks for jacks.


Places where a closure is possible, I glued with hot glue.

At this manufacturing the circuit itself is completed.
Body
After a short test, it became clear that the pedal was working. Now let's make a case for her. Made from a box from under the sponge for shoes. The collective farm, of course, but the pedal was originally made "cheap and cheerful."

Holes for potentiometers and buttons are made in the lid. On the sides for jacks. The box was not enough. And with the crown it was already barely closing, so I had to wind the lid with tape.

For krutilok I found a couple of pens, but they did not fit here. So I used a little thing to twist the gain, tone, level knobs. This completes the production of the Distortion guitar pedal. The project is quite simple, the sound at the same time suits me.

Share
Pin
Tweet
Send
Share
Send