Share
Pin
Tweet
Send
Share
Send
He first appeared in China and Japan (about four thousand years ago). They attached various forms to “snakes” (birds, animals, beetles, butterflies, etc.). Particularly distinguished flying kite or dragon. From here came the name kite. During any public holidays, a kite was launched.
Kites come in many forms. We will make a smaller air dragon from colored paper. We describe step by step instructions. To do this, prepare a set of thick colored paper, glue, felt-tip pens, paper tape, stick, rope. You can make your snake larger.
Take a sheet of rectangular shape.
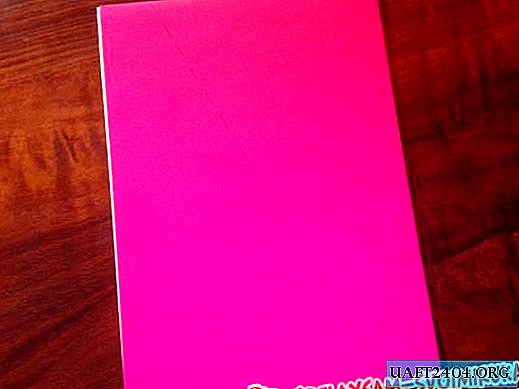
Bend it in half. Having measured the fifth part on the sheet width, we mark with a felt-tip pen a line of the future fold. Connect the dots, then bend the sheet.

We bend a sheet of paper on both sides.

We glue the halves with tape. Then we attach a wooden stick with tape.

It turns out the basis for our future snake.

From colored paper, we cut out two triangles. We draw with felt-tip pens the resulting figures. Next, glue the triangle ends to the dragon.

Attach a “tail” rope to our dragon.

Let's draw a funny face. Felt pens denote the eyes and mouth of our kite.

Have your child complete the craft using felt-tip pens.


A wonderful sight is the contemplation of a flying kite, painted in different colors. He wags around and swings its motley tail. In children, this also causes excitement, since they control this process. The main thing is to set the snake angle of attack. You must correctly position the dragon in relation to the direction of the wind. With a strong wind, the dragon immediately takes off.
Best of luck in making an air dragon (kite) !! Strong, even wind when it starts !!
Share
Pin
Tweet
Send
Share
Send

