Share
Pin
Tweet
Send
Share
Send
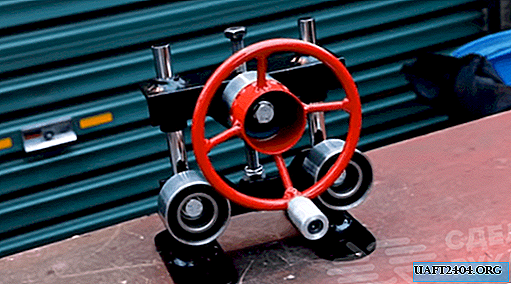
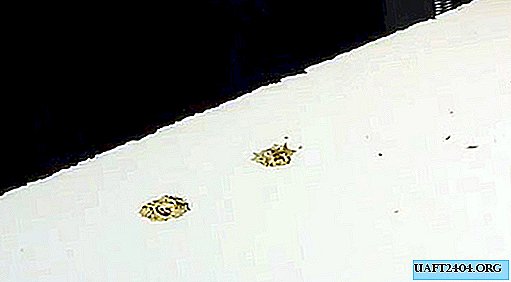
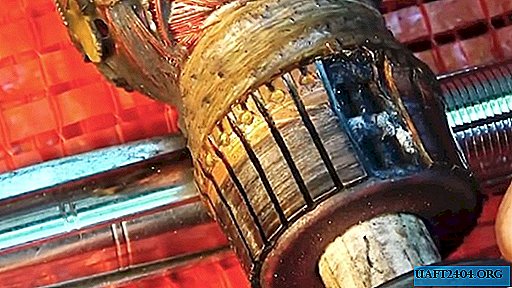
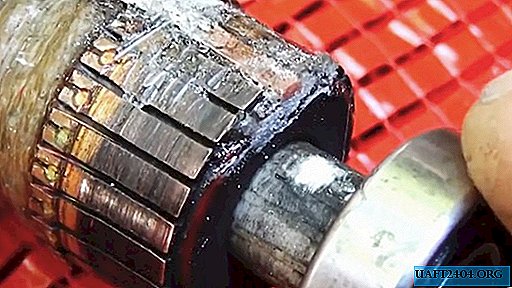
If the drive stops working, then with a good winding, the cause may be in the plates. One or two of them can simply be torn off. However, this is not a reason to buy a new expensive engine. You can restore contact plates from improvised materials and literally “on the knee”.
Will need
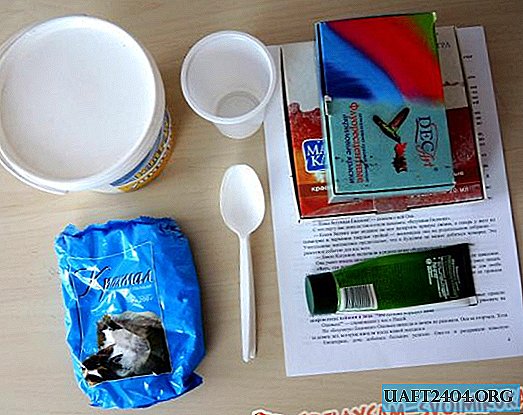
To put the anchors in order with such a breakdown, we should prepare the following materials:
- piece of copper wire;
- universal epoxy adhesive;
- aluminum wire;
- wooden block.
Without a lathe, we need many tools and devices: a knife and a brush, pliers and a screwdriver, a hammer and an anvil, a file, sandpaper and a needle, a drill and a soldering iron, a vice and a punch, a caliper and a pencil.
The procedure for the restoration of the collector plates of the anchor
First, we put in order the base of the blown off plates. To do this, remove small particles and dust with a brush from the recess in the collector. Then, with a knife, align the places under the new plates in length, width and depth. At the same time, try not to damage the ends of the windings facing the missing plates.

We cut the outer insulation of the two-wire copper wire with a knife, bite off one of them and pull out the core from the inner insulation with pliers.

Flatten the copper wire to form two plates with a hammer and anvil.

At the same time, from time to time we compare the workpiece with intact plates on the armature collector so that the width of the workpiece does not turn out to be larger.

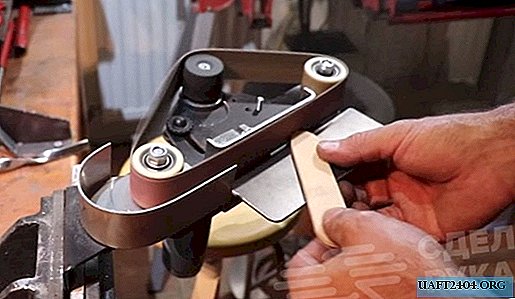
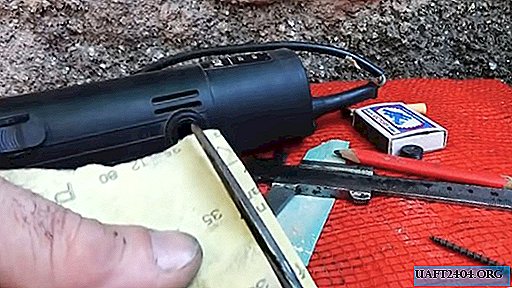
Having received approximately the required cross section from the copper wire, we bring it to the desired size with coarse-grained P80 sandpaper, evenly processing each side, and also checking with whole plates.

We form the end face of the plate blank with a disk rotated by the grinder. We put the workpiece in its place, and focusing on the next whole plate, mark the length with a pencil.

We cut along the mark and break off the blank of the plate with pliers. We clamp it in a vice and from above in the center with a knife and a hammer we perform a shallow slot.
We put the workpiece on a wooden beam and at the base of the slot with a punch and a hammer make a hole that we grind with a sewing needle.

We clean the place of processing with sandpaper. We lay the homemade plates in their places and solder the ends of the corresponding windings to them.

We mix the two-component epoxy glue according to the instructions and apply it to the plates with the tip of a flat screwdriver so that it gets into the gaps between the plates.


We wrap the collector with glued plates with aluminum wire several times, creating an interference fit and twisting the ends together.

We leave everything alone for the time specified in the instructions.
After this, unwind the wire and remove it. But a more reliable fastening of the lamellas would be the installation of two fiberglass bands impregnated with hot melt adhesive.
We remove the epoxy resin with a knife from the surface of the lamellas, since it is a dielectric. Then we process the lamellas with a file for metal to a copper luster.


Since there is no lathe, for grooving the collector with new slats, we return the anchor into place and unscrew the brushes.

We measure with a vernier caliper the diameter of the hole for the brushes and use a knife to trim a suitable wooden rod and adjust it to the desired size with an emery cloth.


Rotating the tool by the spindle, you can see the rotation of the collector through the brush hole. We use this effect to grind the contact plates.
We push a wooden rod into the hole until it stops in the collector. We make a mark on the rod at the top of the hole and pull it out. We apply a brush stopper to the mark and reduce the place of the cut to its height.
We insert a wooden spike into the hole and make sure that the cork can be tightened. After that, cut off a narrow tape of P600 fine sandpaper, wrap it around the spike and insert it into the hole again until it stops in the collector.

Tighten the spike with a stopper and rotate the spindle by hand. If there is not much resistance, we connect an active drill to the spindle and turn it on.

The procedure is repeated several times, replacing the worn sandpaper with a new one, while constantly tightening the cork. As a result, the new plates will be equal in height to the rest and the anchor will again become operational.

To verify this, unscrew the cork, pull out the spike with sandpaper, turn off the power drill and, rotating the spindle by hand, look at the collector. If the gloss of all the plates is the same, then this is an indicator of uniform grinding.

Share
Pin
Tweet
Send
Share
Send