Share
Pin
Tweet
Send
Share
Send
Will need
From the materials we need to prepare:
- thick galvanized sheet;
- 24 V DC motor (or 12 V) - //ali.pub/3srgsi;
- on / off button;
- two nuts and two screws with a large hat;
- solder wire with flux;
- spray paint can;
- thick glossy paper and glue;
- the handle of the drilling machine;
- power supply with wires.
To work on the blower you will have to use: a soldering iron, a ruler, a pair of compasses and a marker, scissors, a screwdriver and pliers, a glue gun.
Blower manufacturing process
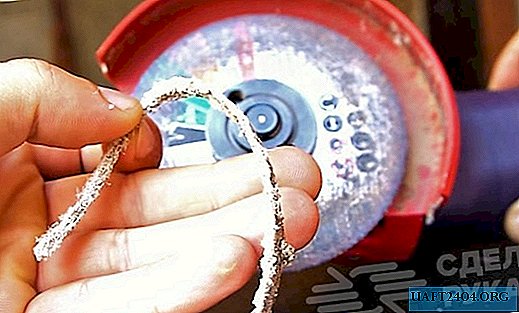
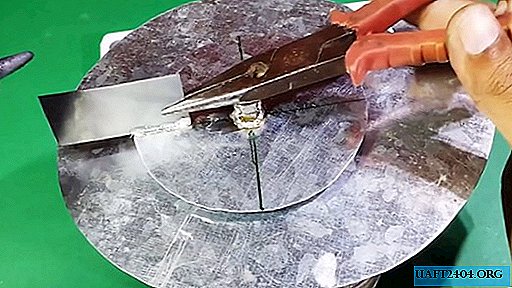
We mark out the round tin blank, using a ruler, compass and marker, under the side of the blower body in the form of a “snail” and cut it with scissors.


Using the cut sidewall as a template, draw a contour around it on another piece of tin and also cut along the contour with scissors.

We use one of the sidewalls to install the DC motor at 24 V. For this, we mark in the center a hole for the axis and two holes next to fix it. In the other sidewall in the center, we make a large round hole for air intake.

We mark and cut out a tin disk with a central hole with two nuts soldered to it, on the one hand.


We fix the engine with two screws with large caps to the sidewall, which was already prepared for this in advance. We try on a tin plate with soldered nuts to a smooth motor shaft.

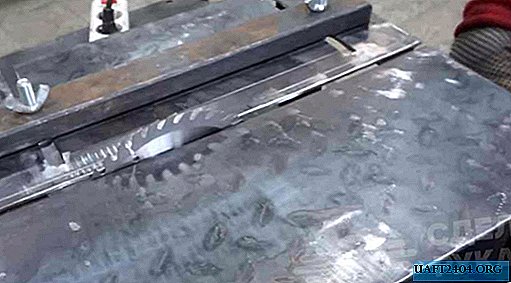
We divide the tin disk into six equal parts in the radial direction and carry out the corresponding marking. We solder vertically six identical rectangular plates at the same distance from the center of rotation. Moreover, the gaps between the outer and side edges of the plates and the blower housing should be minimal.
We install the impeller on a smooth motor shaft and fix it with glue.

We bend a tin strip of verified width along the contour of the side of the case and grab it in several places by soldering.


We impose the second sidewall on the cylindrical part of the body and also fix it with a soldering iron and solder.

We install and solder a tin cylindrical pipe on the suction hole.

Using a glue gun, seal all joints on the blower housing. After the glue dries, we paint the body of the blower with spray paint from a spray can.
From dense glossy paper, we turn off the incomplete cone and put the greater side on the outlet pipe of the blower body and fix it with glue from the gun.

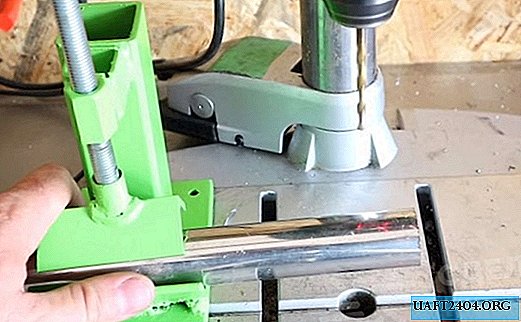
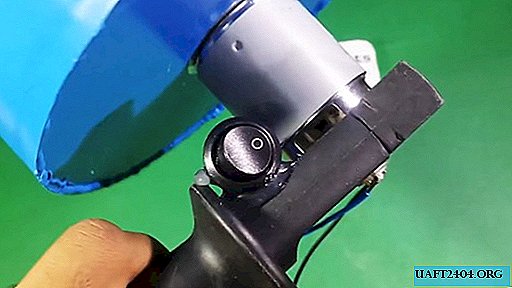
We install and fix the handle of the drilling machine on the cylindrical surface of the engine.

We solder to the contacts of the motor wire, turning on the switch on / off button, which we attach to the handle in a convenient place.
Blower testing
By turning on the start button, we supply 24 V DC from the corresponding power supply unit (battery) to the blower motor.
We are testing our homemade product on the street part of the air conditioner.

Blow it in the opposite direction to that accepted. We notice that dust pockets and even small pebbles, leaves and other foreign bodies burst from it.
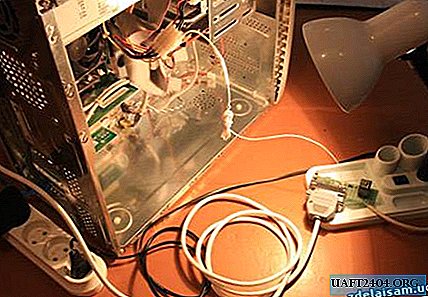
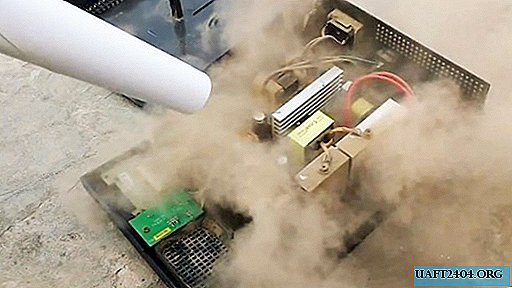
Remove the cover and side panel of the UPS. We direct a stream of air from the blower into the device. It is simply amazing how such an amount of dust, cobwebs and dirt fits in such a small volume!


Share
Pin
Tweet
Send
Share
Send