Share
Pin
Tweet
Send
Share
Send
Tools and materials:
- solder;
- flux or alcohol rosin solution;
- soldering iron;
- thin copper wire;
- stripper or mounting knife.
Wire preparation and soldering
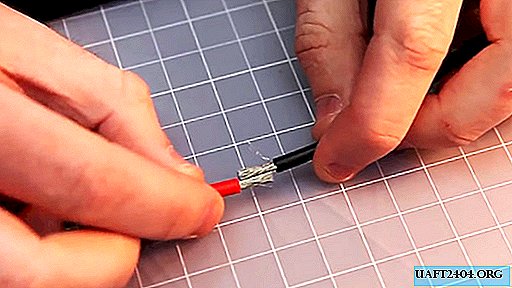
The ends of the wires must be cleaned from insulation with a stripper or knife. It is enough to open about 1 cm each. The bare stranded cores should be fluffed and joined together from the end.


When connecting, they will fan out, so they will need to be gently squeezed with your fingers.

The wires at the splicing site are wrapped with a thin copper wire, preferably thicker than the individual wires in the connected wires. It can be obtained from the PVZ, ShVVP cable and the like.

The winding should be carried out with an average frequency. If to lay a coil to a coil, it will turn out more accurately and more durable. When winding, the wire should be pulled, at the end of its ends are twisted or wound into cores. The resulting bandage must be finally tightened. To do this, the connected wires are stretched. The stronger they are pulled, the more veins are compressed by a bandage. As a result, the connection will become no less tear resistant than a solid cable.

The exposed veins in the place of splicing should be smeared with flux or alcohol solution of rosin. After that, the bandage and cores are heated with a soldering iron.

Solder is applied to the hot spots. As it melts, the soldering iron tip needs to be moved further to warm up new places. The molten tin penetrates the bandage and the voids between the shifted wire veins. The solder does not drip and lays very smoothly.

The proposed method of soldering gives a very strong to mechanical stress connection. The use of a bandage eliminates the overspending of tin, since it does not flow down and does not hang in drops. The splicing site itself looks neat and creates minimal resistance. If a sufficiently powerful soldering iron is used, then each connection can be prepared in a couple of minutes.
Share
Pin
Tweet
Send
Share
Send

