Share
Pin
Tweet
Send
Share
Send
Drywall box manufacturing
First you need to determine the size of the niche, and also think about where it will be located. In addition, you must first conduct an electrician. The cord should be routed to the inside of the box for installing outlets. Since the box will be faced with a laminate from the front, it is possible to calculate the width so that the laminate does not have to be trimmed lengthwise. The length of the entire niche is the size of two stripes of the laminate, so as not to cut it across. The size of the niche is calculated exclusively for the size of the TV. Therefore, before you start collecting the box, it is important to already know which TV will be fixed inside. The thickness of the niche also depends on the thickness of the TV.
The assembly begins with the contours of the niche. For this, you can use the UD metal profile, which is attached to the wall with self-tapping screws.


When installing the profile, it is important to adhere to a horizontal level. The following is the partition for the TV, horizontal profile mount.


The size of the internal niche for the TV should be 1 - 1.5 cm larger than the TV itself so that there is a gap between them. After you type the outline of the entire niche, you can proceed with the installation of the box itself. To do this, use a CD profile 10 cm long. Insert it into the groove of the UD profile with an indent of 30 - 40 cm. On the reverse side, also fix the strip of the UD profile. The profile is fastened to each other with the help of LM screws.


On the right side of the box, two CD profiles must be mounted vertically for stiffness. After that, you can sew a niche with drywall on the sides. On the front side, drywall should protrude 5 cm from all sides, and not be flush with the profile.


If you wish, you can subsequently attach an LED strip behind the protruding drywall. On the right side, you can completely sew up the box with drywall, or to save segments to the profile to save.
At this stage, it will be wise to hang the mount for the TV, and once again check if you made a mistake with the dimensions? You can hang the TV to make sure that it fits well in the inner box. It will also allow you to determine the exact location for installing outlets.

The next step is lining the niche with laminate. Of course, natural wood will look rich and beautiful, but a simpler and more economical option is a laminate. You can fix the laminate using liquid nails, applying glue with a syringe to the laminate or directly to the box.

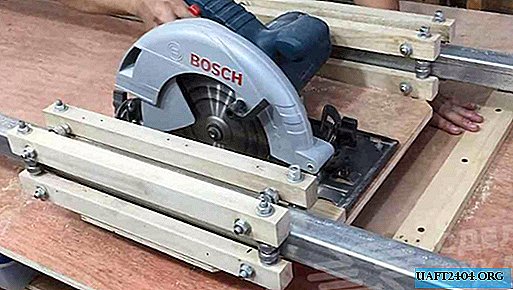
First, the bottom strip is attached. From the side parts of the right and left strip of the laminate, you must first cut the locks. You will need a jigsaw to trim on the left side of the niche. Use clamps to bond the laminate to the drywall well. Do not proceed with the installation of the following strips until the first lower strip is securely fixed.


As a rule, liquid nails quickly set, so you will have to wait 15 to 20 minutes. Then you can type the laminate on.


On all stripes of the laminate, it is necessary to cut the side seams left and right. When installing the two upper strips of the laminate, it is necessary to first cut off the upper lock from them and also secure with clamps.


To hide uneven trimmed corners of the laminate, you can also fix a decorative corner to the tone of the laminate on liquid nails. To fix the corner until it sticks together, use tape.


Further, in the inner part of the niche, you can glue the surface, and glue the same wallpaper there as around the entire structure. It is also necessary to fix the sockets, and mount for the TV level. Then along the edges of the box on all sides, you can glue the LED strip. The final stage of work is fixing the TV in the mount.

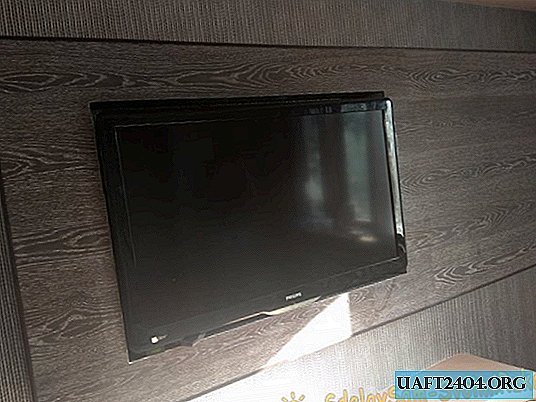
Final result
Share
Pin
Tweet
Send
Share
Send