Share
Pin
Tweet
Send
Share
Send
We will first discuss two ideas for restoring a knife handle, and then try to make one of them a reality. Any person holding cutting tools, a hammer, pliers and a brush can do such work.

If the shank is thick enough, then you can take a piece of solid wood, cut it or drill a hole in it and insert the shank into it with an interference fit. This fastening of the handle on the shank is called a rider. With a thin shank, this method of fixing the handle will not be too reliable.
For such a case, it is better to make the handle out of two identical halves and fix them on the shank with rivets, pins or furniture tie screws. This method, called riveted or laid on, seems to be the best here.
We prepare the knife for restoration, completely removing from the shank all the remnants of the previous handle, and put it in order.
What do we need for work
We will prepare the necessary materials:
- knife plate - blade with a shank (subject of restoration);
- veneer of red or similar in quality wood;
- solid wood block or multilayer quality plywood;
- epoxy resin;
- a metal rod (preferably made of copper or aluminum, but it is also possible steel);
- transparent waterproof varnish.
Necessary equipment and tools:
- hacksaw for wood and metal;
- Stanley knife (carpet knife);
- pliers or pliers;
- drilling machine or electric drill;
- vice is metalwork;
- grinder and sandpaper.

The process of making a knife handle

The dimensions of the handle depend on the length of the blade and the shank, but the thickness of the pads should not be less than 6-7 mm, otherwise it is difficult to ensure the strength of the handle and ease of use. The sequence of individual steps is also not critical.
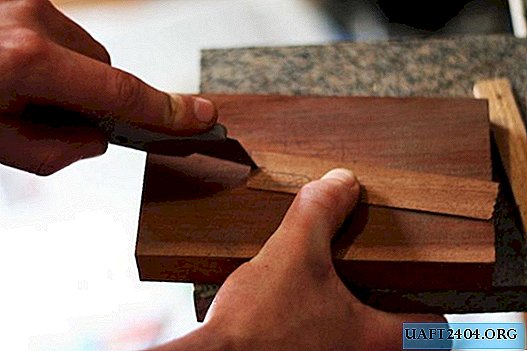
1. Cut off from the prepared wooden bar two pieces of equal length (future pads or handle cheeks).


2. Using pliers or a hacksaw for metal, we separate the pins from the rod along the length slightly more than the total thickness of the handle. At the end of the work, they can be riveted and the linings firmly connected to each other and to the shank. We round the ends of the pins for safety and ease of installation in holes.

3. Using a shank with a heel as a sample, apply them to the blanks of the cheeks, circle the front contour and the place of drilling the hole. We carry out drilling and processing of overlays on the side of the blade by marks, since after assembling the knife it will not be easy to do, especially if they are complex in configuration. We insert the pin into the hole and make sure that it matches the diameter and length.


4. We cut the veneer along the contour, placing its piece between the plates, and removing the excess with a Stanley knife.


5. Apply epoxy to the outer surfaces of the linings by inserting a pin into the hole in advance and glue the veneer. After making sure that there is no bias, we assemble the knife plate, both plates with the veneer glued together with the pin and clamp everything in a vice until the epoxy is completely cured.


6. Pre-form the handle, first using a band saw, a carpet knife, then a grinder and rough sandpaper.


7. Bring the shape and smoothness of the surface of the handle to the required sanding paper with decreasing grain size. We finally polish the surface of the handle, wipe it with a clean rag and apply a transparent waterproof varnish. This will protect our kitchen knives from moisture.
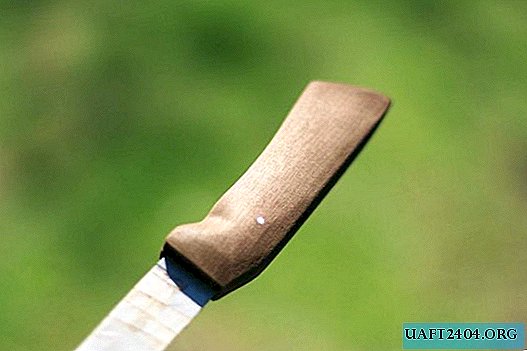


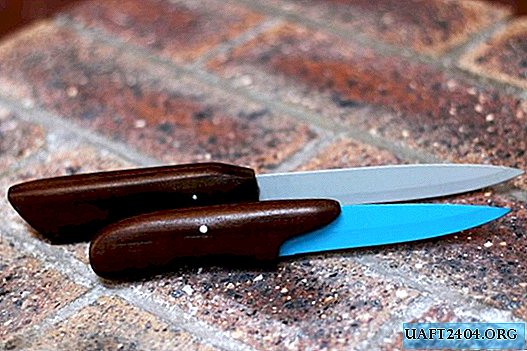
8. The knife is completely ready for work. It turned out to be functional and beautiful.


P. S.
If the linings are coated with veneer, then only the ends can be machined, otherwise the veneer coating can be damaged.
Original article in English
Share
Pin
Tweet
Send
Share
Send