Share
Pin
Tweet
Send
Share
Send
So, to make this vertical shelf for flowers, you will need:
• screwdriver or drill,

• confirmation drill,

• hex and cross bits, as well as a magnetic extension cord for quick replacement,

• a small hammer or mallet,

• 12 notch (although this is not necessary, but more on that below),

• 42 self-tapping screws 40 mm long with countersunk head,
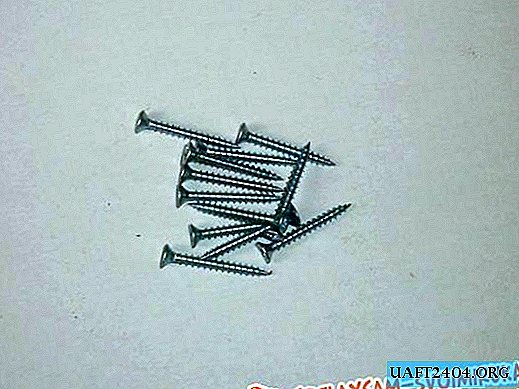
• and four - with a large decorative.

• In addition, 14 confirmations are needed,

• awl (where without it),

• four narrow canopies,

• nine iron corners,

• carpentry knife,

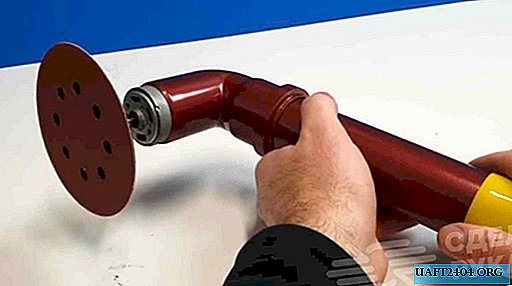
• a piece of sandpaper on a bar,

• iron and a small rag. Any iron, even the one that you regularly use to iron clothes (still do not ruin it), and a rag - so as not to get burned when you glue the hot edge.

• By the way an edge. Choose it in the color of the chipboard, or vice versa, make it contrast, decide for yourself,

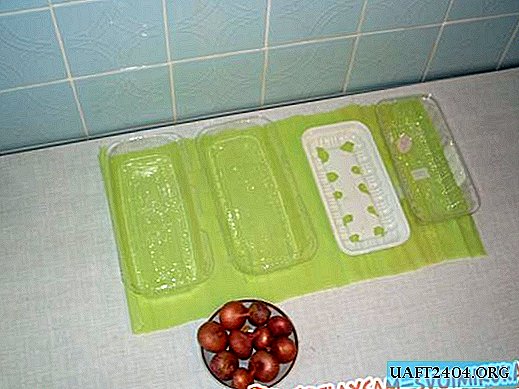
• and the pieces of the plate themselves do not need to be ordered in cutting from a whole sheet. The same parts of 100 by 130 mm were made to me from the remnants in the workshop, where they saw large sheets “for thanks”, expressed in a bottle of cold sparkling water. They needed 15 pieces, although this entirely depends on the size of the window on which you will hang our vertical shelf for flowers.

Now we glue the parts over the edge. There is nothing wise here, so we apply a piece, warm it with a hot iron for several seconds, and press and smooth it with a rag (be careful not to burn yourself).

Now cut off the surplus and sandpaper pass "for fidelity." And so - all the details.

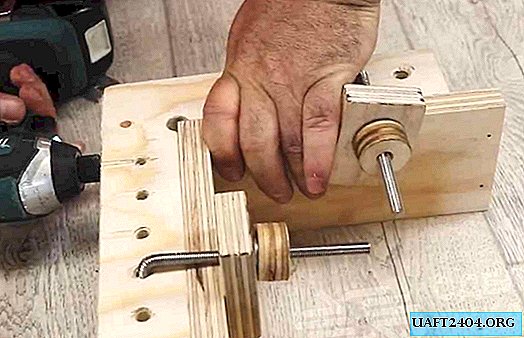
With one confirm, we fasten two of them,

and we get seven identical "letters G" plus one more detail.

And from the remnants of the edge we chop into the notch circles to seal the heads of confirmations. Just in the store where I bought it, there were no circles of this color. Although if you are more lucky than me, this stage can simply be omitted by buying ready-made ones.

Now we collect the scattered parts in a single vertical shelf for flowers. The children immediately called her the "caterpillar."

It needs to be fixed. But not just hang (then we would mount the awnings "in the pot"), and pull so that it, if possible,

hung as tightly as possible. And it is ready.

Now arrange the flowers.

That's all the wisdom, the vertical shelf for flowers is not just assembled, but hanging and pleasing to the eye. What more could you want from her? Probably nothing.
Share
Pin
Tweet
Send
Share
Send