Share
Pin
Tweet
Send
Share
Send
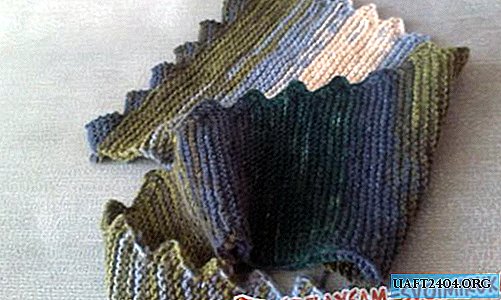
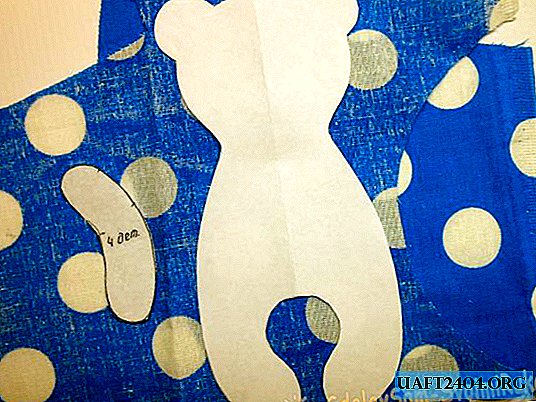
The scarf can have various sizes, it depends on the figure of the person who is going to wear it. But it must be elongated, which allows you not to turn it into a shawl. For this model of bactus, the width at the top is 35 cm, the length is 1 m. To knit the scarf shown in the photo, you will need about 100 grams of yarn of suitable composition (in this case, mixed yarn consisting in half of wool and acrylic is selected), long knitting needles of the recommended number (in this case, No. 4), marker and row counter.

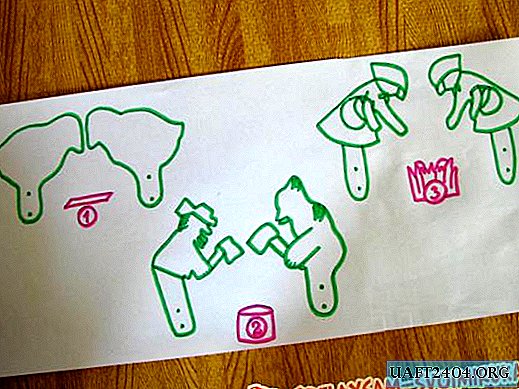
In a convenient way, we collect 3 loops.

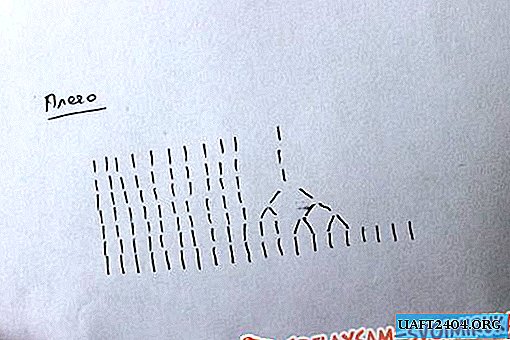
From the first to the last row we perform garter stitching. This means that all the loops, with the exception of the edge ones, are made with the front or the back - to whom it is convenient. The pattern in both cases is identical. In each even row, loops are added. It is performed on one side of the bactus, which for convenience should be marked with a marker. In order to prevent an unnecessary hole from the last loop (in front of the edge), we knit 2 loops: one for the front wall, then, without removing the loop from the left knitting needle, one more front one for the back wall from it.


In this way we knit the first 10 rows. At this point, the spoke should have 8 loops (along with the hem).

Then we begin to perform a zigzag on the side of the bactus, in which the addition of loops is done. To do this, in the 11th row, the first loop is removed without knitting, the second is knitted and then a broach is performed: the right loop is thrown on the left and returned to the left knitting needle, becoming a hem.


So you need to close 3 loops. As a result, in the 11th row, 5 loops (with hem) will remain on the spoke.

Further, the technology is repeated from 2 to 10 row. In the 6th row, 1 loop is added again. Further, the odd rows are knitted without addition, even with the addition. In this way, 10 more rows are made and to the 21 row on the knitting needles there are 10 loops (with hem). In the 22nd row, we again begin to knit a clove according to the previously described technology.

We repeat the technology of knitting the cloves to the end of the first, long side of the leg of the bactus. We knit with the addition until the moment when the maximum width of the bactus does not reach 30 cm, and the length is 1 m. After completing the next zigzag, we begin to form the second side of the leg of this triangle. To do this, first form the top of the triangle using the partial knitting method.


1, 2 row: remove the hem, knit the next 2 loops and rotate the work, leaving the remaining loops on the left knitting needle not knitted. We knit 3 loops back, and we knit the edge knit front. 3, 4 rows: remove the hem, knit 3 loops, turn and knit back as in 2 rows. And so in each subsequent odd row we add 1 knitted loop. When the number of knitted loops reaches 5, then we begin to close them as they did when knitting teeth. We close 5 loops, knit the next 2 loops from the left knitting needle and again start working with partial knitting technology. And so on until the end of the second side of the leg. We close the last loops, steam the finished product and the bactus is ready.


Share
Pin
Tweet
Send
Share
Send