Share
Pin
Tweet
Send
Share
Send
So, for starters, we select a board from which we will make a shelf. The board must be taken necessarily dry and without significant defects. It is desirable that it be smooth and not have transverse, longitudinal or combined deformation. Given the relatively small size of the shelves, finding such a board is not difficult.
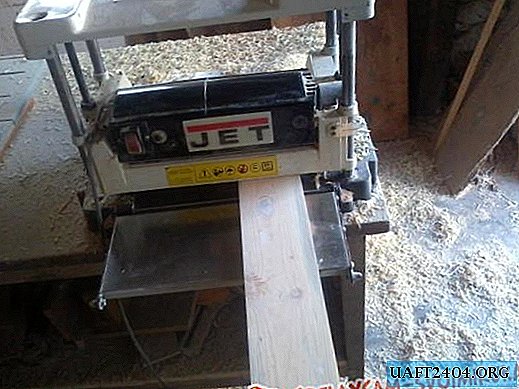
Then, on a thicknessing machine, we adjust the thickness of the boards to 20 mm, although if desired, this size can be either increased or decreased.
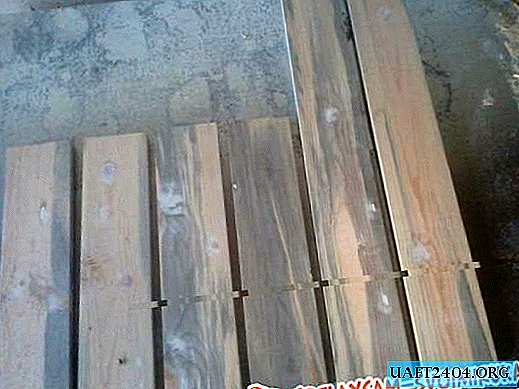
Next, with the end saw, we end the board on the blanks we need for the future shelf.

In the end, we should get two blanks 76 cm long and four blanks 46 mm long.
Dimensions are conditional and may vary depending on the intended location where the shelf will be located. The width of the blanks is also chosen arbitrarily, based on their own needs and the presence of a particular board. In this case, the width is 10cm.
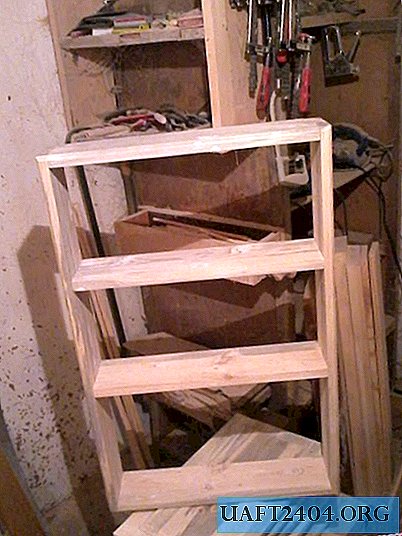
Next, on two blanks with a length of 76 cm, it is necessary to make certain marks with a pencil in those places where you plan to arrange the shelves.
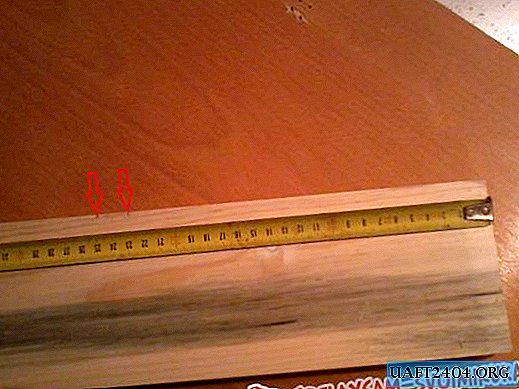
In this case, the distance between the upper and middle shelves is 21 cm (given the thickness of the shelves themselves - 2 cm), the distance of the lower shelf is 28 cm.
Now we proceed to grinding with a special grinding machine using a grinding wheel with a grain size of not more than 150 units. Doing this is necessary even if you have perfectly sharp knives on the thicknesser, and they do not leave grooves. Next, it is necessary to fill the existing defects with putty on wood (the color of the putty should correspond to the type of wood), wait until it dries, and grind again.
Now we proceed to assembly using furniture screws or wood screws according to the previously noted marks. No difficulties should arise here. Furniture screws have a more aesthetic appearance than wood screws. Although the latter can be putty and thereby hide their presence.
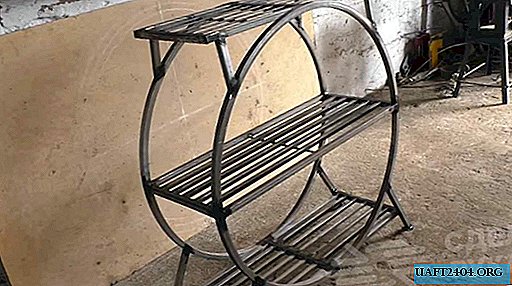
As a result, we get a finished shelf for the bathroom
It remains only to fix the fasteners on the back, open this shelf first with a stain and then with varnish. Moreover, the varnish must be applied in three layers, and after each layer it is necessary to grind with a fine-grained sandpaper (it is better to do this manually). Everything, the shelf is ready!
Share
Pin
Tweet
Send
Share
Send