There are many ways to make a silicone seam on tiles in the bathroom or in the kitchen so that everything is smooth and tidy. But, as practice and experience shows, the three simplest methods are the simplest, most convenient and effective, and even a beginner can master them.
When do you need to make silicone grout?
No matter how well you do the abutment of drywall to the walls (reinforcement or other techniques), a crack may still form at the junction with time. To avoid this, the best solution is to use silicone grout.
Please note that it is advisable to purchase cement and silicone grouts from one manufacturer and one marking - only in this case they will not differ greatly in color. Silicone grout can be applied in three ways.
Masking tape

This method is also called grouting “dry”, because in this case there is no need to wet the tile, and if you suddenly missed a section when the main seam is already formed, then it's okay - you can safely add more.
Another plus is that the tile around the seam remains clean. This method is perfect for beginners, as it allows you to make and correct errors in the work.
Soap solution

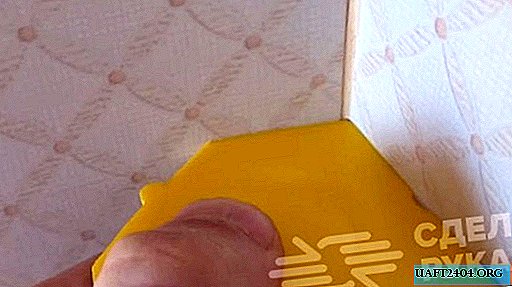
After degreasing the surface, apply silicone grout with a slight excess, then moisten the corner and putty knife with ordinary soapy water. This method is the fastest, but requires a certain skill. If something doesn’t work out for you, then you have to start all over again, because the corner is already moistened with soapy water and the silicone will not stick to it.
Detergent

This method is more universal. You will need the most common dishwashing detergent. Before applying the sealant, it is necessary to apply the detergent with a rag or sponge so that only two sides of the corner are moistened, while the seam remains dry. In this case, the silicone grout will stick only in the seams themselves
For a detailed workshop on applying silicone grout to a tile, see the video on our website.


