Share
Pin
Tweet
Send
Share
Send
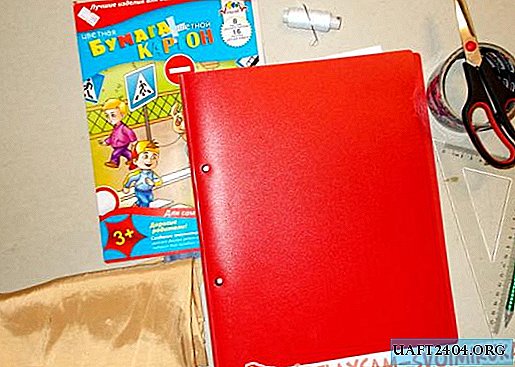
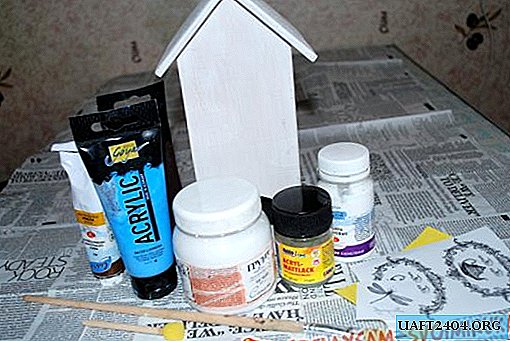
- wooden blank;
- black and white printout with the picture we have chosen;
- art acrylic primer;
- acrylic paints for creativity (brown, white, sky blue, burnt umber);
- PVA stationery glue;
- acrylic varnish for the finish coating of the product;
- brushes, foam sponges, sandpaper.
Before starting work with our house, it must be treated with white acrylic primer. Our workpiece was already sold primed, so we just had to sand it thoroughly with sandpaper to remove excess soil and level the surface. When decorating the product, we will use an interesting technique - surface aging with a "dry brush". To do this, create a lower contrast layer: we paint our future tea house with brown paint.

After drying, we pass again with a fine sandpaper. Apply blue paint, slightly diluted with water. An important point: we apply the paint with a dry brush, carefully stretching it, rubbing it on the surface.

The paint dries quickly, so we additionally rub it with a hard sponge, aligning the strokes. Once again we will go over with fine sandpaper, making small scuffs. We will “implant” printed black-and-white drawings into the surface “face in varnish”. The place where our drawing will be located, we cover with acrylic varnish. The front side of the printout is also varnished and glue the printout.

Strongly press the drawing to the workpiece, smooth it, expel all air bubbles, glue it. For reliability, it can be rolled with a rubber roller. After drying, the image from the printout in mirror image is “transferred” to the varnish. To develop the picture, it is necessary to soak the paper with water: we wet the kitchen sponge with warm water and soak the picture with it. After the paper is soaked, gently roll up the upper white layer until a black and white pattern appears. It is necessary to roll the paper away from the center very gently so as not to damage the pattern.

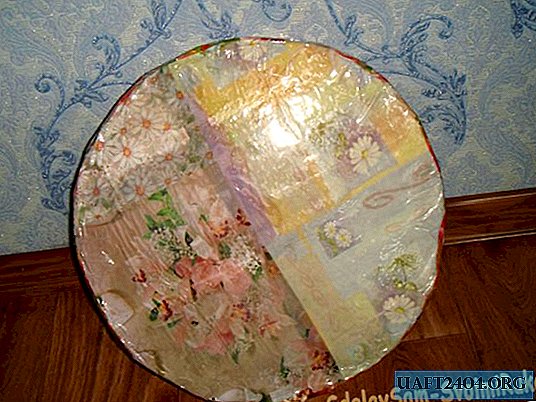
Allow to dry. To do this manipulation several times: to wet-roll-dry until all remaining paper has rolled up (there will be no whitish traces). Sushim. For the additional effect of "aging" we use the burnt umber. In order to correct possible oversights and ugly spots of the umber, before applying, we cover the house with one protective layer of matte acrylic varnish. On all the faces of the house, we will very carefully go through the sponge with the applied umber. After drying the umber, cover with several layers (3-4) of matte varnish with intermediate drying. The final result of the work is shown in the photo.


Share
Pin
Tweet
Send
Share
Send