If a short shaft is installed on the electric motor and it needs to be extended, but there is no lathe in the workshop, then this problem can be solved in another way - using the usual electric drill and grinder. Moreover, even an inexperienced person in turning matters can easily cope with this task.
The main stages of work
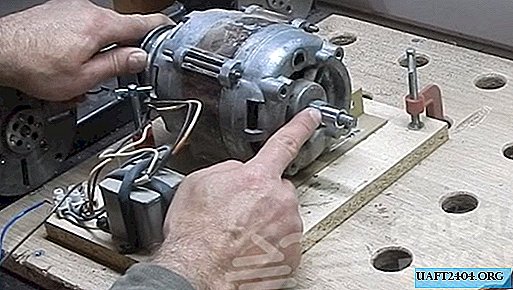
To begin with, in the end part of the motor shaft, strictly in the center, it is necessary to drill a hole with a drill of 8.5 mm, after drilling the shaft with a drill of a smaller diameter.
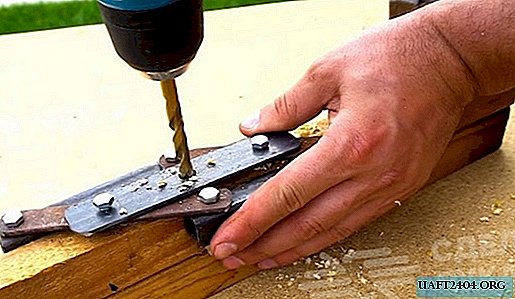
To do this is very simple - you need to hold the drill in a screwdriver or a power drill, insert it into the center of the shaft, then turn on the electric motor and, slightly pressing (but without excessive efforts), gradually drive the drill into the shaft to a depth of about 20 mm.

Then we cut the thread in the hole with a tap. Next, you need to screw the M10 pin into the hole, pre-lubricating its end with epoxy, and then screw the elongated M10 nut onto it, also for reliability, "planting" it on the epoxy resin diluted with the hardener.

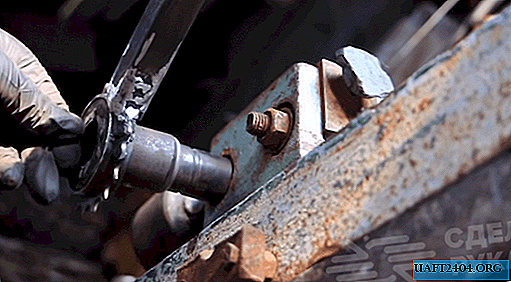
At the next stage of work (after the epoxy adhesive has completely dried), you need to process the nut - to do this, turn on the engine and use the grinder to give the “extended” shaft the desired diameter.
To summarize
In such a simple way, you can extend the shaft of the electric motor at home, if the workshop does not have a lathe or if it is not possible for some reason to turn to a professional turner for help. See the detailed process in the video on our website.


