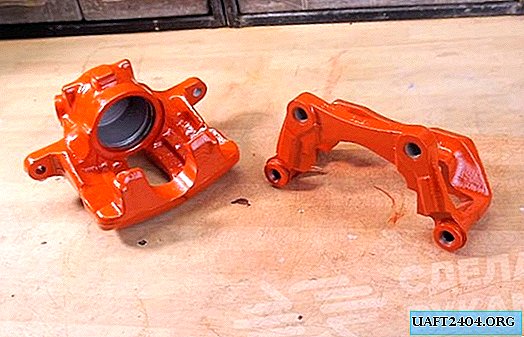
The brake caliper refers to those parts of the car that are always subject to practical repair. Even acidic and very rusty calipers can be restored if desired. Sure, you have to work a little, but you will be satisfied with the end result.

The first step is to disassemble the brake caliper into its component parts. If the bolts are very acidic, it is necessary to grease them with plenty of WD-40. The disassembly sequence is standard - first, the guide bracket for the brake pads is removed, after which it will be necessary to disassemble the cylinder.
The main stages of work

From the guide pads you need to get the "fingers" with rubber anthers. Through the hole in the cylinder we connect the hose from the compressor, after which we simply squeeze the piston out of the cylinder by air pressure - very quickly and conveniently. So take this method for yourself.

Then we soak the parts and brush them on the metal. Of course, in this way you won’t be able to completely clean the surface, so you will have to resort to sandblasting as well. Traces of rust remaining after sandblasting can be removed by an engraver with a cleaning disc.

At the last stage of work, it is necessary to degrease the cleaned surface of the brake caliper assemblies well, then we "seal" the holes for the bolts and the piston seat, after which we prime and paint. After painting, we assemble the caliper in the reverse order, replacing the "consumables" - guide fingers, anthers, o-rings, fitting and mounting bolts.