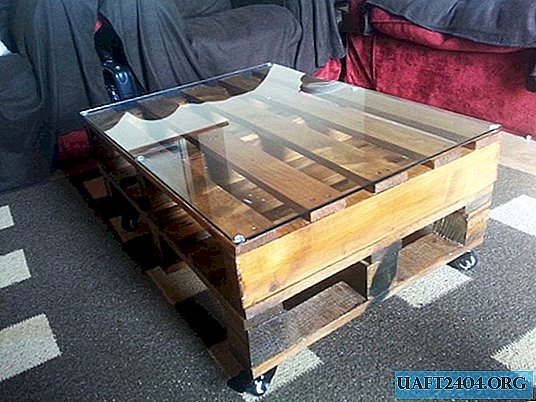
When the most accurate drilling is required, then a drill depth limiter cannot be dispensed with. You can, of course, use improvised tools in the form of blue electrical tape or masking tape, which are wound in a thick layer on the drill at the required height, and serve as a kind of guide.

However, practice shows that such "little things", concocted in haste, are far from always able to provide accuracy when drilling. Better to do it once, but reliably. And if you approach this matter with a soul, then you will get an exclusive thing.
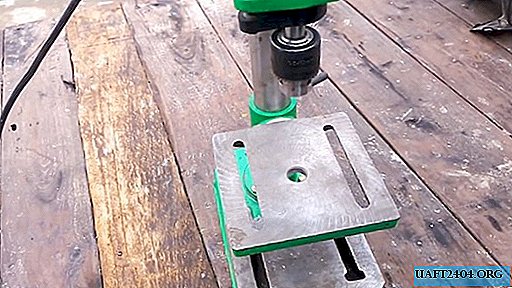
To make a depth gauge for a drill with your own hands, you will need a lathe, as well as metal billets of a cylindrical shape of different diameters. The first step is to drill a hole in the center of the steel bar. First a step drill, then a simple one.

The main stages of work
After the hole in the rod is drilled, it will be necessary to process the outer part with a file for metal to achieve the desired diameter of the workpiece. You will also need to make a small bead.

Then the master cuts the rod, turns and drills a hole of the desired diameter using a conventional drill. On the other side of the workpiece, where there is no shoulder, it is necessary to chamfer.

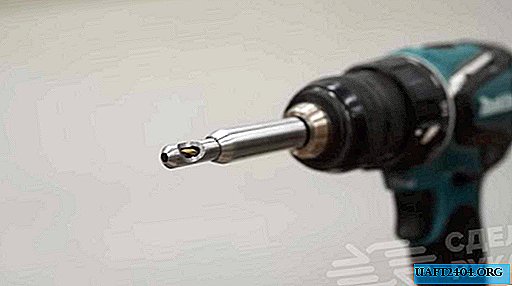
Then it remains only to make the remaining parts on the lathe and assemble the structure. For details on how to make a depth gauge for a drill with your own hands, see the video on our website.