A marking tool is often used in a home workshop when working with wood blanks. Moreover, sometimes a marking tool is much easier and more profitable to do with your own hands than to buy in a store.

To make the body of a homemade marking tool, you will need a wooden block. You will also need a piece of a round stick of suitable diameter, a pencil and other details.
The main feature of this device is the possibility of its "fine" adjustment during operation. The tool itself can be easily and precisely adjusted by simply changing the angle of the pencil.

Marking tool manufacturing process
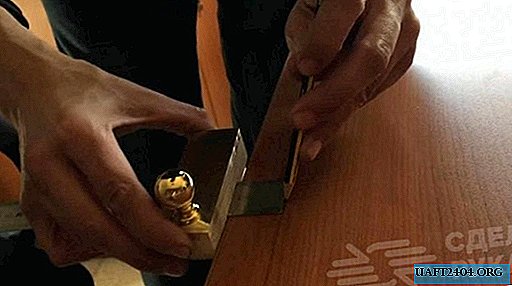
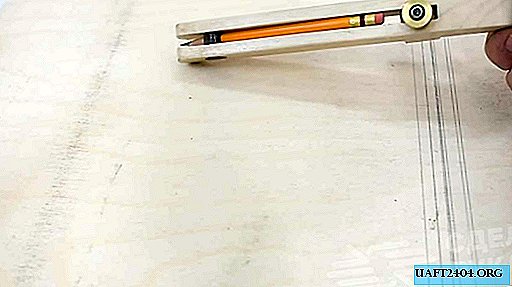
First you need to cut the size of a wooden block. Then, on a circular saw, the master makes a longitudinal cut along the thickness of the pencil. And closer to the edge of the workpiece you need to drill a through hole.

In the next step, you will need to cut a small piece from a round stick, suitable in diameter to the hole drilled in the bar. The resulting “finger” must be inserted and hammered into the hole, and cut off all excess on the sides.

Further in the “finger” it remains only to drill a hole for the pencil, and you also need to make a “head”, which will allow you to set the required size. It is fastened with a stud and a round nut.

For details on how to make a convenient marking tool for working with wood and plywood with your own hands, we recommend that you look in the video on the website.