Not all home workshops are spacious enough to install large-format machines in them. Therefore, sometimes you have to do with various home-made devices.

In this review, we bring to your attention a fixture for planing large workpieces made from a manual milling cutter. The main material is plywood.
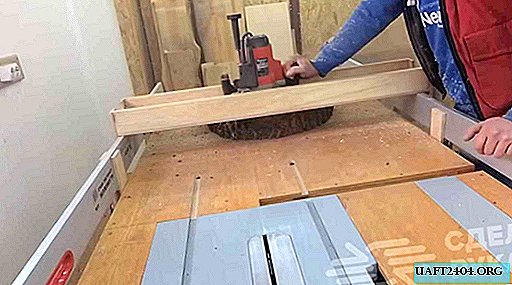
First of all, it will be necessary to saw 12 rectangular blanks on a circular saw. And six small pieces will need to be glued to six blanks.

The main stages of work
In the next step, you will need to cut out the grooves in the blanks, and connect them using a square block. As a result, six support posts should be obtained.

The racks themselves will be fixed to the workbench. To do this, drill holes in the table and racks. To attach the racks to the workbench, the author uses long bolts.

Then the support posts are attached to the workbench. Due to the presence of the grooves, they can be fixed at the desired height. A long level is inserted into the racks themselves. Three racks are required on one side of the workbench.

At the last stage, a rectangular box is made from pieces of plywood. From one of the ends you need to cut a semicircular hole (under the milling cutter handle) using a circular saw.

Now it remains only to choose a longitudinal groove for the cutter in the box, and you can proceed to the final assembly of this device.

For a detailed manufacturing process of tools for jointing from a manual milling cutter, see the video on the website.