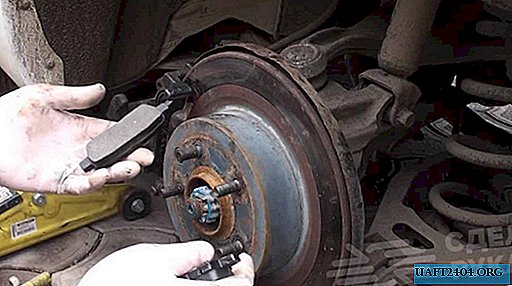
It would seem that it can be difficult to replace brake pads? Many car owners do this on their own without contacting a service center.
However, it should be noted that some points are not even known to many car service workers. For example, did you know that there are wear indicators on the brake pads and are installed on only two pads?
There are other subtleties that many are unaware of. In this review, we will tell you how to properly install a block with a wear indicator.

By all rules, the brake pad with wear indicator must be installed on the inside. That is, not from the side where we can observe the wear of the block, but where the hydraulic cylinder is.
Features of installing brake pads
It often happens that the "fingers" stick and the caliper stops swimming, as it should normally swim. Because of this, increased wear begins. Moreover, it is from the inside where the hydraulic cylinder is located.

When installing the brake pad, the wear indicator, which creates a creak, must be placed in the lower part, since the rotation of the wheel during normal travel (this applies to the left side) is counterclockwise.
Why so? Yes, everything is simple! When there is maximum wear on the pads, the indicator is erased, clinging to the disk, and accordingly, all the "waste" just fly to the ground.
When the indicator is installed at the top, creaking will also occur, but all wear products from the disk and the indicator itself will fall directly under the block (between the block and the disk), and therefore there will be increased wear on the brake disk.
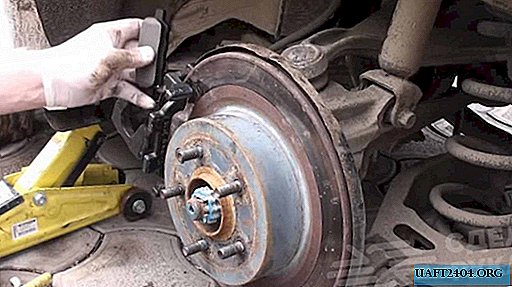
To summarize. The block with the wear indicator must be installed on the side of the hydraulic cylinder, namely on the inside and in the lowest position, that is, in the direction of rotation of the disk.
For details on how to correctly install the brake pads on a car, we recommend that you look in the video on our website.


