In this review, the author shows a practical way to install electric hoists in a home workshop. The same method can be applied in the garage.
The article will discuss directly the method of suspension of electric hoists, as well as the manufacture of beams and carriages.
Usually, an I-beam is used to suspend electric hoists. However, you can simply weld two channels together, and get the same I-beam.
In this case, the author uses two channels, but combines them in a slightly different way. This shape is due to the design of the carriage for electric hoists.
The main stages of work
For the manufacture of beams, the author uses channel number 10. They must be cleaned from rust. At least in those places where welding will be performed.
Two pieces of the channel are welded together using metal plates. The gap between the channels is approximately 15 mm.

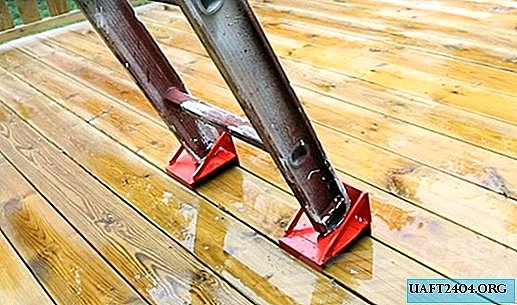
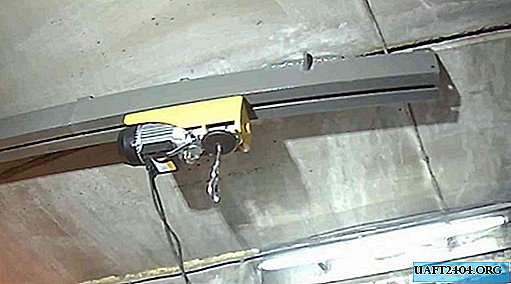
At the next stage, the author attaches the beam to the ceiling, and then paints - to protect against corrosion and a more aesthetic appearance.
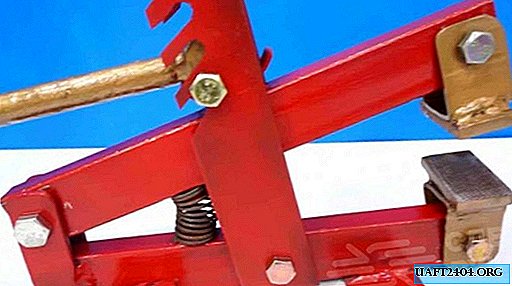
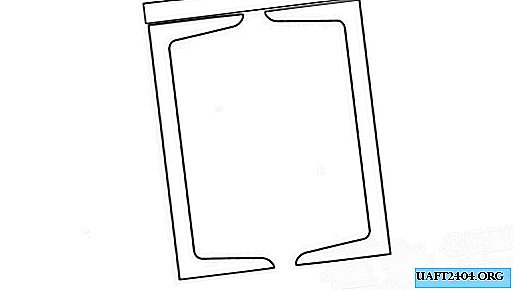
Next, you will need to cut two pieces of metal with a thickness of 10-12 mm and weld them together at a right angle.
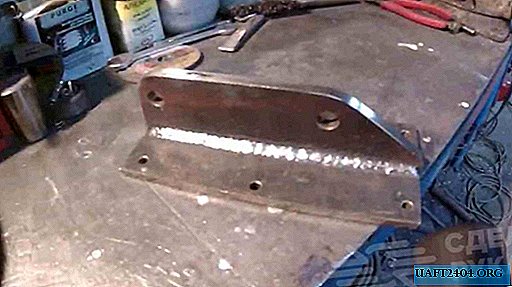
Previously, it will be necessary to drill holes in the plates. After welding, we clean the seams and paint.
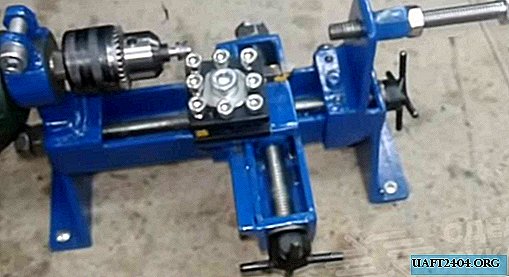
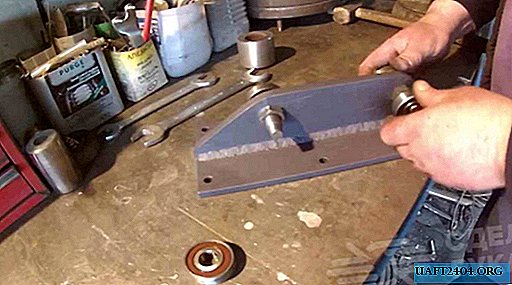
We install four bearings, after which we attach the electric hoist to the carriage. True, at first it will be more convenient to install the carriage inside the beam, and then only attach an electric hoist to it.

For details on how to install electric hoist in a workshop or garage, see the video below.