Share
Pin
Tweet
Send
Share
Send
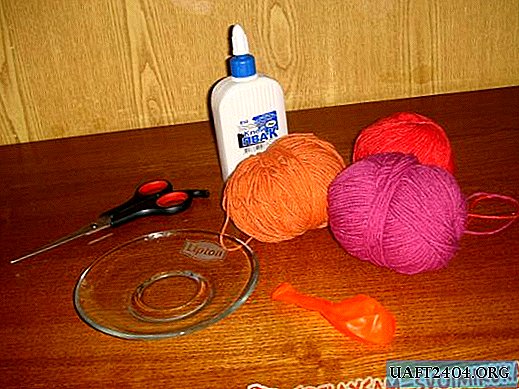
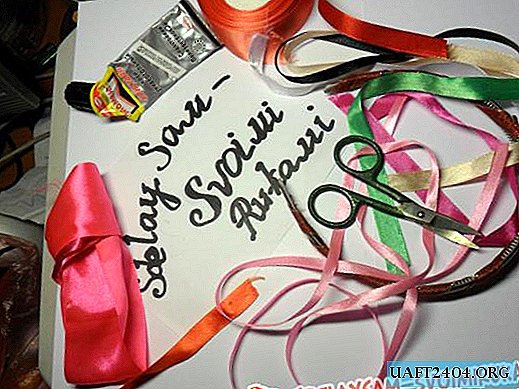
So we need:
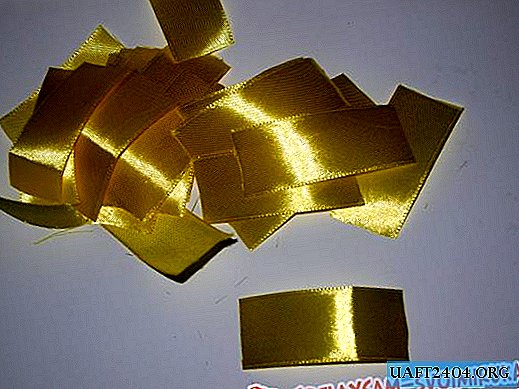
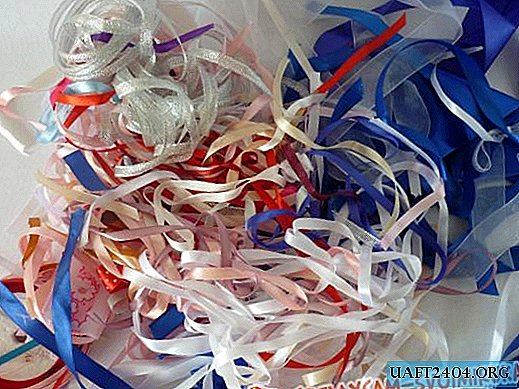
1. Satin ribbon of different colors and different widths.
2. Scissors
3. Matches or lighter (for fusing the edges of the tape)
4. Glue.
5. The rim.
You can proceed.
First, we will prepare roses for our rim. This can be done in many ways. I'll tell you about the easiest way.
1. Using only tape, glue and your own sleight of hand. At first, the tape can bloom several times, turning from a twisted rose into the same tape.
To prevent this, it is better to take a hard tape

start twisting the edge of the tape
It looks something like this:


This is the middle of our flower
Take and bend the tape
It turned out such a corner
Twist it around the center of the circle


Again we bend the ribbon and press it from the bottom and continue until the rose "blossoms", this is the wrong side - we melt the edge of the satin ribbon and glue it. This “front side” will align the flower with your hands, spreading the petals.
2. Tightly wrap a green satin ribbon around the rim.


She will hold roses and at the same time be the background, creating the effect of leaflets. Now we sew the roses to the wound ribbon.

You can create roses of different sizes and sew them in several rows - large, small, or make roses of the same size and sew them in one row, creating a thin bezel. It all depends on your taste, the length of the hair on which the bezel will “sit”. I made one row of flowers, diluting it with bigger roses in places.


If the edges of the green satin ribbon stick out a little - it’s okay - we will nicely fix them in the form of additional sheets, bending the ribbon in several places.


Share
Pin
Tweet
Send
Share
Send