Share
Pin
Tweet
Send
Share
Send
However, it should be borne in mind that the angle grinder and drill differ both structurally and in operational characteristics. If these factors are not taken into account, then you can quickly "plant" the drill or, even worse, spoil the workpiece.
Will need
To implement the planned symbiosis, we, in addition to the grinder, will need:
- drill chuck;
- threaded template;
- tap M14 × 1.25 mm with a screw;
- twist drill and other working nozzles;
- electric speed control.
The sequence of installation of the drill chuck on the angle grinder
For the implementation of this work, it is sufficient to have some locksmith skills and the most common tools and devices.
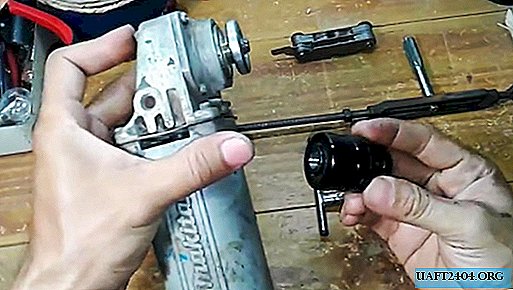
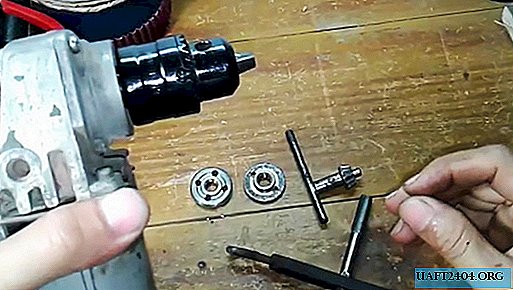
Installing the chuck on the grinder spindle
Remove the washer from the spindle shaft, placed under the equipment of the grinder before tightening.
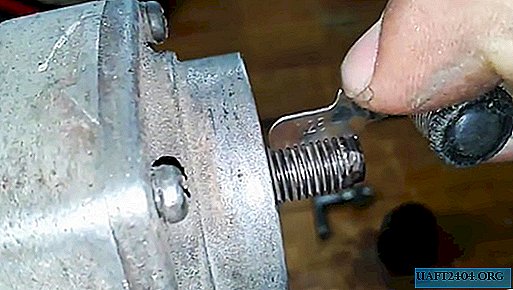
Using a threaded template, measure the thread pitch on the spindle shaft, which turned out to be 1.25 mm. Then its general designation will be this - M14 × 1.25 mm.
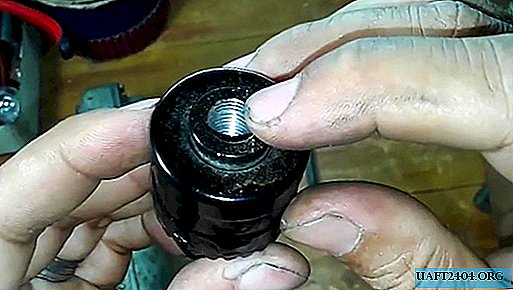
The landing hole of the most common type drill chucks has an M12 internal thread. It turns out a clear mismatch with the thread on the spindle shaft of the grinder.
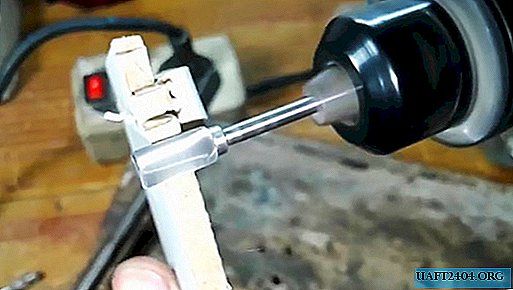
To coordinate these two details, we drill a metric thread in a drill chuck up to M14 × 1.25 mm and use a hand tap with the same geometrical and cutting characteristics to cut the thread in the pastron.
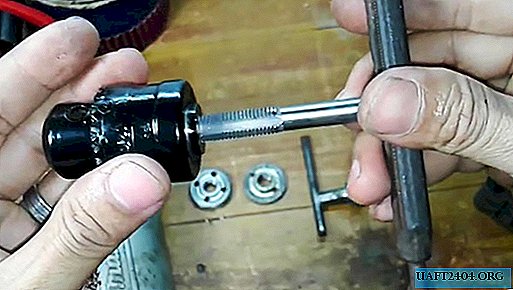
Now the drill chuck can be accurately, firmly and reliably mounted on the threaded shaft of the spindle of a universal grinder.

Need for speed control
It will also be quite out of place to pay attention to the range of spindle speeds of the grinder, which varies from 6 to 12 thousand revolutions per minute depending on the given mode. At the same time, for ubiquitous twist drills, the most suitable speeds are 250-1200 rpm.
To coordinate the revolutions of the grinder and the tools fixed in the chuck, it is necessary to connect the angle grinder to the network through an electric revolutions controller, with which the spindle speed can be adjusted and changed, both in the direction of decrease and increase.

Collect it is not difficult, read how -//sdelaysam-svoimirukami.ru/4447-kak-sdelat-regulyator-moschnosti-dlya-bytovyh-priborov.html
The practical results of installing the cartridge on the grinder
Now, having fixed the drill in the chuck and having set the optimum drilling speed in the tree, we can use the grinder to make holes as easily as using a conventional drill.


We replace the drill in the chuck with a cutting disc, and setting the necessary speed for this tooling, we carry out the operation of cutting sheet material (plastic, sheet metal, cardboard, etc.).


By installing the grinding wheel on the grinder spindle and setting the increased speed using the speed controller, we can quickly and accurately sharpen the twist drill.

Replacing the grinding wheel with a peeling wheel, at the same speeds, without any difficulty, we put in order the chisel stub, mount, etc.
After installing the cutters in the chuck, it is possible to process the edges with ease and high performance and chamfer on parts made of wood, plastic and soft metals.

Having fixed the polishing equipment in the cartridge, we can polish any metal surface to a shine.


So, installing a drill chuck on a grinder not only gives this tool the functions of a drill, but also allows you to perform many operations in places that are not available to it.
Share
Pin
Tweet
Send
Share
Send