Share
Pin
Tweet
Send
Share
Send
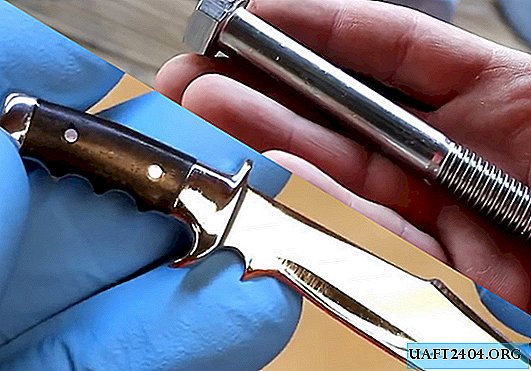
Let's turn a stainless steel bolt together into a compact masterpiece that, pleasing to the eye, will be very durable, sharp and even ready for use for its intended purpose.
Manufacturing process
The order of work is quite certain. We select a suitable stainless steel bolt.

We clamp it in a vice and cut off the head of the bolt with a grinder with a cutting disc.


Slightly trim the grinding wheel under the head.

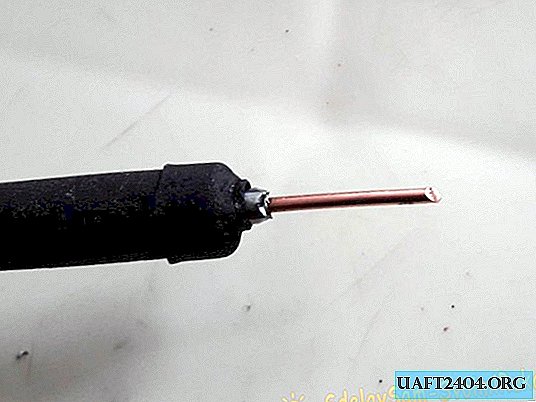
Holding the bolt with pliers by the thread, we heat the bolt from the other edge to the red with a gas burner.

Then, on a vise anvil with a hammer, we form a knife blade. Repeat heating and forging until the original shape and dimensions of the blade are reached.


In order not to be mistaken, we apply a partially processed blank to a knife drawing of natural sizes. The projection of the metal blank should overlap the pattern in all sections.

After that, we clamp the workpiece in a vice and process it with a grinding disc, removing forging defects, removing excess metal from both sides.
Carefully cut the knife pattern with a scalpel out of paper, put it on the workpiece and draw a marker in all the details.


We again clamp the workpieces in a vice and with a grinder with a peeling and cutting disc, we draft the knife profile in accordance with the applied projection.


Then we continue the processing with a round file, and most of all this refers to the transverse profile of the handle of the knife.

We handle the side profile of the handle with a dremel with a small cutting disc.

Excess metal on both sides of the workpiece is removed on the grinder.


We smooth the sharp edges on the workpiece with a round file, and we form the profile with a small milling cutter mounted on the spindle of a mini-drill.


Grinding and final polishing of the knife is done manually with emery paper with decreasing grain size.
From the oil-soaked wooden block, we cut the overlays for the handle of the knife with a jigsaw.


We bring them to the desired shape and size on the grinder, while simultaneously correcting parts of the blade.
We prepare two-component glue. Glue the pads to the handle on both sides. For a reliable connection, we compress them for a while in a bench vise by placing wooden protective bars on the lips.


After making sure that the pads are firmly held on the handle, we carry out their final processing with a hand file.
We drill two through holes in the pads and the handle with a drill with a suitable drill.

We insert the pins, which should fit tightly into the holes, and hold firmly there. We cut off their protruding parts on both sides with a dremel or grinder.

We clean the ends of the pins on the grinder and form the blade of the blade, pressing it to the endless emery tape with a cork from under the wine to ensure a uniform and not hard clamp.
The final refinement of the handle with pads is carried out on a mechanical emery with a polishing disc, pre-processing on it a wooden workpiece.

It remains only to sharpen the blade of the blade sequentially on three bars with decreasing granularity, and placed in a bath of water.
The sharpness of the blade is such that it easily cuts the delicate and thin hairs on the back of the hand.


For the safety of sharpening and reduce the impact of adverse factors, as well as for safe wearing or storage, the cover will not hurt. You can sew it from a piece of genuine leather.

Total
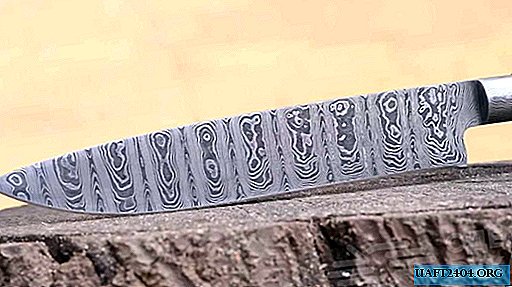
Our work was not in vain: the knife turned out to be beautiful in profile, proportional in size and very sharp.


Share
Pin
Tweet
Send
Share
Send