Share
Pin
Tweet
Send
Share
Send

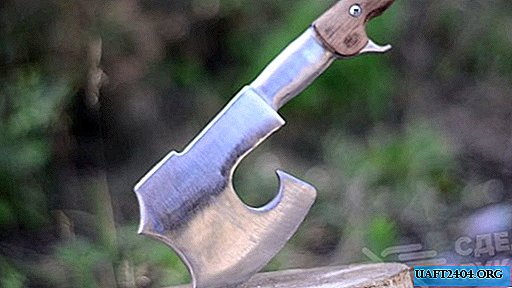
A Bluetooth headset, wireless headphones, an MP3 player, and many other miniature gadgets with microaccumulators can be useful even after a long time out. Some people, especially not bothering, simply send a failed or outdated gadget to the trash. But in vain. If the unnecessary miniature device does not damage its battery, it can be easily adapted to other everyday objects, such as a remote control from a TV or stereo system, a wireless computer mouse or a laser pointer for playing with pets. All standard micro-batteries have an output of 3.7 V. And devices running on two finger (little) batteries consume 3 V. from two batteries in total. So a micro battery for replacement, instead of batteries, is what you need. My relatives and acquaintances sometimes bring me, a kind of broken junk, and I will always find use for this trash. All remotes and a wireless computer mouse, I work from microaccumulators, which, in turn, are charged from the charger for the phone. In any case, this is better than constantly changing batteries that have exhausted their energy resources, which sometimes may still not be at hand. For lack of more remotes for modernization, I decided to set an example on a laser pointer.

Would need
- Laser pointer.
- Micro battery.
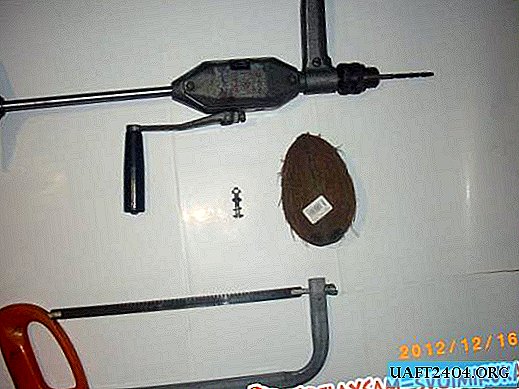
- Soldering iron with tin and flux.
- Drill.
- Thin copper wires in isolation (preferably red and black, to avoid confusion).
- Plug-in socket and plug-in plug (mom-dad).
We use a microaccumulator
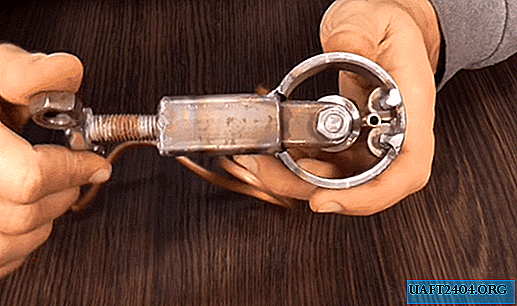
So, let's begin. We remove (screw) the lower part of the laser pointer housing, in which two pinky batteries are placed and remove these batteries from there.

In the bottom of the case, from the outside, having previously made a punch mark, we drill a hole for the plug-socket.


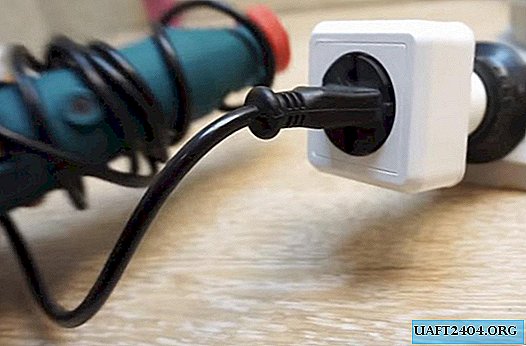
Since in my case the case is metal (brass), I took a round plug so as not to bother with cutting a suitable hole, but any other one can be installed if desired. Next, solder the microaccumulator wires to the plug-socket in accordance with the polarity of the plug-plug on the charger.

Thus, we have made it possible to charge this micro battery as necessary. Do not worry about the lack of a charge level indicator: the charge controller board is installed on all micro batteries, it is visible through a yellow film, so that the battery does not swell and does not tear from recharging, the controller will simply turn off the power supply when charging is complete. Two to three hours for a microaccumulator is enough to recharge from any charger suitable for voltage. So now we look at the polarity; how the batteries were located in the laser pointer and, accordingly, solder the leads of the battery to the laser according to the polarity - plus to plus, minus to minus. In my case, the plus was on the ground, so I just soldered the outer part of the plug-socket, which had a positive polarity, right in the hole to the laser body. Well, I extended the minus with a long black wiring to the laser spring (minus) and also soldered it.


Now just connect (twist) the whole structure into one, as usual. It remains only to bring in a decent appearance a soldered plug-socket in the housing. To do this, take sandpaper and remove with it all the excess and sticking out of the junction. You can polish it all with felt and goy paste.

Now we charge, and use!
Thus, you can upgrade everything that has replaceable batteries and where the microaccumulator can fit.
Do not use batteries with a damaged shell or lack of labeling !!!
Share
Pin
Tweet
Send
Share
Send