Share
Pin
Tweet
Send
Share
Send
In fact, these are technical developments that are not so difficult and expensive to do at home with your own hands.
One of these options, based on a brushless DC motor, we want to introduce today. The author proposes to remount such an engine from the washing machine into a generator, re-soldering the leading stator coils in a special way. After such a rework, the engine can be used for a wind turbine. And if you equip it with a water intake device like a Pelton turbine, then you can build a hydroelectric generator.
Necessary materials and tools
As you probably already understood, today we need only the engine itself from the washing machine. The author used an inverter DC motor from the American Fisher & Paykel washing machine. Similar engines are used in their products by LG, which is present in our domestic market.
We will also need:
- Soldering iron, flux and solder;
- Hot glue;
- Fine-grained sandpaper - nulevka.
Tools: nippers, pliers, paint knife.
Proceed to remount the engine
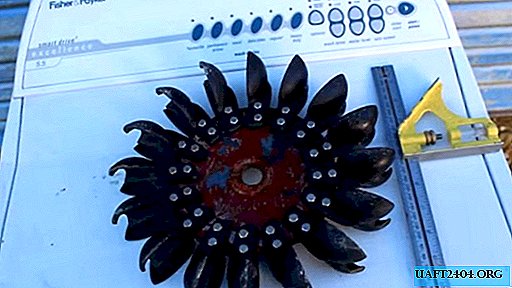
For operation, it will be necessary to dismantle the engine from the machine body. It consists of three main parts:
- Stator - a round platform with leading winding coils located along the outer edge of the circle;
- Rotor - a cover, plastic or metal with a plastic core. Permanent magnets are placed around the perimeter of its inner wall;
- The shaft is the central part of the engine, equipped with bearings for transmitting kinetic energy to the drum of the washing machine.
We will work directly with the starter.

Stator preparation
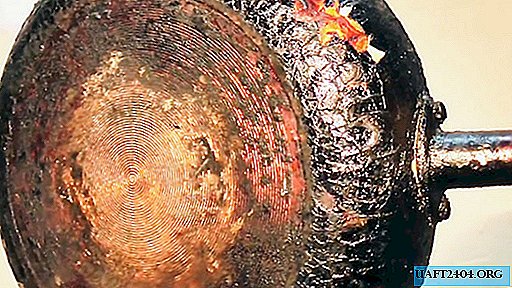
We place the engine platform on the table, and get to work. Our goal is to solder the phase connections according to a different scheme than the original (photo).


For convenience, you can mark groups of 3 coils with a marker. We cut each of the 6 outputs of the coils with wire cutters according to the scheme.


The cropped edges must be bent with a screwdriver or by hand, so that later it would be more convenient to work with them.


We clean each contact with fine-grained sandpaper to improve adhesion.


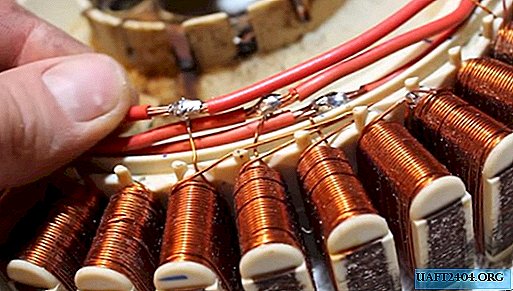
When everything is ready and cleaned of garbage, we connect together every second group of three contacts. Manual twisting is reinforced with pliers.


We solder the twist with a soldering iron using a flux, and solder it with tin solder. Unlock the twist, and solder it from the back. We do the same with the rest of the contacts. As a result, we should get seven twists.


Phase loops
We clean the contact group used to supply power to the engine.


Now you need to loop the remaining 3 phases. We select the ring for the first phase. We make it from a piece of copper stranded cable. We mark and cut it to the size of the inner circle of the platform.


We expose the insulation at the junction with free contacts, and strip them with sandpaper. We begin to solder the ring from the contact group, passing each of the seven, we end with the last contact. For reliable connections we tie the end of the contact on the ring.


We loop the second and third phases by analogy with the first. Care must be taken not to solder adjacent contacts with each other.


Insulation application
Our alteration of the engine under the generator is ready. It remains only to isolate the adhesions on the ring and coils. An alternative method was used by the inventor, using hot glue as an insulator.

According to him, such isolation has never failed. However, for those who are not sure about this method, it is worth using electrical tape. At the end of the work, the engine is assembled and can be used in the prefabricated design of the generator set.
Share
Pin
Tweet
Send
Share
Send