Share
Pin
Tweet
Send
Share
Send
I like hiking. I also like to cook. But I am negative about burning non-renewable energy sources.
So what alternatives can you offer? Obviously, you can just light a fire, but this is not allowed in all places. For a simple warming up of a pan with food, I leave a large amount of wood.
Therefore, I set myself the goal of making something portable and wood-burning.
I came up with the idea of a rocket furnace earlier this month, so the choice of device has already been made.
Search for a cylinder for helium and its cutting.
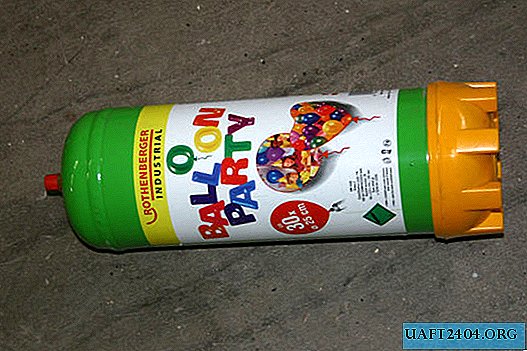

The main part of a portable rocket furnace consists of an old helium cylinder.
I found two from my friend, who recently won the wedding.
Empty the cylinder. Helium does not burn, but opening a vessel under a pressure of 295 atmospheres is not a good idea.
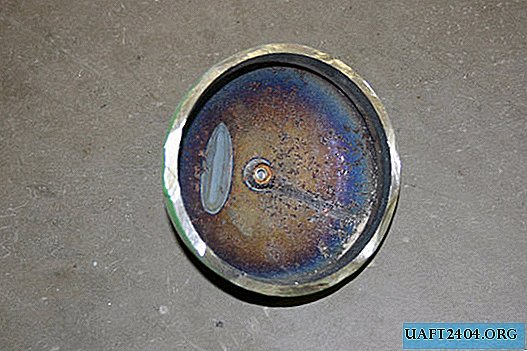
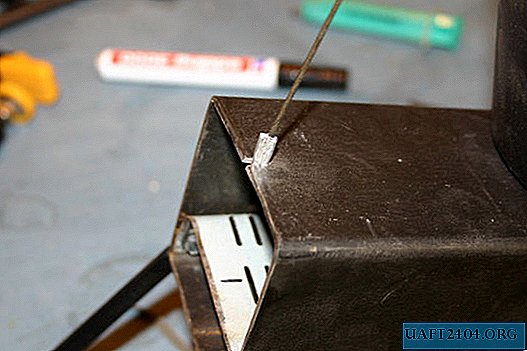
Cut off the top and make a hole on the side. The size of the hole depends on the size of the fuel tank.
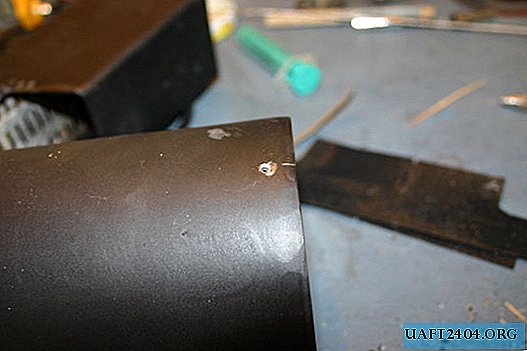
Profile pipe preparation

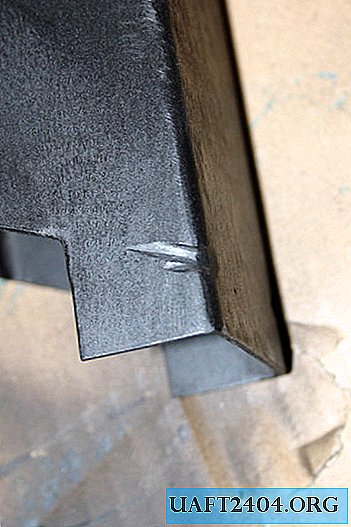


The fuel supply must be arranged so that the flame freely reaches the upper part of the housing. In the profile pipe, you need to add a cutout so that it is more convenient to connect to the body.
Even when supplying firewood through the fuel hopper, we need to ensure the free passage of air into the furnace. For this purpose, I used a metal grill shot from an old radio.
Emphasis for construction

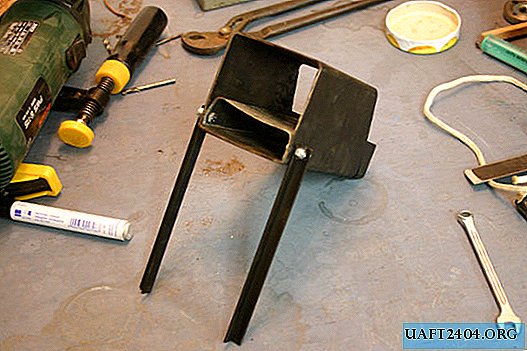

For the stability of the structure, it was necessary to make two legs for the fuel hopper.
I held everything together. Feet and grille for controlling air flow through the walls of the fuel hopper using locknuts.
The nylon ring of the nut will not be exposed to excessive heat, as it is far enough away from the firebox.
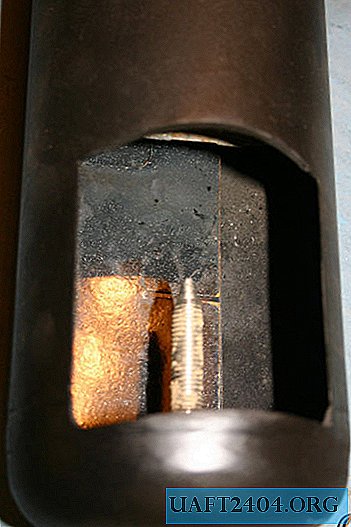
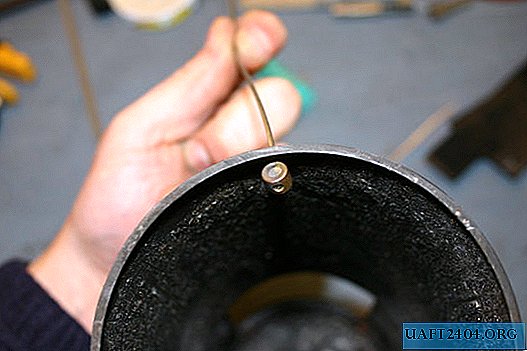
Spike for stability

To increase the stability of the furnace, add a spike at the bottom of the container. To do this, I welded a nut to the cylinder.
I made a hole in the lower part through, so that for convenience during transportation, the spike can be fixed inside.
Heating surface

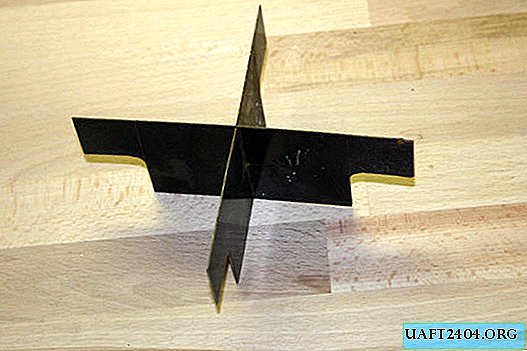

In order to put a pan on the stove, you need to make a heating surface under it. I made it from an old baking sheet.
It is easier to work with such material, and it is strong enough to withstand even heavy kitchen utensils.
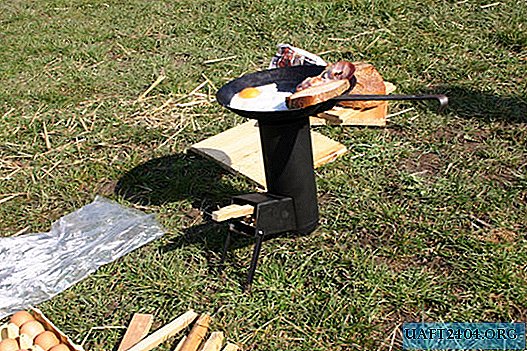
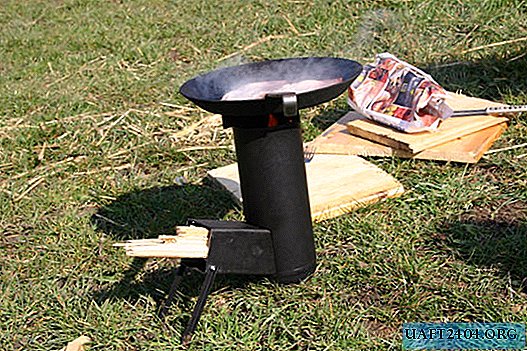
We carry out the first assembly of the camp furnace


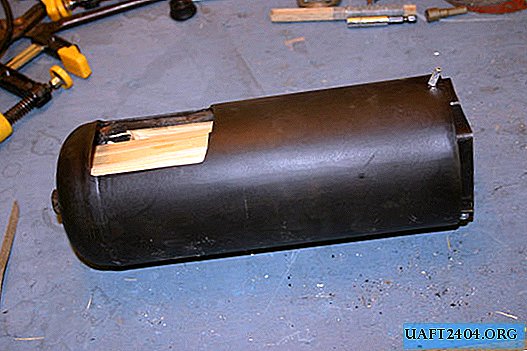
This is what the assembled stove looks like. I processed its surface with a special paint that can be heated to a temperature of 800 ° C.
We disassemble the furnace


For transportation, all parts can be disconnected from the housing. All parts are sized so that they can be placed inside the furnace, and so that they do not rattle during transportation (except for the heating surface) ...
We use all the space


The sounds made during transportation by the disassembled heating surface seemed annoying to me, so I filled the free space of the stove with firewood. So I came to the conclusion that it would be useful to have some dry wood for kindling.
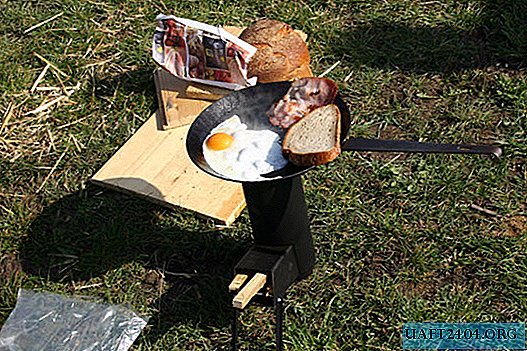
Enjoy cooking outdoors

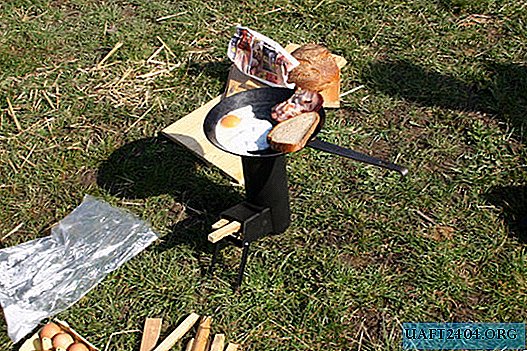
I tried to fry bacon and eggs. You can even cook a whole pot of beans.
Thanks to the oven for a complete cooking you need only a couple of logs. And the wood will burn out completely, almost without creating smoke.
We increase the stability of the structure (housing)

It's time to improve the result.
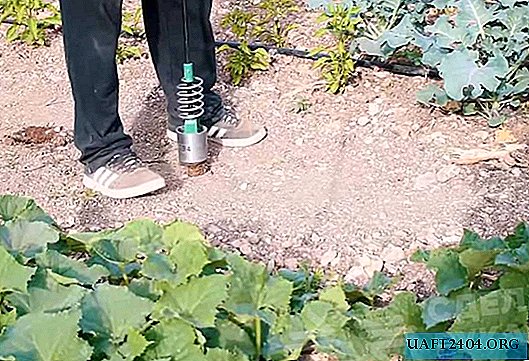
The stove came out generally successful, but a little unstable. To improve this feature, I used a cable from the brake system of the bike, adding a hole in the case.
We increase the stability of the structure (fuel hopper)
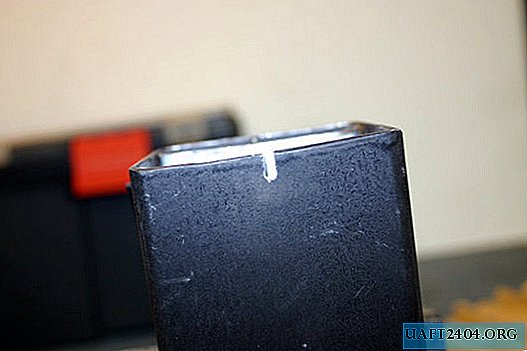

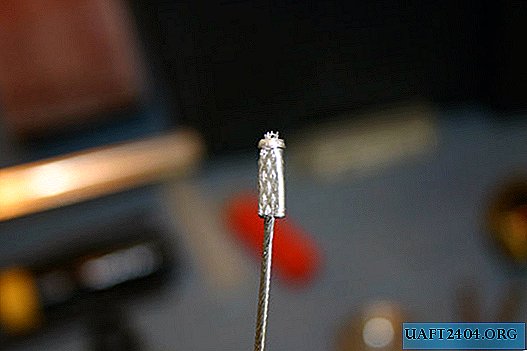
Then I did a small cut at the top of the fuel hopper and flattened the cap at the end of the cable.
We increase the stability of the furnace design


Now you can fasten the base with the fuel hopper.
Thus, the furnace has become much more stable and has not undergone major changes in terms of transportation.
Watch the marching furnace test video
As a test, I made a wonderful dish of stewed beans. Two hours faster than at the stake, and the smell is just a miracle ;-)
Original article in English
Share
Pin
Tweet
Send
Share
Send