Share
Pin
Tweet
Send
Share
Send
It is also one of the most expensive components, so the wrong choice, connection and use can lead to failure of both the hard drive itself and the computer. And this is very unpleasant and costly.
To avoid this, this article will discuss the main ways to connect hard drives to a PC.
Types of connectors for connecting hard drives
So, the main connectors for data transfer between the motherboard and the hard drive are SATA and IDE.
IDE is an outdated version of connectors.


Now they are practically not used. Only if you assemble a PC from used components, can you still purchase a disk with such a connector. It can cost a little cheaper than SATA. Also, older motherboards can only have an IDE connection. In this case, the appropriate disk is needed.
Sometimes, of course, you can purchase different adapters, but this is an extra headache and additional expenses, and sometimes incorrect operation of the equipment.
SATA connectors are more modern and therefore have a higher data transfer rate than IDE. It can reach 3 Gb per second.

The SATA data cable looks like this.

The cord is small in width. Connectors consist of a minimum number of contacts. The connector having a l-shaped form is connected to the hard drive. Direct - to the motherboard. Full connection is accompanied by a loud click.

To pull the cord, you need to press the metal lever on the connector and gently pull. It is not necessary to make a lot of effort when disconnecting, since you can tear out the socket itself from the motherboard. Make sure that the latch is fully released.
IDE cord has a wide loop and a large number of contacts.

To eliminate the connection error, the connector has a side cutout.

Most often, cords have several connectors. One for the motherboard and two for IDE devices - two hard drives or a disk and a CD / DVD drive.

As for motherboards, they can have:
1. Only an IDE;
2. IDE and SATA;
3. Only SATA.
The latter is applicable in modern top-end motherboards. Having such a board, it makes no sense to buy a disk with an IDE connection, even if it is attractively cheap.
Winchester Power Cord Connection
It is easy to guess that the power connectors in these two types of drives are different.
For an IDE, it has this form

There are four contacts and they are quite powerful.
For SATA - wide connector with rotation on the edge.

Thanks to this turn, it is practically impossible to connect the cord incorrectly.
A lot in this moment depends on the power supply. The early ones may not have connectors for SATA devices at all. But it's not a problem. Here a special adapter will come to the rescue. Its cost is cheap.


Modern power supplies already have several SATA cords.
All this must be borne in mind when assembling the PC so that there are no problems with incompatibility and, as a result, spending money on different adapters.
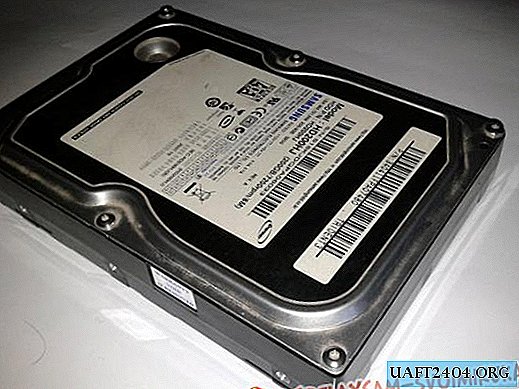
HDD installation
Choose a "shelf" in the case where to install the hard drive. Too low a setting will not provide enough good heat dissipation from the bottom of the drive. Overheating is not permissible.
Too high installation can be difficult due to RAM strips and other equipment. It all depends on the features of the motherboard and the connectors on it.

Avoid static electricity that can damage not only the hard drive, but also other PC components. To do this, take off your synthetics and woolen things. Also, before each manipulation, touch a grounded object - it may be a heating battery or a water tap. So you can remove the static from yourself.
Carefully insert the disk with the open part down, and try to combine the holes on the case with the threads on the hard drive. When everything matches, we tighten the screws.

It is very important that the screws are not too long, otherwise the disk may be damaged. Usually recommend 3mm screw length.
Be careful when handling the hard drive. Excessive shaking, bumping, falling, etc., can damage an expensive device.
When the screws are tightened and the hard drive is tightly fixed in the case, we connect the cable. First to the motherboard, then to the hard drive.
Connection SATA connectors.


Next, connect the power cable. In the photo, the power connector for IDE devices.

Power supply with power connector for SATA drives.
IDE / SATA adapter.
Everything is very clear in the photo. The voltage used is 5 V, 12 V. and GND, that is, a common wire connected to the housing.
All connections are made only when the PC is disconnected from the network.

When all the cords are connected, turn on the computer. The disk should make a sound of rotation, and on the front panel a red LED glowing, signaling its operation.
Share
Pin
Tweet
Send
Share
Send