Share
Pin
Tweet
Send
Share
Send
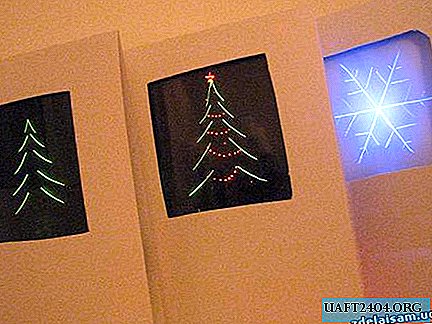
To make pictures, we need to determine the pattern. I chose a Christmas tree - simple and tasteful!
I took plexiglass and cut it off. The size is arbitrary. You can also take plexiglass from the CD case.

Then, with a felt-tip pen, he drew a contour beyond which the drawing would not protrude. The color of the felt-tip pen does not matter.

My next step was to apply a picture to glass. I took a sharp scalpel. Plexiglass is easily scratched, but you should not be zealous, as it can burst.
The deeper the grooves, the brighter the pattern.
The drawing is ready. We erase the felt-tip pen. Here's what happened:


Affairs highlight. It is necessary: an LED and a 3 volt battery. If you conceived a stationary picture of large sizes, with a large number of LEDs
then you can power them from the unit.

The next step is pasting with black tape the edges of the glass, so that the light does not pass where it is not necessary. And we glue on both sides.


Do it yourself frame for the picture. I got a wonderful white cardboard under my arm. I bent it like a postcard and cut out a window under the glass with a margin so that the electrical tape was not visible.


Next - the assembly of two parts, glue one to the other.

Then doubts began to torment me - which background to choose? On white it is hard to see in the light, but for that it is better to see in the dark ...

Stopped on black ...

It seems to be all, but I did not stop there. I decided to attach red garlands and a star to the Christmas tree. To do this, put another layer of plexiglass with garlands, but their
now the red LED has begun to highlight.


It turned out super!
I liked it and I started to create my collection:
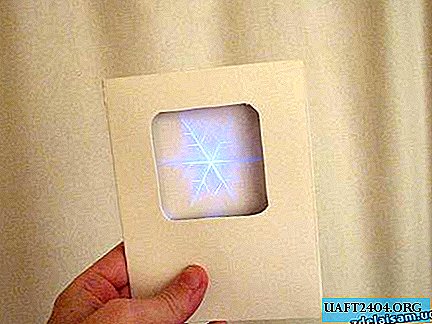
Here the background is bluish - I painted the glass on the back with blue paint, after applying the drawing of course:

And for a snack - a snowflake:

It is done by punching with a needle:

Thank! Good luck
Share
Pin
Tweet
Send
Share
Send

