Share
Pin
Tweet
Send
Share
Send
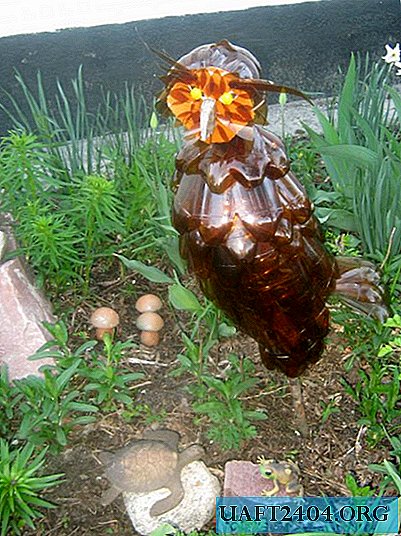
For the manufacture of such an owl you will need the following materials:
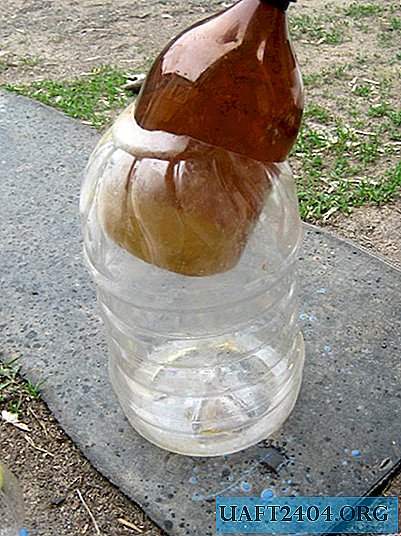
- a 5 liter round bottle (for the body).
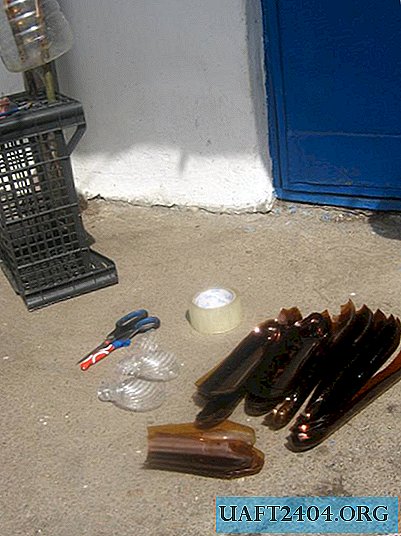
- a lot of plastic bottles of different sizes (0.5-2.5 liters). It was on this bird that about 15 such brown bottles were consumed. When choosing containers, you need to ensure that the surface is flat without embossed inscriptions, spikes - although such material can only be used under the bottom, since the spikes and inscriptions will be visible at the top.
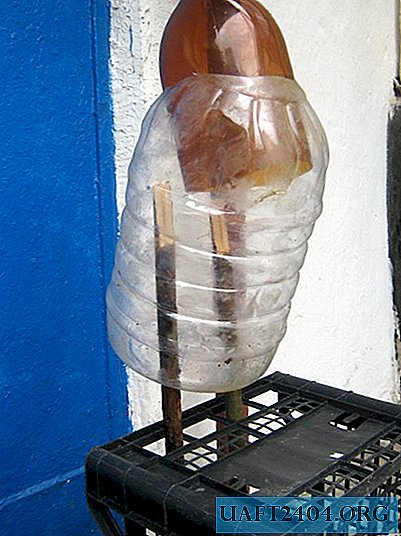
- it is necessary to provide material for the paws (in this case, these are simple round sticks, but the part that will be painted inside is not visible).
- polystyrene from the packaging for the "face" of the bird.
- a tool for work: scissors, a small knife, a construction stapler with brackets, pliers, an awl, wire, adhesive tape.
Now you can start collecting the body. It is necessary to cut with the help of a knife, scissors the neck and the hole for the paws.
Next, you should insert your legs and you can make a support from a plastic box, like a stand for convenient work on the bird.
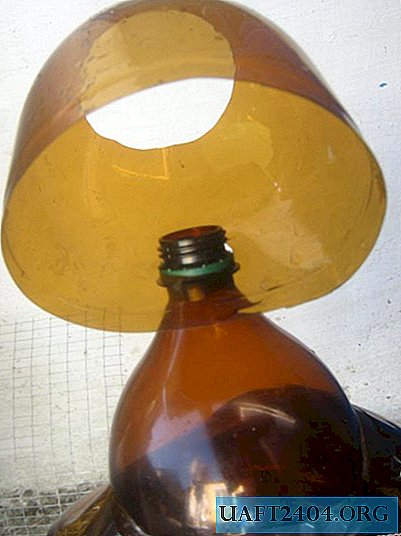
Cut the “hips” for the bird out of the necks of the bottles, but for the best fit, you need to make an incision with a 1 cm cavity, as in the photo, so there will be a tight connection of the thigh without a gap.

Using a knife and scissors, we cut feathers, 5 large feathers are obtained from 1 bottle. To do this, completely cut off the neck with a knife. Then you need to cut with scissors from the neck in a straight line to the bottom, so you get strips - feathers. The bottom itself needs to be captured 0.5 cm (for volume), on the bottom section it is necessary to help with a knife, since the plastic is thicker there.
The upper part of the feather, which is near the neck, needs to be adjusted beautifully with scissors and made a V-shaped neckline.

First of all, hips are made separately. To do this, large feathers are cut in half, fastened with a stapler in 3 rows, but the staples need to be bent by themselves using pliers.
With the help of an awl, a hole is made to attach the finished hips to the body with a wire.
Separately, the tail is made, you need to fold 5 feather-beds, fasten them with wire. Make an incision in the body and insert the finished tail.
So ball by ball, starting from the bottom, feathers are attached. To make it convenient to bend the staples, the neck (brown neck) needs to be pulled out, and when the whole body is in feathers, insert it again.

For the head, you can use the neck with a large round bottle. Cut the neck and make a cutout for insertion on the body.
Then you need to attach the feathers to the back of the head in 2 rows. You can start to face. Draw the outline of the eyes, cut out the nose from the foam, paint it. Then it’s worth sticking your nose, but you need to choose a special glue, because ordinary shoe melts polystyrene. When the nose dries, small feathers are cut out and glued, you need to start placing symmetrically around the eyes. In this case, glue was used for foam products.

Next, you need to collect the head, put it on the body.
For wings you need a building metal mesh, feathers, a stapler. To give the grid the shape of wings, you need to use pliers.
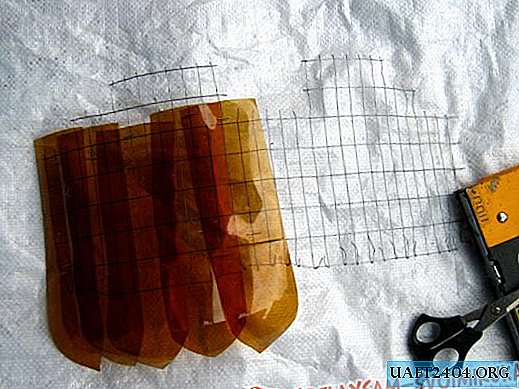
And make wings in 3 balls, but the upper corners of the feathers will need to be rounded with scissors.

Attach the wings with a wire to the body under the feathers. You can install a ready-made owl on the site. This craft will give the site life and inspire new plastic pets.
Share
Pin
Tweet
Send
Share
Send