Share
Pin
Tweet
Send
Share
Send
Necessary materials:
- ceramic vase blank, it can be purchased at any store for creativity;
- acrylic paints;
- acrylic lacquer;
- a napkin;
- the file is transparent;
- glue for decoupage or PVA;
- scissors.
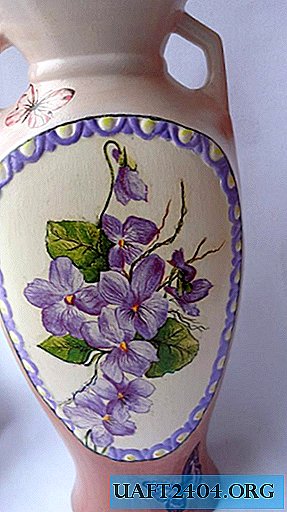
1. In the store for creativity, we purchase a blank of a ceramic vase of the size and shape of your choice.

2. With primer or flesh-colored acrylic paint, paint over the central part of the vase, the place where our main drawing will be located.

3. We will paint our vase with brown acrylic paint, and we will try to make a gradient (stretching the color from light to darker). The lower part of the vase should have a deeper brown color, and the upper - light. In this case, the transition between the colors should be smooth.

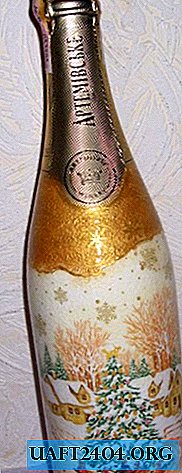
4. We will decorate the vase using the "decoupage" technique. To do this, take a napkin with the picture you like, in this example it is violets. Carefully pull out the desired fragment from the napkin, this must be done to ensure that there is no clear edge of the fragment when gluing. Separate the top layer of the napkin, it is with him that we will work.

5. Put the fragment on a file or transparent film, spray water on top, so as to completely cover with water.

6. Carefully, with a brush, straighten the folds on a napkin, expel the resulting bubbles from under it, if there is a lot of water, remove it by holding the file vertically.

7. Attach the file to the vase with the pattern down, smooth and carefully remove.

8. On top of the picture we cover with decoupage glue or PVA glue diluted 1: 1 with water.

9. We draw a decorative element around the perimeter with a thin kitten using acrylic paints.

10. Supplement the central composition in the form of violets, for example, butterflies. To do this, gently tear out the small fragment in the form of a butterfly from the napkin, separate the top layer.

11. In sufficient quantity, moisten with water.

12. Using a brush, straighten the formed folds.

13. Turn the file over and gently glue the butterfly. Repeat this procedure as many times as necessary.

14. If the picture is interrupted somewhere, paint on with acrylic paints.

15. For best results, tint the edges of the glued piece with paint. To do this, lightly move the sponge through the place where the napkin and the vase come in contact.

16. The second side of the vase can be decorated in the same way, or you can show a little imagination.

17. Our vase is ready, it remains only to wait for it to dry, and cover it with several layers of acrylic varnish.


We wish you success.
Share
Pin
Tweet
Send
Share
Send