Share
Pin
Tweet
Send
Share
Send
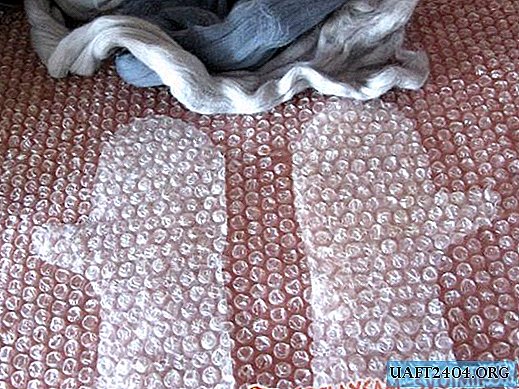
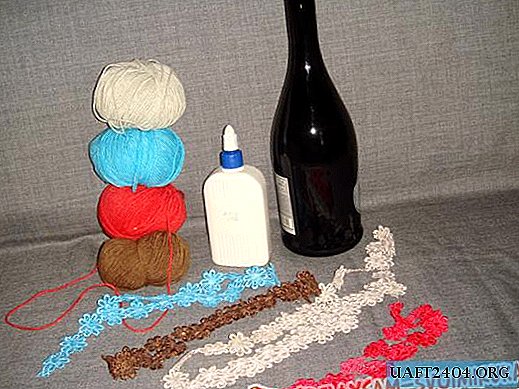
For children's mittens, it is better to take wool in a combed ribbon of good quality. Its fibers have a length of 15 - 18 cm and completely cover the pattern along. Both mittens are laid out at once. I pull the fibers out of the tape with thin strands that uniformly close the pattern.

The next thin row lies across the fibers. The layout should be so thin that the oilcloth is visible through it.

Dry fibers are very mobile. They can shift even from a small draft. In order to prevent this from happening, they need to be moistened. There are many ways to do this. One of the simplest is to carefully pour a solution of olive soap.

With soapy water, the layout is watered along the contour. This should be done slowly so that the coat does not move. After that, everything is covered with a pimply oilcloth.

When the layout is covered, you need to gently press it down with your palms. At the same time, soapy liquid is evenly distributed throughout the coat. After that, roll the stick along and reproach several times.

The work is three-layer. On both sides of the oilcloth, in the middle of a wet-soap layout. In this form, it is easy to flip to the other side. This is what needs to be done.

Open oilcloth smoothly, slowly. The wool that protrudes beyond the edges of the pattern is tucked inward. In places of smooth bending, cuts can be made with scissors.

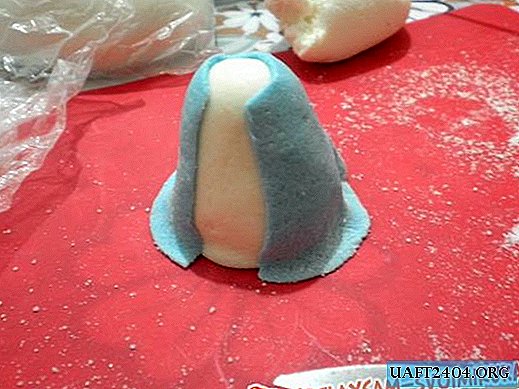
The most vulnerable spot in mittens is located near the thumb. Sometimes when laying out the fibers do not lie evenly. These places need to be further strengthened.

To do this, work is covered with oilcloth. Flips to the side where the wool is laid out. Small woolen strands are applied to weak points.


The layout closes again, flips. The wool is wrapped inward. The non-closed part on the pattern is covered with fibers along and across, similarly to the first side.


The process is repeated. If the wool is the same in thickness, but of a different shade, then all the flaws in the work that are not difficult to fix are clearly visible. The product is more durable if laid out in several thin layers. The third and fourth layer buries a pattern on both sides.


To make the bottom edge even, you can use a small rectangular piece of oilcloth, with which the wool with the edge is wrapped inward.

For the decor, plant fibers of nettle, banana, bamboo, corn, hemp and many others are used.

They are laid out on the front side of the mittens in random order with a thin layer.

After that, the layout must be turned over and everything, even small threads, should be tweaked, wrapped in a pattern.

Mittens are repeatedly rolled with a stick up and down. When the wool is “grabbed”, they are rubbed on a peppy cloth until they become strong enough and sit to the desired size. This process usually takes several hours. After that, the finished gloves should be rinsed well using cold and hot water. You can dry on the battery.


If desired, you can apply the drawing by dry felting.


Share
Pin
Tweet
Send
Share
Send