Share
Pin
Tweet
Send
Share
Send
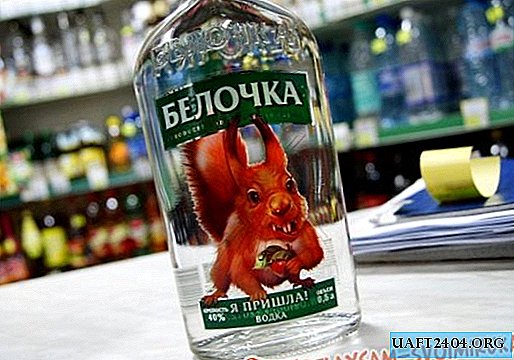
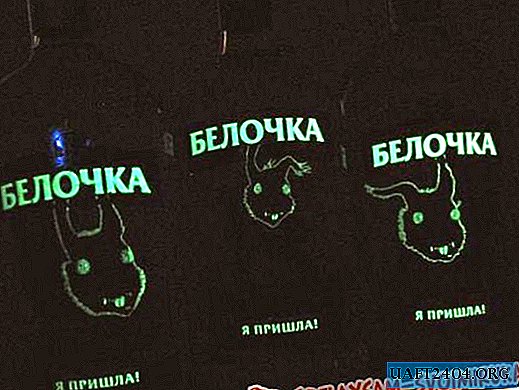
Some elements on the label glow with vodka in the dark:
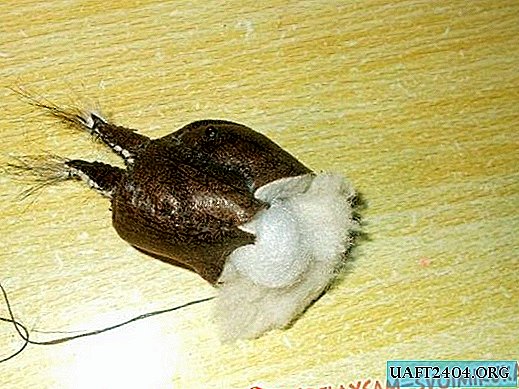
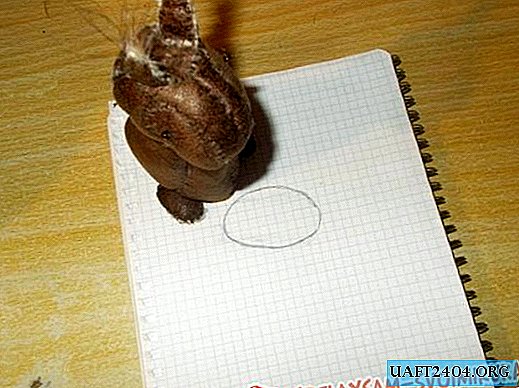
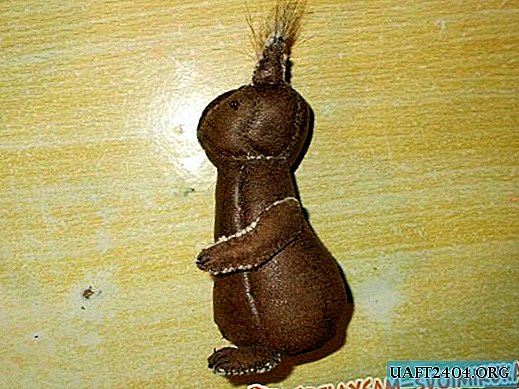
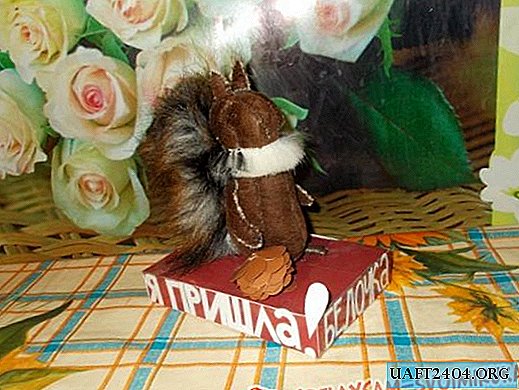
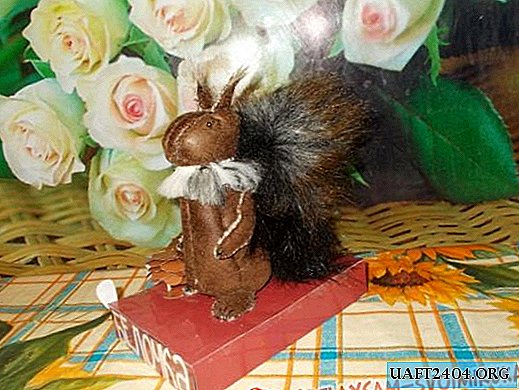
We took the idea for work from her, but only decided to make it so that it looked harmless. I present to you a photo of a finished craft:

This funny toy is created against alcoholism and drunkenness.
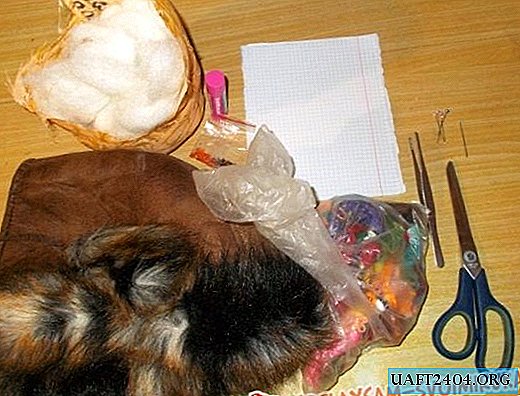
I give a list of everything we needed to make the squirrel:
1. Hood from an old leather coat;
2. Scissors, threads, needle;
3. Tweezers, cotton wool, beads, glue;
4. Paper for the image of the model.
Here is a toy model:

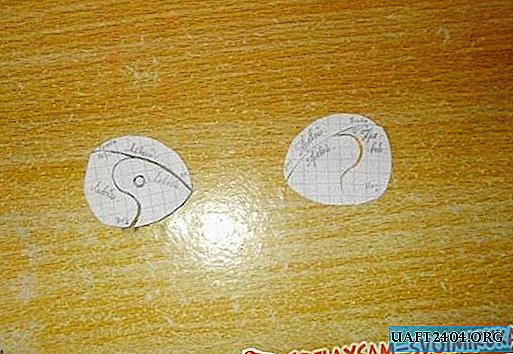
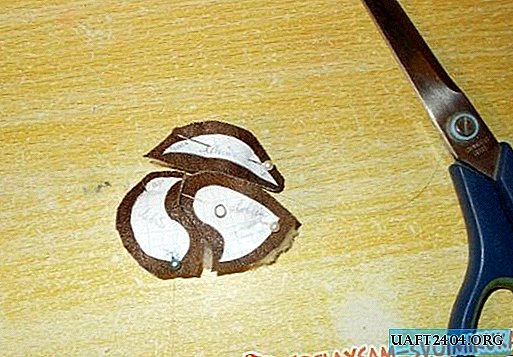
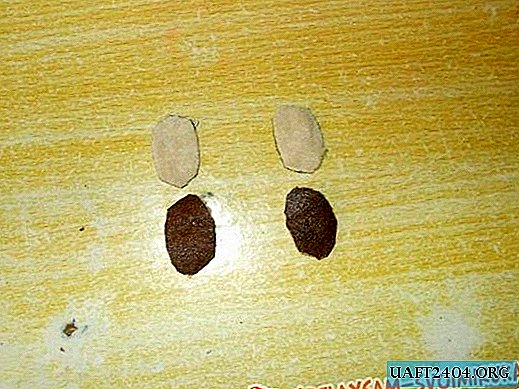
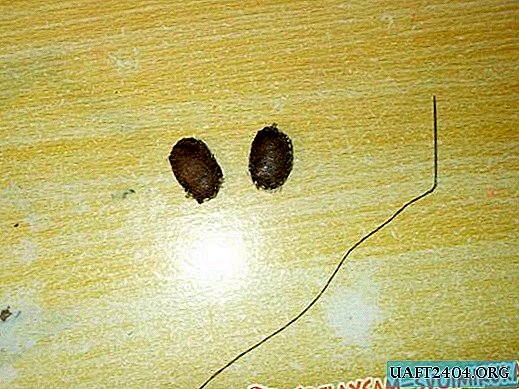
Having drawn the head model from two sides on a separate sheet of paper, we cut out:

We divide each model with scissors into three parts, signing the sides of each of them to correctly assemble when sewing:
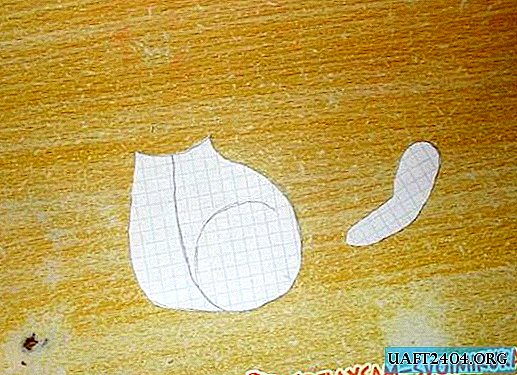
Here are the torso and foot patterns:
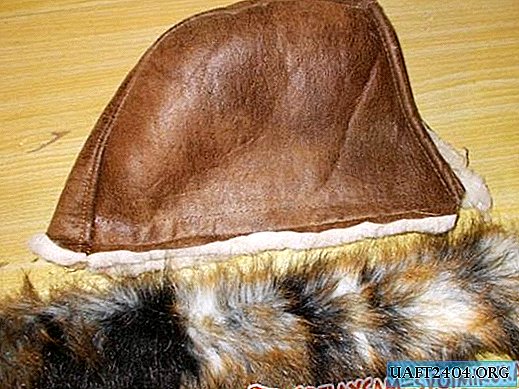
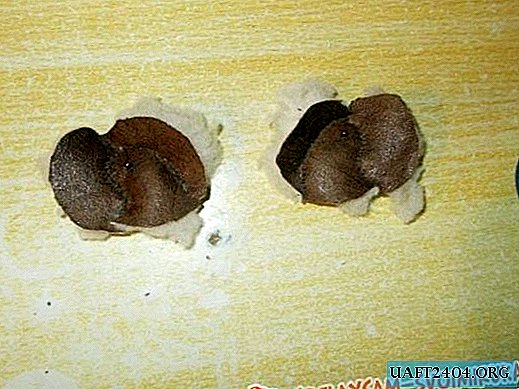
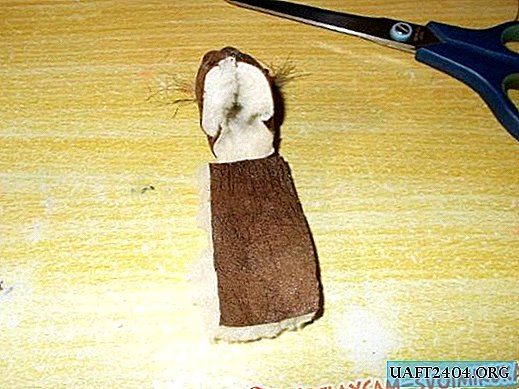
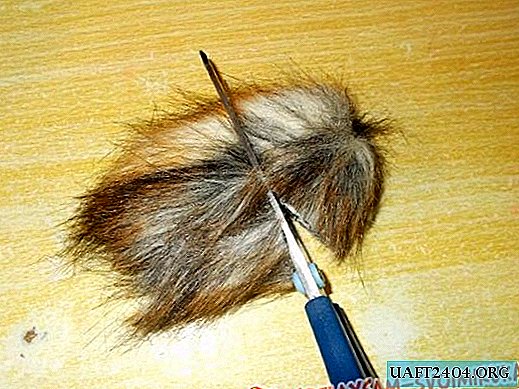
Now we take the hood and carefully cut the fur part sewn from both sides from it:
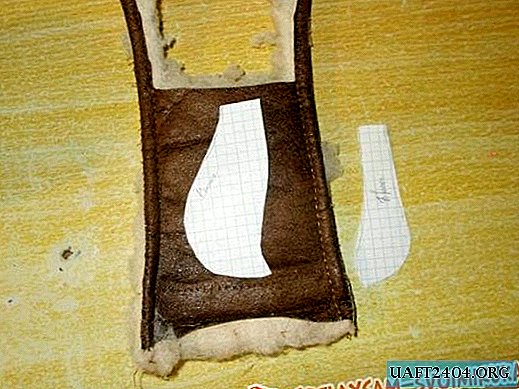
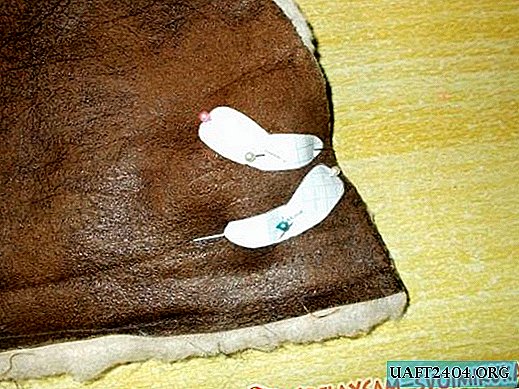
We take paper samples of the head and pin them to the trimmed part from the hood:
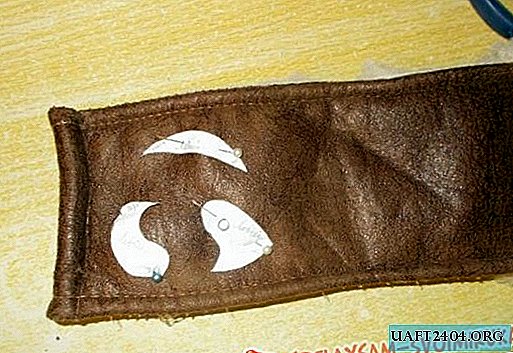
Carefully cut them, leaving areas along the edges for stitching:
We pin samples of the other side of the head:

After stitching together the samples, we make eyes from beads:
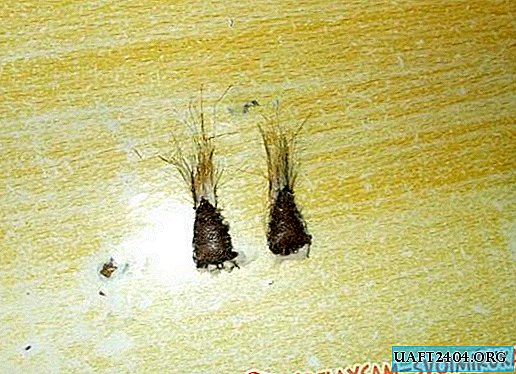
Next, cut out ears that are suitable in size to the head:

On the upper tips of the ears we will make fur brushes, but before sewing on the fur, glue it so that it does not crumble:

Sew together outside models:
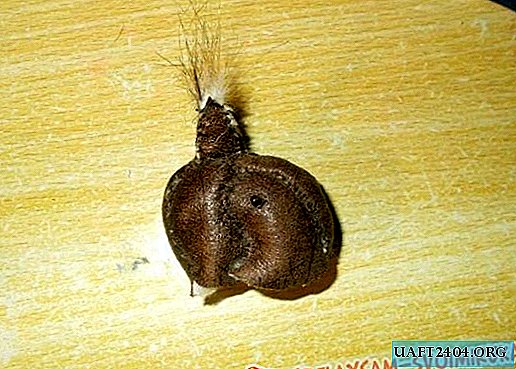
Now we make the occipital part and the back of the head of the squirrel, using only one piece of material for this:

Here's what the finished head will look like:
There is a lot of wool in the inside of our material taken for cutting. This wool half filled the head of the squirrel, and it took half as much cotton wool.
Cutting a piece of tissue of a suitable size, we form the lower part of the squirrel's head:


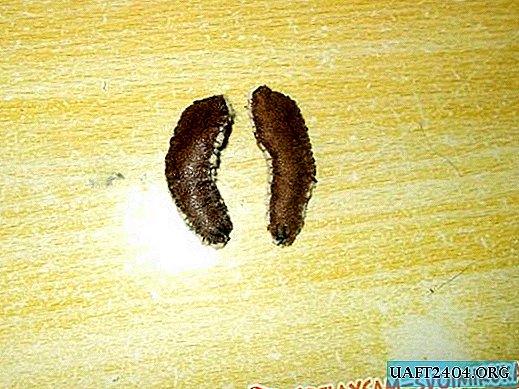
Now we take up the manufacture of the body. Having cut the sample into two parts, in turn we cut out the constituent segments of the trunk from the fabric:
Here are all the tissue segments that make up the body:

Now we compare the models matching the model and sew them together:


Combine both of these sides into one, you get the torso:

Next, sew the finished torso to the head and fill it with cotton:

We make paws:
Sew paws to the toy:

We make a sample on the sheet of paper for the lower side of the body, and then pin it to the fabric and cut it out, and then sew it to the toy. We also do the front paws.

Sew the finished front legs to the squirrel:
Now we take a small piece of fabric with fur and cut a small part from it:
We form several fur rags out of it and one of them weave around the neck of a squirrel, and then we sew its edges (i.e., without sewing on the toy itself):


Now cut off a piece of fur fabric, suitable in size to our toy, and take a thick wire. These things are needed to make the tail:
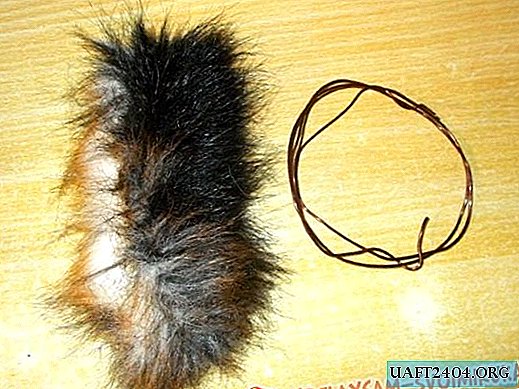
The desired wire size is determined by giving the wire a suitable size for the tail. The lower tip is inserted into the toy, bending it down strongly:

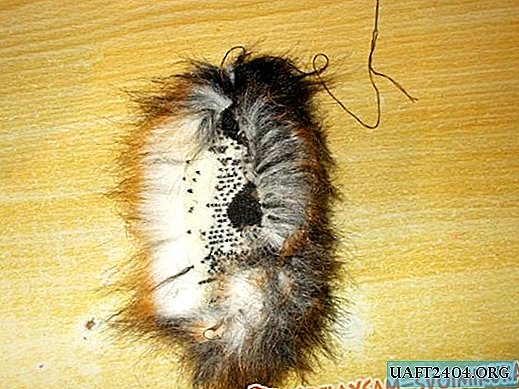
The old seam in the fur piece of fabric should be torn apart, and a new one should be made, and then put on the wire, forming the tail:

We remove the extra sticking wire and sew the tail to an almost finished toy:

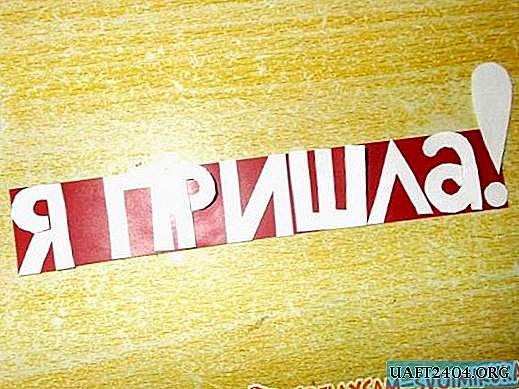
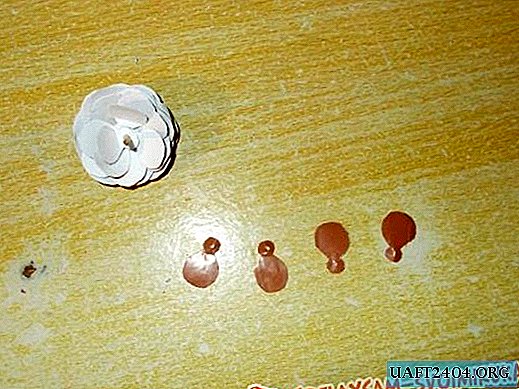
If desired, a thin layer of fluorescent paint (a paint based on a phosphorescent pigment that accumulates light energy when illuminated) can be applied on top of the squirrel eyes with a thin layer. In the dark, these colors give off the stored energy of light. After processing the eyes, the beads on top can be pasted over with transparent tape. Let's get down to making a platform for our toy. On this platform there will be an inscription: "I have come!".
We take three - four cardboard sheets, several sheets of colored paper, glue and scissors:
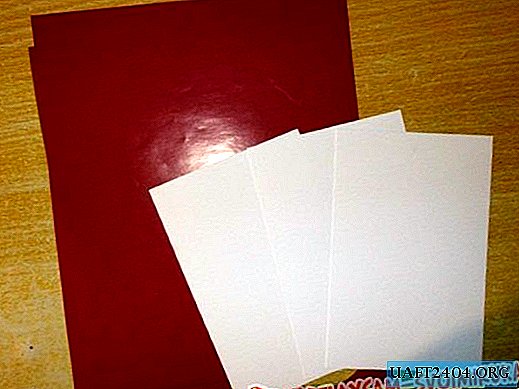
We cut out rectangular colored shapes matching the size of cardboard sheets for six sides of the future platform from colored paper and glue them together:
These are the sides:
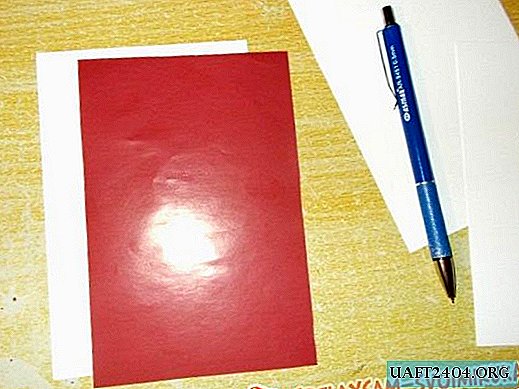
Glue color paper to cardboard rectangles:

On a separate side, we make the inscription:
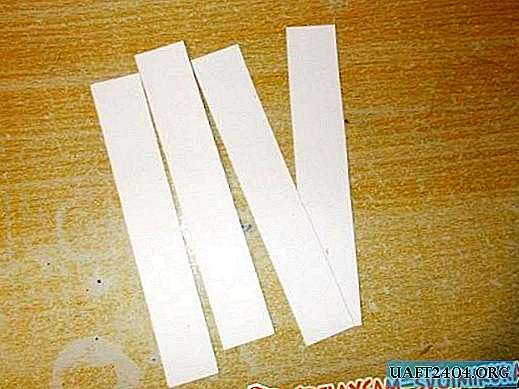
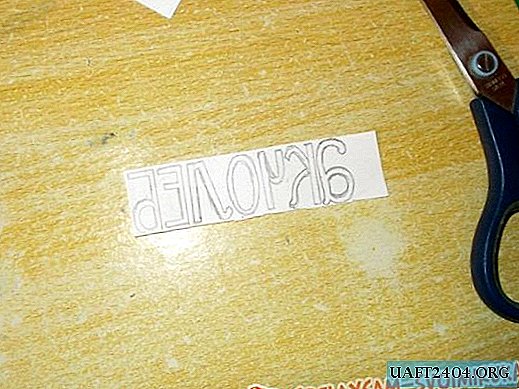
Now make the inscription "Squirrel". On the reverse side of the prepared paper, write the letters:
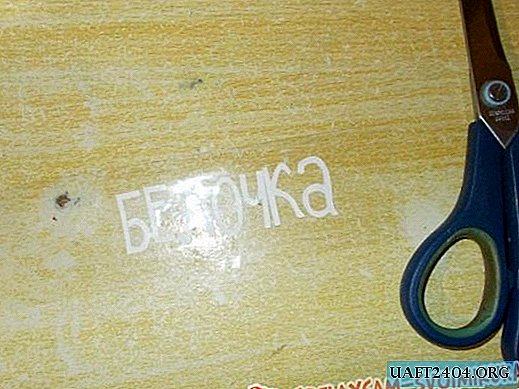
Having cut out the letters, we collect them and glue them with adhesive tape:
Tape the surfaces on all the rectangles with tape. We assemble and glue the platform on the outside and inside with tape, putting something inside it so that under the weight of the toy the cardboard platform does not bend (book, cloth):

Now, if desired, you can make a cone out of cardboard and colored paper:
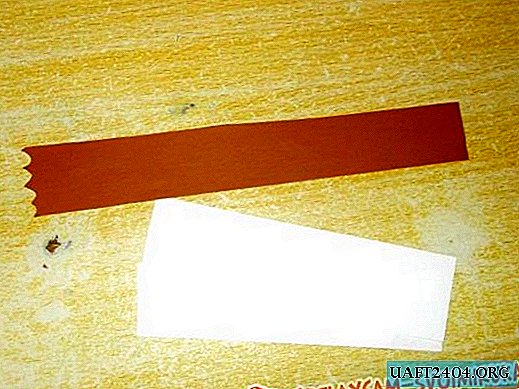
Fold the paper with an accordion and draw a cone flake on it, and then cut it out:

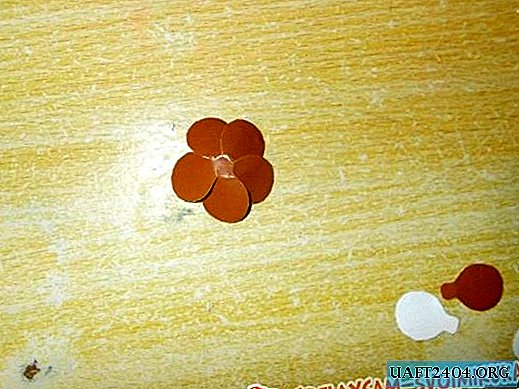
Glue the first circle of scales:
Then we take a thick gypsy needle and pierce through the center of our “bump”, after which, having sharpened the sharp end with a knife or knife at a previously prepared match, we introduce this match into the punctured section of the “bump”:

Next, we just make more and more flakes, and in turn each of them we put on a match:
When the bump is ready, we introduce its sharp end into the hole punctured by a needle in the platform:
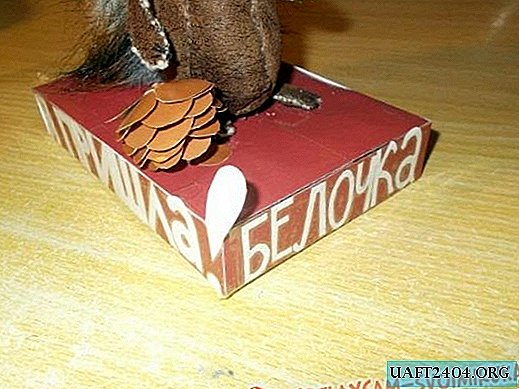
We cover the inscriptions "Squirrel" and "I have come!" fluorescent paints (if desired). And that’s it - our toy is ready!
One bottle of fluorescent paint can be ordered or bought in a special store for about 630 - 1100 rubles.
Sincerely, Vorobyov Dinara.
Share
Pin
Tweet
Send
Share
Send