Share
Pin
Tweet
Send
Share
Send
To sew such a toy, we need:
1. A piece of fabric from an old jacket (dark red) for a shell;
2. Two socks (orange) for the manufacture of the head and body;
3. Scissors, glue, sheet of paper;
4. Needle and thread suitable for fabric color;
5. Colored paper in red and black, pencil;
6. Thin magnetic plate;
7. Filler: cotton wool or synthetic winterizer.

First, take A4 paper and make a sample:

Then, dividing our sample in parts, we apply the parts to a suitable material and cut out the necessary parts (from the old socks we cut off the part where the heels are, we don’t use it):

From colored paper pasted with tape, cut out the eyes and mouth:

Take a small piece of fabric from the jacket and make a short bandage around the neck of the toy from it:


We sew the body, the head and the shell with the internal seam, not forgetting to leave a hole for filling with cotton. In the process of sewing, we slightly adjusted the size of the body - it turned out to be a little large. We decided to make the head not looking sideways, but forward:


Having sewed all the details and twisting them from the wrong side, we stuff with cotton:


It is best to correct the cotton wool with thin tweezers, especially when filling the head, in which there are "horns". Then we sew in the holes for the filler. Then we sew the finished torso to the head, tie a dark red “collar” on the neck of the toy, sew a small piece of the same fabric under the main (sewn by us) bandage and glue the eyes with the mouth:

Sew a shell:

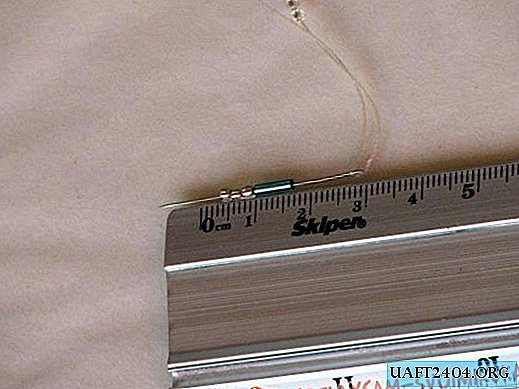
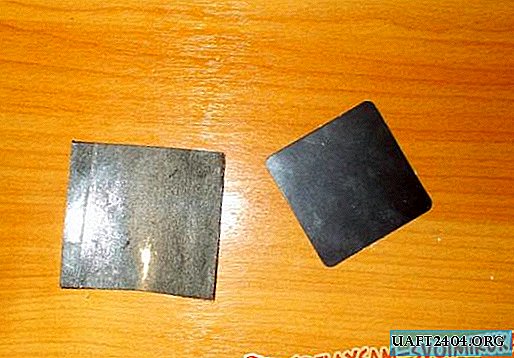
Our toy - the needle bar is almost ready, it remains only to sew a thin magnetic plate to it from below. Ideally for toys, magnetic plates that are sold in chocolate packaging at grocery stores may be suitable. It seems like these:

At the plate taken for work, you need to remove the top paper wrapper and glue in its place a piece of black paper suitable in shape, glued with adhesive tape:
To keep the toy on the magnet stronger, a piece of durable cardboard can be attached between it and a piece of paper. The finished magnet should be sewn to the bottom of the toy in three places: on the upper side, then in the center, and then on its lower side:

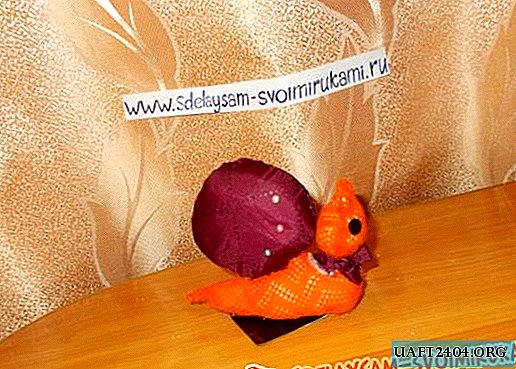
Our toy - the needle box "Snail" is ready! Made of simple materials at hand, it is funny, funny and can really please children.

Share
Pin
Tweet
Send
Share
Send