Share
Pin
Tweet
Send
Share
Send
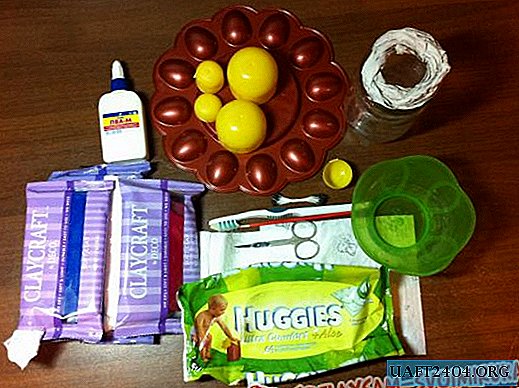
First of all, we take out the necessary amount of clay from the packaging, as shown in the photo and put it on a napkin, after which we cover another layer of napkin so that the clay holds moisture.

We take the white base color and actively begin to knead it in our hands, stretch it, as in the Photo.

Clay releases a sticky substance and becomes more malleable to use, softer. By mixing red and blue, we get a lilac color, which we will use to base the flower itself, after which we add it to white.

Make a drop on the palm of your hand, using the fingers of the other hand as in the photo.


With a light pressure of the knife, we draw a picture like a poppy flower.

Scissors cut corners.

Using pressure with a toothbrush, we squeeze out a textured pattern, which makes our center even more like a real flower.

We mix red clay with white clay, as in the Photo and divide into 10 parts, 5 of which are slightly larger than the rest.


Having formed a droplet, as in the middle, we roll it out on the hand with a light touch of the fingers of the other hand.

In the mold for the eggs we lay out our flower petals.

Using PVA glue and a brush, glue the stamens to the middle. Some stamens can be placed slightly higher than the rest.

Lubricate the ends of the small petals with glue and glue them to the middle.

We glue each next petal on top of the previous one and go on it for half a centimeter. The fifth petal must be placed under the very first.

We do the same with the other petals, which are larger. Having glued all the petals, gently press them at the base of the flower, thereby stretching it and giving the poppy a shape.

We spread the flower petals, the main thing is to do it very gently so that they do not lose their shape. In order for the flower not to lose its shape during drying, it must be placed in a jar with the so-called "nest", which is very simple to make, it is necessary to wrap toilet paper around the hand and fasten it.

For complete drying, leave the product alone for 24 hours.

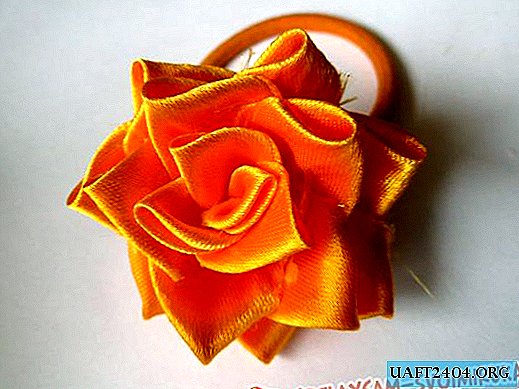
Then you can stick it on a hairpin, elastic, hoop, or create a whole composition of such colors, it all depends on your imagination. Remember, this polymer clay does not like moisture, therefore it is forbidden to wet the product.
Share
Pin
Tweet
Send
Share
Send