Share
Pin
Tweet
Send
Share
Send
To work, you will need tools:
- saw;
- drill;
- sandpaper;
- ruler;
- a pencil;
- various brushes;
- hair dryer;
- iron;
- scissors;
- foam sponge.
And from the materials you need:
- a sheet of plywood;
- acrylic paints;
- acrylic primer;
- PVA glue;
- Polish for hair;
- acrylic lacquer;
- water;
- clockwork.
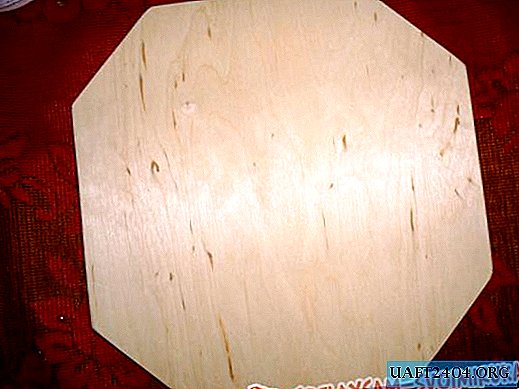
First of all, you should decide on the shape of future watches and their sizes. Then draw a contour and cut it out. We clean the edges with sandpaper to form a small chamfer.
On the workpiece, it is necessary to note the center through which the clock mechanism will be attached. We mark the plywood with a pencil.
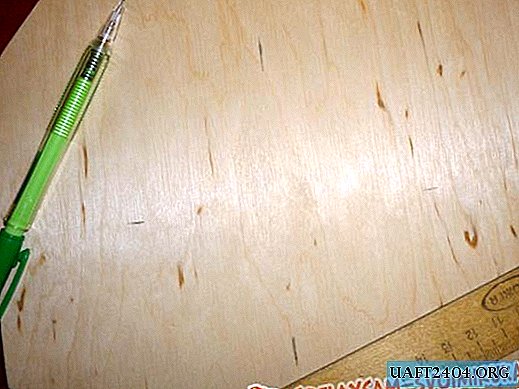
We draw two intersecting central lines.

Now it is necessary to make a hole with a drill at the intersection of the lines.


We clean the edges of the hole, if necessary, bore it so that the mount for the hands of the clockwork freely passes.
We cover the workpiece with acrylic primer in two layers with an intermediate drying time of 1 hour.
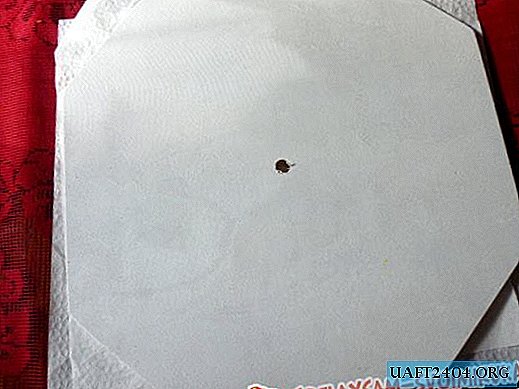
The sides of the workpiece should also be covered with soil.

Choose your favorite napkin. It must be three-layer.

Separate the color layer from the rest.

Now we dilute PVA glue with water in equal parts in a small container, mix.

We cover the workpiece with the mixture and completely dry with a hairdryer.
Put the napkin on top of the workpiece. We tear off the part that goes beyond the contour of the clock, taking into account the fact that a small part should be bent to the back of the workpiece.

We put a sheet of paper on top and carefully iron a napkin through it. First, the front side, then the sides.

We bend the rest of the napkin on the back side and glue it with a brush with glue diluted in water. Let it dry thoroughly.

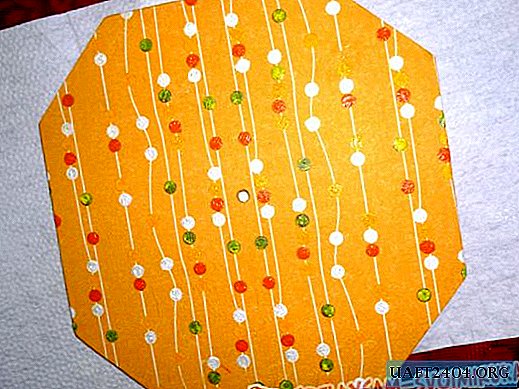
If desired, some elements can be made a little brighter with acrylic paint.


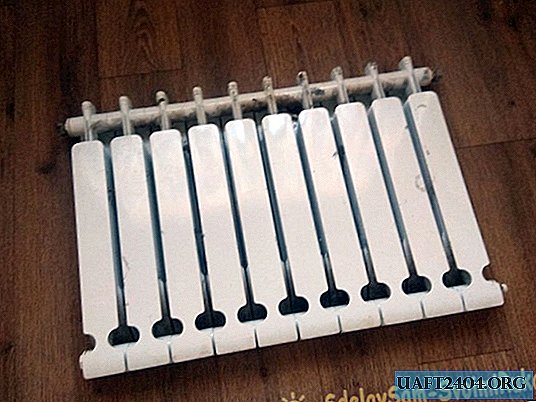
Since I didn’t have the right color when buying a clock mechanism, I just got the cheapest, they turned green.

I just paint them with acrylic paint.

After the paint dries, I cover them with three layers of acrylic varnish.

In the photo, the varnish is only applied and therefore appears white, after drying it will become transparent.

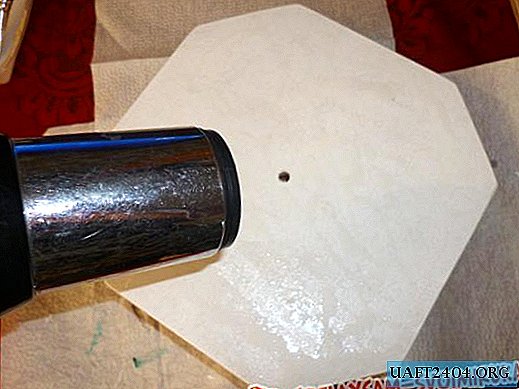
We return to the watch case. The napkin must be coated with acrylic varnish. If you do it right away, the napkin wrinkles. Therefore, first apply a layer of hairspray, a little and evenly

And completely dry with a hairdryer.

Now you can start coating the workpiece with acrylic varnish.

Leave to dry for 2 hours
Before you start applying the dial, you must apply at least 5 layers of acrylic varnish, not carefully forgetting to dry each of them.

Now we need the numbers for the clock. They can be painted with acrylic paint or printed. I printed out several options and chose the most suitable.

I cut out each figure with a square and laid them out on a blank.

With small scissors, I carefully cut out each figure along the contour. I painted over the remaining white areas with a black helium rod.

Having applied undiluted PVA glue to the back of each figure, glue them in their place.

Now again, everything needs to be covered with several layers of varnish with intermediate dryings. In the photo, freshly applied varnish is clearly visible on the numbers.

When all the layers of varnish are applied and dry, it's time to assemble the clockwork.
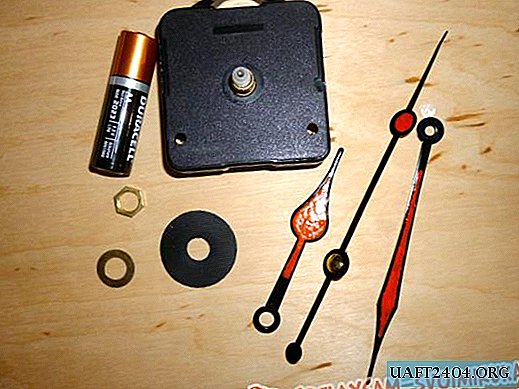

We insert the battery.
Our watches are ready for work, it remains only to hang them on the wall.


Share
Pin
Tweet
Send
Share
Send