Share
Pin
Tweet
Send
Share
Send
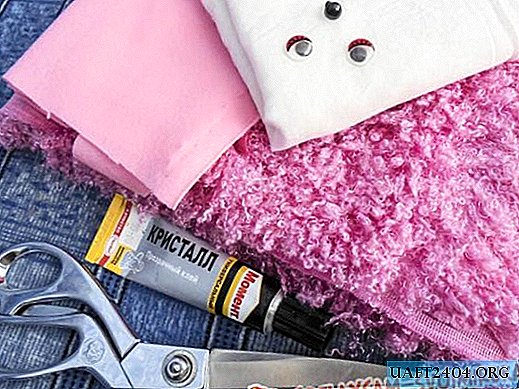
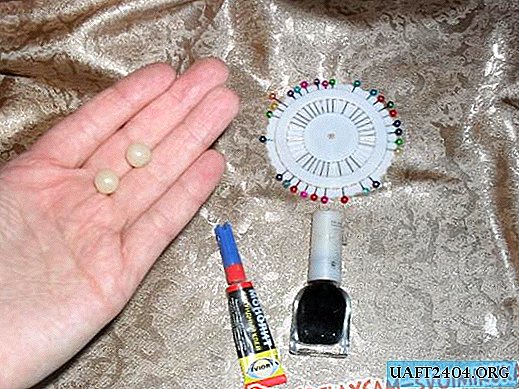
Wire, copper sulfate (or its solution), brush (for applying copper sulfate), tow (or any stuffing material (synthetic winterizer, cotton, etc.), glue (moment), quick-drying paints (in the review article we used ordinary nail polish from female cosmetics), beads / beads (for eyes), tweezers, scissors, knife, decorative pins, threads with a needle.


Through an incision in the chest, we release the bird from the carcass (meat). The hardest thing is to remove the skin from the head and legs. In the tail, the most important thing is to leave the coccygeal gland untouched (where the feathers grow from). "Undressing" the feathered legs, they can turn "into a stocking". This is not scary, then you will bring them to the right position.
When reaching the head, remove it very carefully so as not to damage the feathers and the integrity of the skin. Work with a small, sharp knife (preferably a scalpel). Do not forget to cover the cuts of the eyes with an empty stuffed animal with a piece / ball of plasticine.

The skull of a bird is cleaned of its contents by rinsing with running water, scraping. Any improvised items (knife, tweezers). After which, soak in boiling water for no more than 3 minutes.
Of the entire trophy, the hands should remain for the future stuffed animal: an empty skull box and skin with plumage, which must be treated (etched) in copper sulfate in order to prevent the development of pathogenic bacteria.
The solution is done at the rate of 1 teaspoon of vitriol for 200-250 gr. water. With a simple brush we “paint” the stuffed skin on the inside. Avoid getting the blue solution on the feathers, an undesirable color will occur. You can clean it, but there is a risk that the appearance will suffer.

Immerse the shard completely in a container with a solution.
The time etching procedure should be about 6-7 hours.
We make the basis of wire.


Measurements at this stage play an important role. We find out what the circumference of the head, chest, legs, wings. Based on the available centimeters, we are preparing the future frame. We wrap tow (cotton, synthetic winterizer) on a wire frame. We will dress the bird on it.
In the extremities of the bird, we draw a wire to give the desired position and so that the body of the future stuffed animal has a fortress.


In places where, it is necessary, we add to the density printed material so that there is no feeling of emptiness.


When everything is ready, the bird is sewn to thread. For fixing stitched parts, (for convenience), use decorative pins.
The eyes of the bird are made of suitable sized balls, beads. Using a scalpel, tweezers, the skin in the incisions is lifted, and the "eye" is in place. The initial color of this part does not matter much, because to give the desired effect, black varnish or quick-drying paint is used. For the same purpose, you can handle the beak of a bird.

At the end of all work - inspect the trophy. Feathers that stick out and it is impossible to lay them down with a simple smoothing, you need to carefully glue. To do this, apply one drop of second glue at the base of the pen.
Some representatives of birds have bright moments in color (barbs, scallops, eyelids, etc.). A killed bird easily loses this feature. You can restore your former attractiveness without difficulty, resorting to the same nail polish.

For a stuffed bird to get a finished look, he needs a stand. A simple saw cut of a tree, on which a wooden knot is screwed, will be painted with an oak stain.


The result is such beauty.


Share
Pin
Tweet
Send
Share
Send