Share
Pin
Tweet
Send
Share
Send
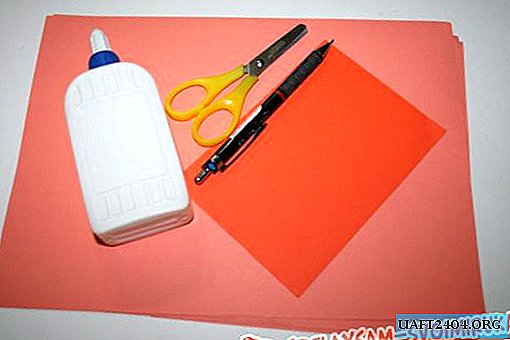
What you need:
Colored paper.
Ruler, scissors, pencil.
PVA glue or any other reliable glue for paper.
First we need to cut a circle for the base of our flower. We cut it out of any paper, it will not be in sight, and put it aside for a while.

Now we take a new sheet of colored paper and begin to draw it. We need 7 by 7 cm squares.

Cut out all the drawn squares. This can be done with scissors or a clerical knife, as you prefer. For the flower we need squares from one whole and one half of A4 sheet.

Now begins the most time-consuming, but rather interesting work. We begin to twist our squares into small envelopes, such as those in which the grandmother used to sell seeds.

When all the squares are twisted, we take the circle laid aside earlier for the base and begin to collect the dahlia. Glue the first row of petals and hire him to dry.

Now it's time to glue the second row. Petals of different rows must be glued in a checkerboard pattern.

Similarly, we glue the rest of the rows until the whole base is filled with sachets - petals. So, simply, but not very quickly, we have a beautiful dahlia. It can be hung by a rope on a wall, glued to a postcard, inserted into a frame, attached a leg and put in a vase. In general, plenty of options!

Such a beautiful flower made of paper looks like a real dahlia. Guests, seeing him, will not believe that you made it yourself! Make a lot of such flowers and present to all your friends, they will be delighted!

Share
Pin
Tweet
Send
Share
Send