Share
Pin
Tweet
Send
Share
Send
First you need to prepare the components of the picture. Think of what will be drawn on it. In this case, we draw the sun, the plane and the clouds on white paper. We paint with paints.
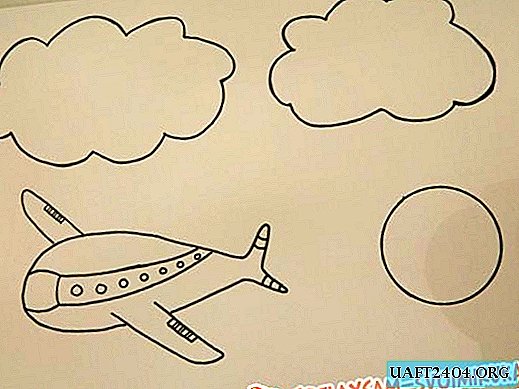

Then let it dry completely and cut it out. Next, we’ll deal with cocktail tubes, the picture will just hold onto them. It is advisable that they fit the color of the details of the picture. So, for example, a blue tube is suitable for an airplane, white for clouds, and yellow for the sun. If you don’t have any matching tubes, do not run to the store to find them - you can use paints. Mix a suitable color with a small amount of PVA glue and apply to the tube (for convenience, fix them in plasticine).

It was the turn of the basics of the picture. To fix the picture at the bottom of the jar, you will need plasticine. We roll up a ball of suitable diameter for the bottom of the can. To a kind of vase did not remain naked, dress her up. Take colored or wrapping paper, as in this case, and wrap it around a can. Cut off the excess and secure the paper with tape or bank rubber.

Now you can collect the picture. We attach the ducts with tape to the back of the picture and fasten them into plasticine.


We drop everything available in a jar, and the swaying picture is ready!

By the same principle, you can make other paintings: with a bird, flowers or with fish and corals.
Share
Pin
Tweet
Send
Share
Send