It is not always convenient to use a standard miter saw for cross cutting small (wooden or metal) workpieces at an angle of 90 degrees, and, accordingly, buying it for a single use is also not advisable.

Therefore, it is precisely for such non-standard work that you can make a homemade power tool of a more compact size, which does not take up much space in a home workshop, and it will cost much less.
Basic materials and stages of work
From a thick sheet of fiberboard (you can also use MDF or HDF), you need to cut a rectangle with sides 17x12 cm, in the center of which then you need to make a narrow cut of 2 mm thick at a right angle - to about the middle. This will be the base of the mini miter saw.

Next, you need to make the side walls. To do this, you need to cut out two 12x5 cm rectangles, and stick them to the base on hot melt adhesive. Then we cut out the details of the triangular shape from the fiberboard and make stops for the side walls from them. You also need to cut two rectangular slats with sides of 8.3x2 cm, and some other small details.
Homemade assembly
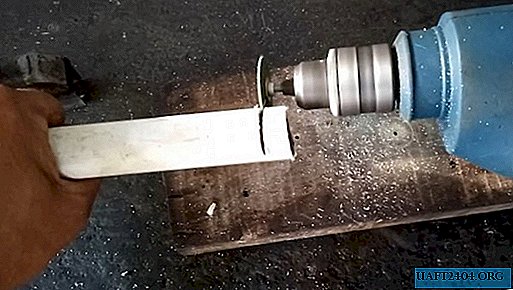
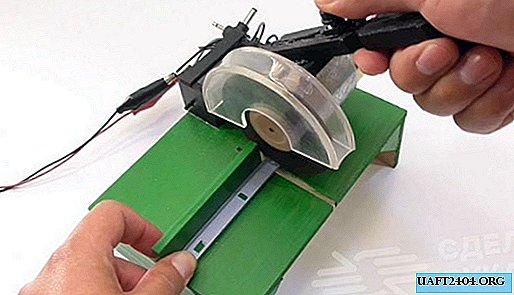
A standard 12V motor can be used as a miter saw drive, and the saw itself on a tree can be cut from a steel sheet (however, note that you will have to cut and sharpen the cutting teeth yourself). The protective casing can be made of ordinary plexiglass.

When all the structural elements are assembled on the desktop, just glue everything together, connect the electric motor, paint in the desired color and the home-made miter saw is ready for use. See the video for a step-by-step process of manufacturing parts and assemblies.