For this homemade product you will need two ready-made bracelets made of wood. First you need to make markings on their surface, and then each product must be broken by hand or, clamped in a vice, into several parts. Using pliers for the blanks you need to make "torn" edges.

Then you can proceed to the next stage of work. On a plastic plate (according to the previously drawn contours of the bracelet), you need to glue the pieces of double-sided tape on which the broken parts of the wood bracelets are installed at a close distance from each other.
Then, from a rigid plastic tape (can be cut from a bottle) on both sides of the blanks you need to make a "formwork" for pouring epoxy. A joint at the base is preferably coated with sealant or hot melt adhesive.
Epoxy Cooking
The epoxy resin is mixed in the recommended proportions with the hardener, and then the finished mixture must be poured into glasses and dyes added. Each bracelet will require at least two colors. When everything is ready, you can start pouring.
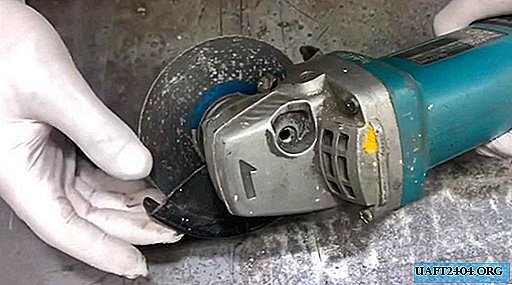
First, pour epoxy resin of one color, then another, making a multi-layer “cake”. After the epoxy is completely solidified, the “formwork” is detached from the plastic board and disassembled, and the finished products are sent for subsequent machining.

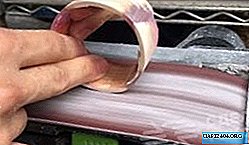
After the initial and final grinding, the surface of the bracelets is polished, and then covered with a layer of colorless varnish or mineral oil for wood. If desired, one bracelet can be sawn into three narrow parts, and the second can be left wide. The result is stylish, handmade jewelry.