For the manufacture of this knife, it is best to use steel grade 40X13 or 50X14MF (but you can also take other tool steels with alloying additives as a basis). First, draw a template on paper, and then transfer it to the workpiece - a 2-3 mm thick plate.
The main stages of work

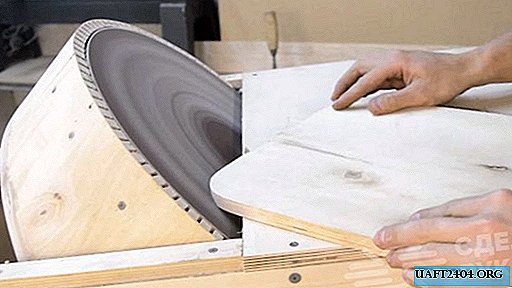
The contours of the future knife can be outlined with a marker, but it is better to attach a paper template and paint the workpiece with spray paint. Then we cut the knife with a grinder, trying to cut as much “meat” of the workpiece as possible, so that then we can grind less.

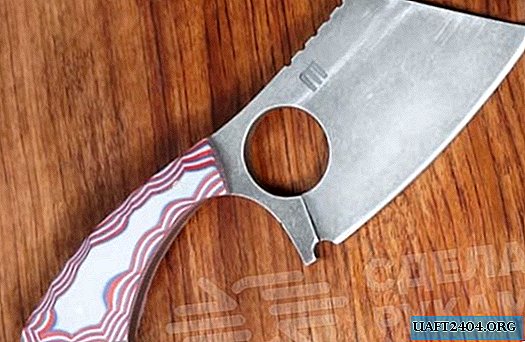
In the cleaver blade, it is necessary to drill a through hole under the finger - this can be done with a diamond crown. We process internal edges with a file for metal. At the next stage, align the edges of the workpiece on a belt grinder. The cutout in the tail of the cleaver (under the bottle opener) is processed with a drill.

Using the grinder, you need to make shallow cuts on the back of the blade, which can also be treated with a grinding nozzle for a drill (or manually with a file). Then in the rear part you need to drill three holes for mounting the wooden handle.
Sharpening and hardening of steel

On the belt-grinding machine we form the slopes of the blade of the blade, after which it is necessary to perform the standard procedure of hardening of steel (we heat the billet red-hot and lower it into oil). Then we leave the tempered steel in the oven, heated to 210 degrees, for two hours.


At the last stage of work, it remains only to sharpen the blade and make a handle - from wood or plywood. If desired, blackening of the metal can also be done. With this cleaver, you can not only chop cabbage or chop the sausage quickly, but also open the bottle if necessary. In general, the knife turned out really cool! Write in the comments below the video your impressions of this homemade product.