It is possible to repair a plastic bumper of a car without a mesh using plastic. Moreover, the restored bumper will be stronger than the new due to the gain. The main secret to the success of garage repairs: adherence to soldering technology, as well as the correct selection of materials.

It should be noted that the soldering technology, which is used to repair the bumper, is very universal - it can be used to restore any plastic parts, including some other elements of the car: the case for the rear-view mirrors and fenders.
Many car owners use a metal mesh to repair the bumper. However, a reliable connection is not always obtained. The fact is that plastic and metal have different properties. That is, they react differently to temperature, moisture and physical activity.

The choice of material for repairing a plastic bumper
In fact, there are a lot of types of plastic used to make bumpers on cars, and among them there are such "exotic" options as polybutylene tereflorate and, for example, fiberglass, which is not cooked.

However, most often the plastic material on automotive bumpers is of two main types: marked PP (polypropylene) and PE (polyethylene). A little less common on cars are models made of ABS plastic.

Of the polypropylene and polyethylene very often they make wheel lockers for cars, pipes for water and ventilation, as well as canisters. It is these budget and affordable materials that can be used to repair the bumper. The main thing is that the plastic "latki" was of the same chemical composition as the plastic of the bumper.
What you need to know before starting work
If there is no marking on the bumper, you can weld small tires on the back of the bumper and after cooling them down using a joiner's chisel. If the plastic of the bumper, like the plastic of the tire, are identical in chemical composition, the patch will not fall off. If the materials are different, it will fall off.

To repair a car bumper, you need a 100 W soldering iron and a building hair dryer. As an alternative to a hairdryer, any gas burner is suitable. Instead of a metal mesh, you can use a plastic splint made of car wheel arches or other suitable material to further strengthen the seam.
Technology of restoration (soldering) of a car bumper
Please note that the problem area does not make sense to wash and degrease, just remove the dirt and old paint, as well as remove the layer of oxidized plastic near the crack itself. This can be done with a sharp knife.

Stripes of the required length and width should be cut from the wing liner, from the surface of which dirt, paint and a layer of oxidized plastic should also be removed. If the crack is large, it will be necessary to pull off the bumper and temporarily fix it with a knitting wire or “shoot” with a stapler.

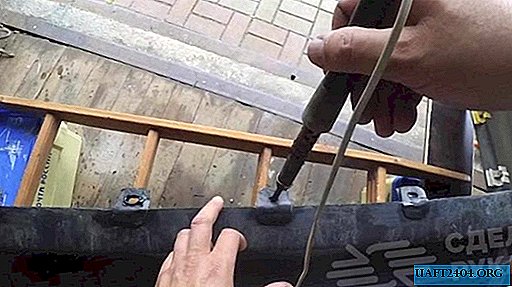
First of all, the entire crack must be melted with a soldering iron on the inside of the bumper, while the melted plastic should protrude slightly from the back. Then the crack must be strengthened with a “patch”, due to which the damaged area will be more durable.
The main thing when soldering a car bumper is to choose the right temperature and heating time. If you slightly warm the “patch” with a hairdryer or burner, then it simply may not stick. If overheated, the bumper may become deformed by heat.
Useful tips for soldering a car bumper
When using a hair dryer, the temperature is selected by eye. To do this, first you need to warm up 1-2 mm of the upper layer to viscosity (you can check with an awl). Then you need to warm up the shredder. To prevent overheating, you can use a damp cloth (for example, from an old rag), pressing it on the back of the seam.

When glitter appears on the “patch” itself, it must be pressed to the surface of the bumper, creating a so-called “wave” of molten plastic, which will not only increase adhesion, but can also fill voids and bumps on the surface of the bumper.
It is necessary to work with a gas burner with extreme caution: the plastic itself must not burn, since then it loses its flexibility and becomes excessively brittle. Upon completion of the work, you can remove the excess shreds with a soldering iron, and smooth the edges of the seam.

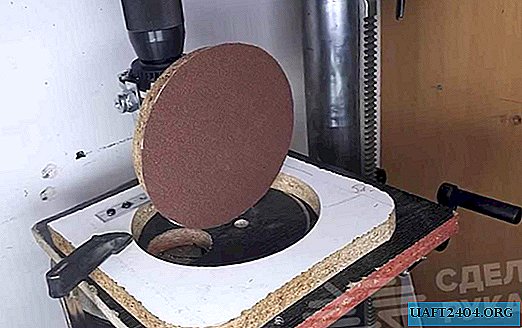
Also, after soldering, a number of procedures are necessary. All tubercles need to be sanded with a grinder or with a sandpaper and putty putty on plastic. Then you need to primer the seam with a special primer for plastic, then paint and varnish.