In this review, the author tells how to manually make an aluminum sledgehammer. It is hardly possible to use it for working with sheet metal - rather, it is a decorative element for the workshop and garage.
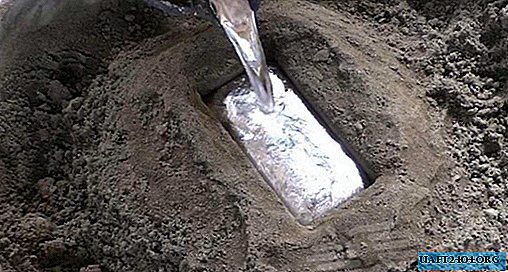
First you need to find an aluminum billet. You can buy it or cast it yourself.
You do not need any special molds, this form is easiest to do in the sand.
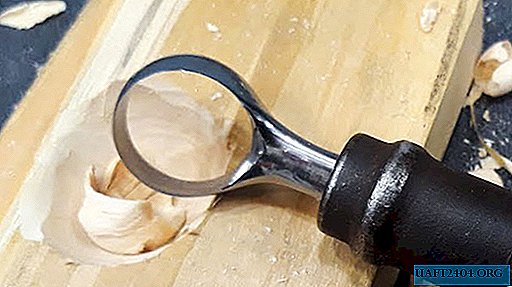
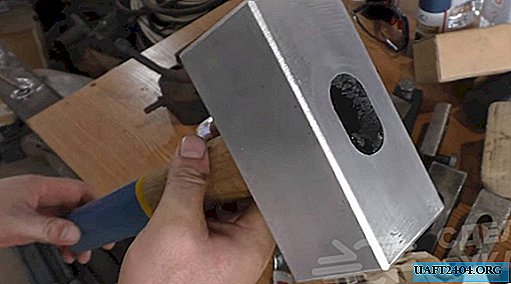
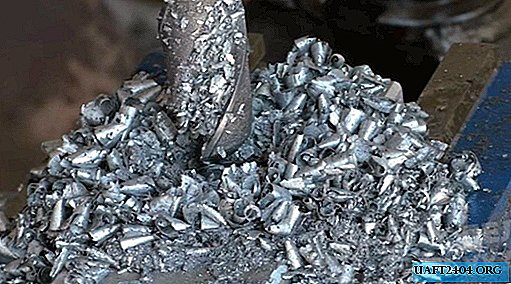
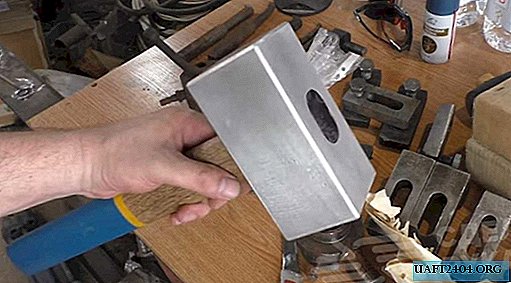
Next, the metal will need to be processed by smoothing the surface on the machine. If you cut off the side corners, the hammer will look more interesting.
The main stages of work
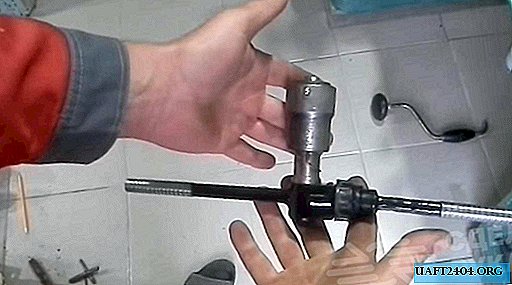
On the cutter, you need to drill a hole in the aluminum and expand it with a cutter so that the wooden handle fits. On the bottom side, make the hole slightly smaller than the top.
The joint between the wider and narrower parts should be somewhere in the middle of the workpiece. So the handle will securely fix the wedge.
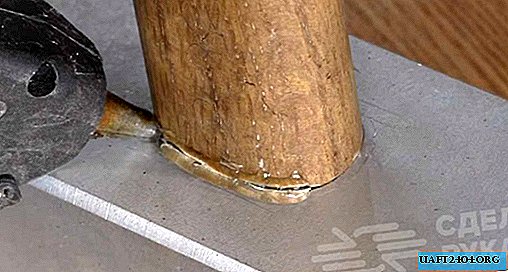
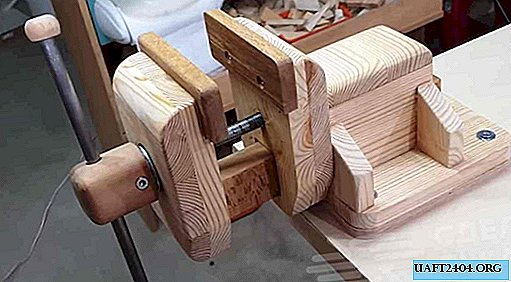
Now you need to hammer the handle into the sledgehammer and fix it with a wedge. Make sure that a few millimeters are left above the handle, into which it will be possible to pour epoxy. Seal the joint of metal with wood with a glue gun from below.
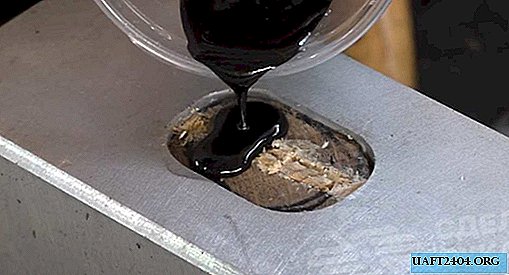
Now knead the epoxy with black dye and you can proceed to fill. It is better to choose a composition that is sufficiently liquid and fluid, since the resin should fill all the joints and voids.
You will need to pour it several times, as the previous volume drains along the handle. You can remove the bubbles with a toothpick. Keep the sledgehammer clear of dust until the resin solidifies.
Now it remains to polish the resin, remove the glue and the aluminum sledgehammer is ready. Of course, the process of creating it is not so simple, but in the end you will get your own handmade hammer. The process of manufacturing aluminum sledgehammers, see this video.