Gluing tapes onto the grinder is much more profitable than buying them. Moreover, it is not always possible to find the desired tape size on sale.
But how to glue the grinding belt for the grinder so that there is no beating during operation? This will be discussed in this review.
In fact, the gluing technology is very simple. The main thing is to stick to this very technology, and everything will certainly work out.
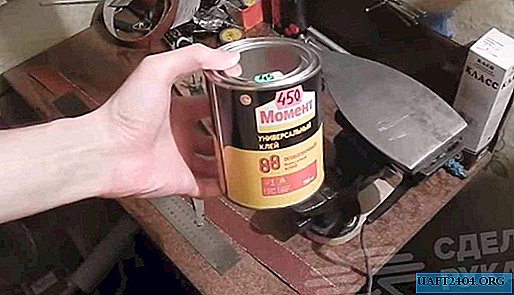
To glue the sanding belt, the author recommends using the universal waterproof moment glue.
The main stages of work
The first step is to retreat from the edge of the sanding belt the required distance.

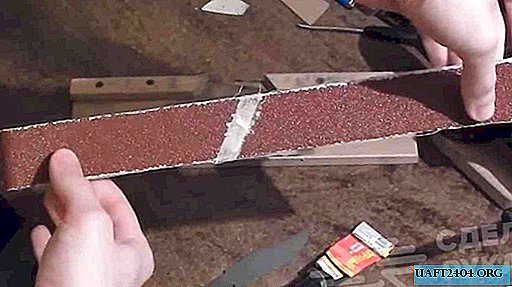
We bend the edge and remove the abrasive at the bend with a knife or other metal object.
The resulting line is the abrasive removal line. Then it will be necessary to clean the edge of the tape.

Preheat the edge on the iron (through the fabric), then remove the abrasive with a knife. After the heat treatment, removing the abrasive is much easier.

A similar operation will need to be done on the other side of the sanding belt.
At the next stage, we join one edge with the other, fix the tape and proceed to gluing.

After applying the glue, let it dry for 10-15 minutes. Then we glue both parts and clamp in a vice.


For details on how to glue the grinding belt for the grinder in the conditions of a home workshop, see the video on our website.

